
5 tips to achieve a flawless coverage that’s not cakey! We will walk you through this step by step tutorial to create a beautiful base, guiding you with the right product recommendations for your skin type.
Step 1: Skincare
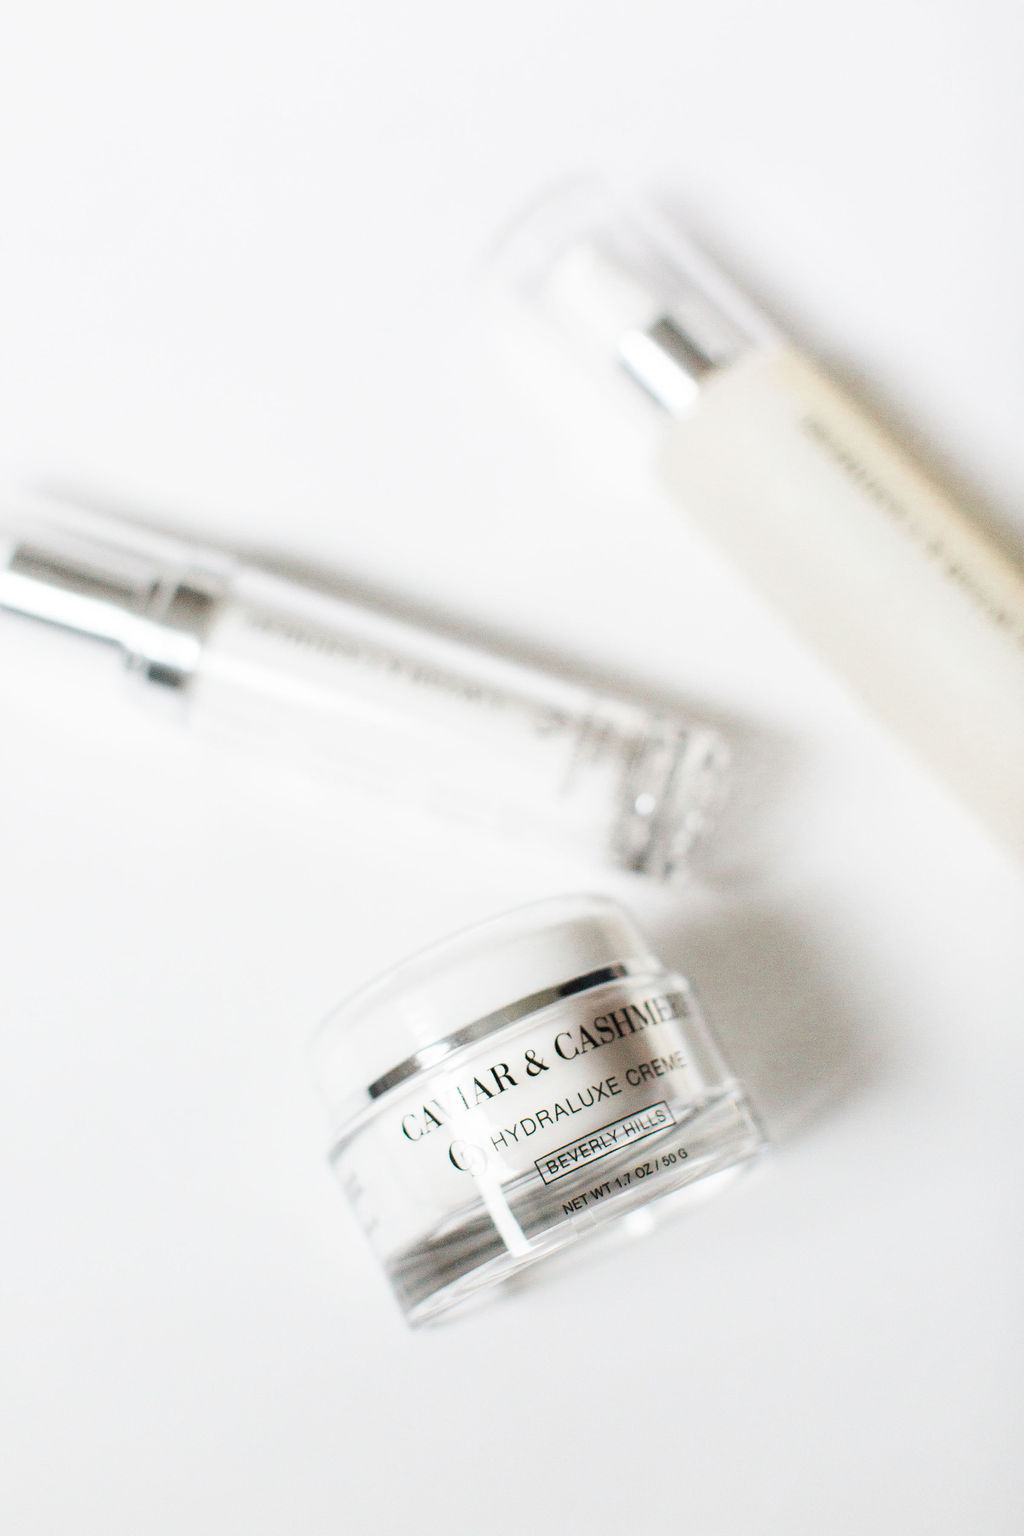
The start of a good makeup routine is a good skincare routine. It is very important to have moisturized skin before applying your foundation. The Caviar & Cashmere line is a great option for most skin types, giving the skin the hydration it needs but with a light feel.

Step 2. Primer
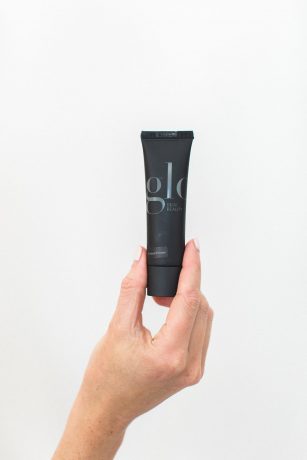
A little goes a long way! Using a pea size amount of primer, start in the middle area of the face and work your way out. A great product is the Glo Skin Beauty Tinted Primer, this will help minimize pores, texture and shine. We love this one because it also includes an SPF 30.
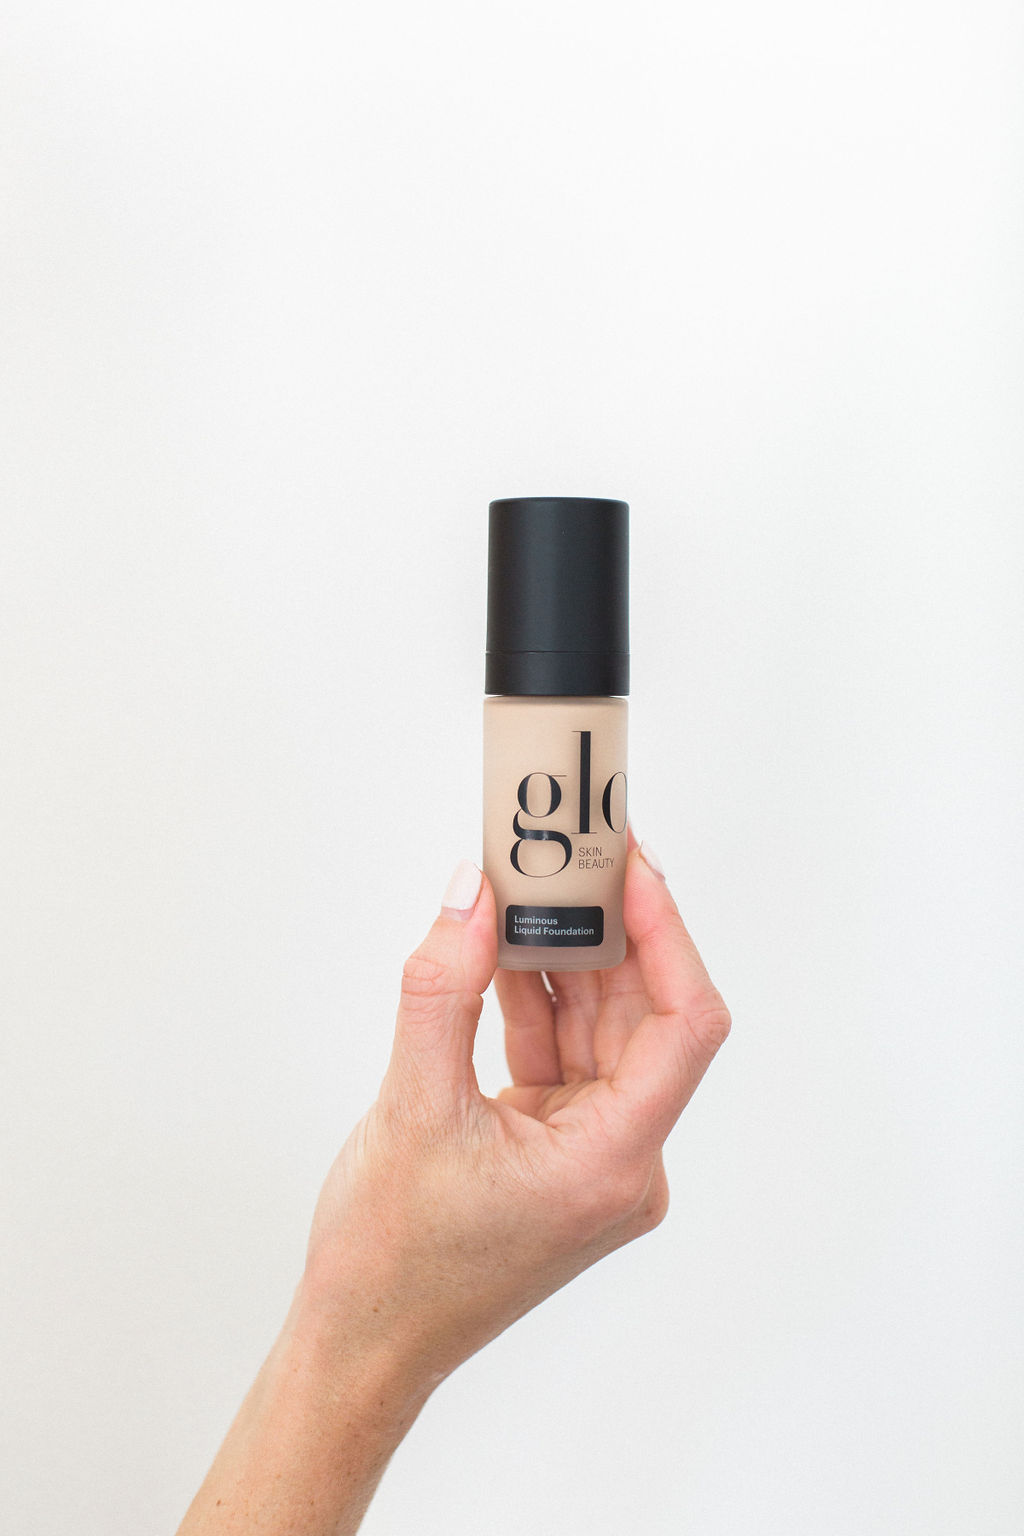
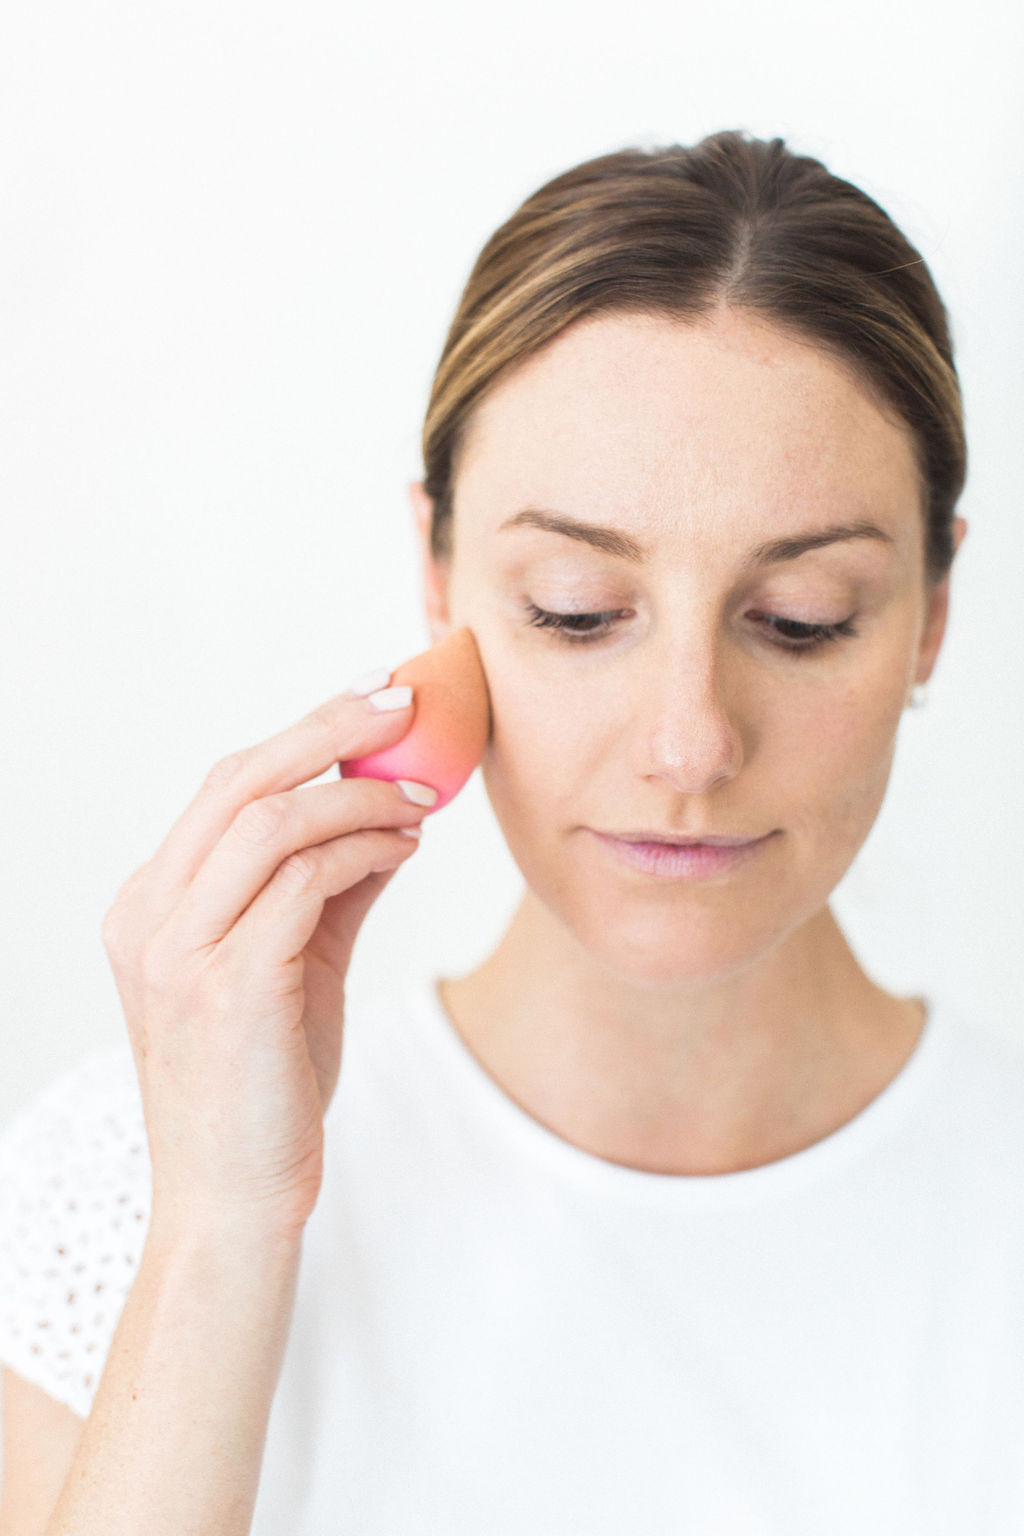
Step 3. Liquid Foundation
First step, apply the foundation with a Beauty Blender. Start in the centre, around the nose/cheek area (where you would typically want the most amount of coverage) and blend down the jawline. It is important to choose the right foundation for your skin type.
For normal to dry skin – we recommend something more hydrating, Glo Skin Luminous Liquid Foundation is a great option!
For a normal to oily skin – we recommend a mattifying base to control the oil, Stila Stay-All-Day Foundation & Concealer.

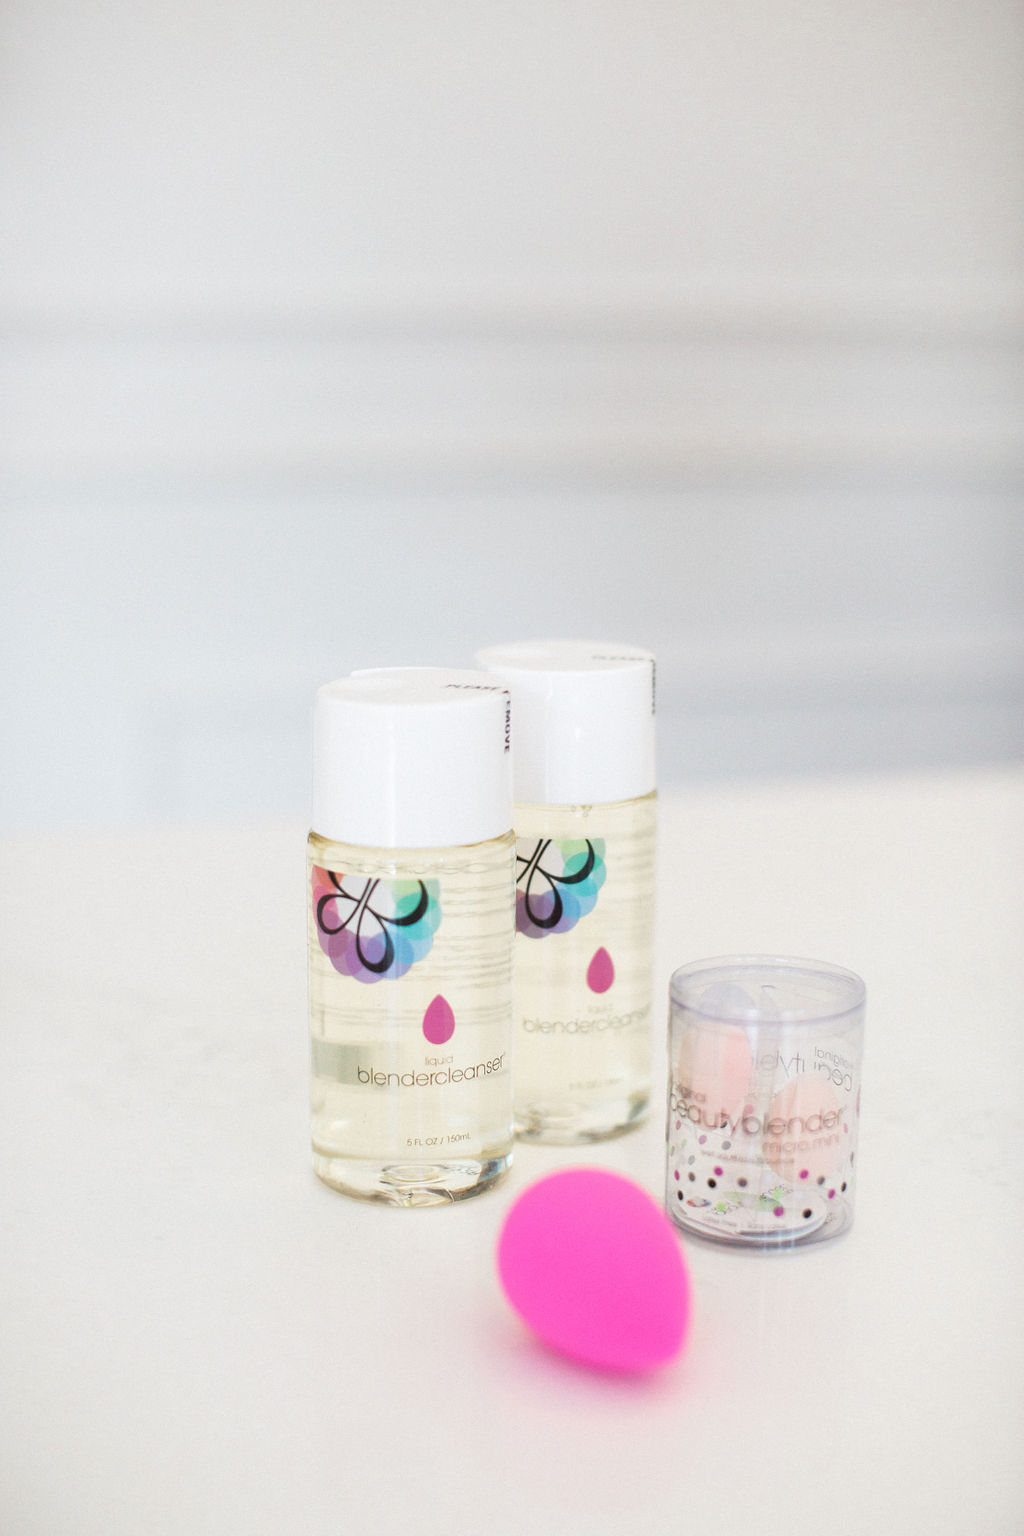
PRO TIP: To achieve a perfect finish use a Beauty Blender Sponge for application! We can’t say enough amazing things about these tools. Be sure to use it damp (but not dripping). Building thin layers is the key to a natural looking and long lasting base.
*Don’t forget to wash your Beauty Blender Sponge after every use to keep it clean and to ensure your makeup application looks its best*
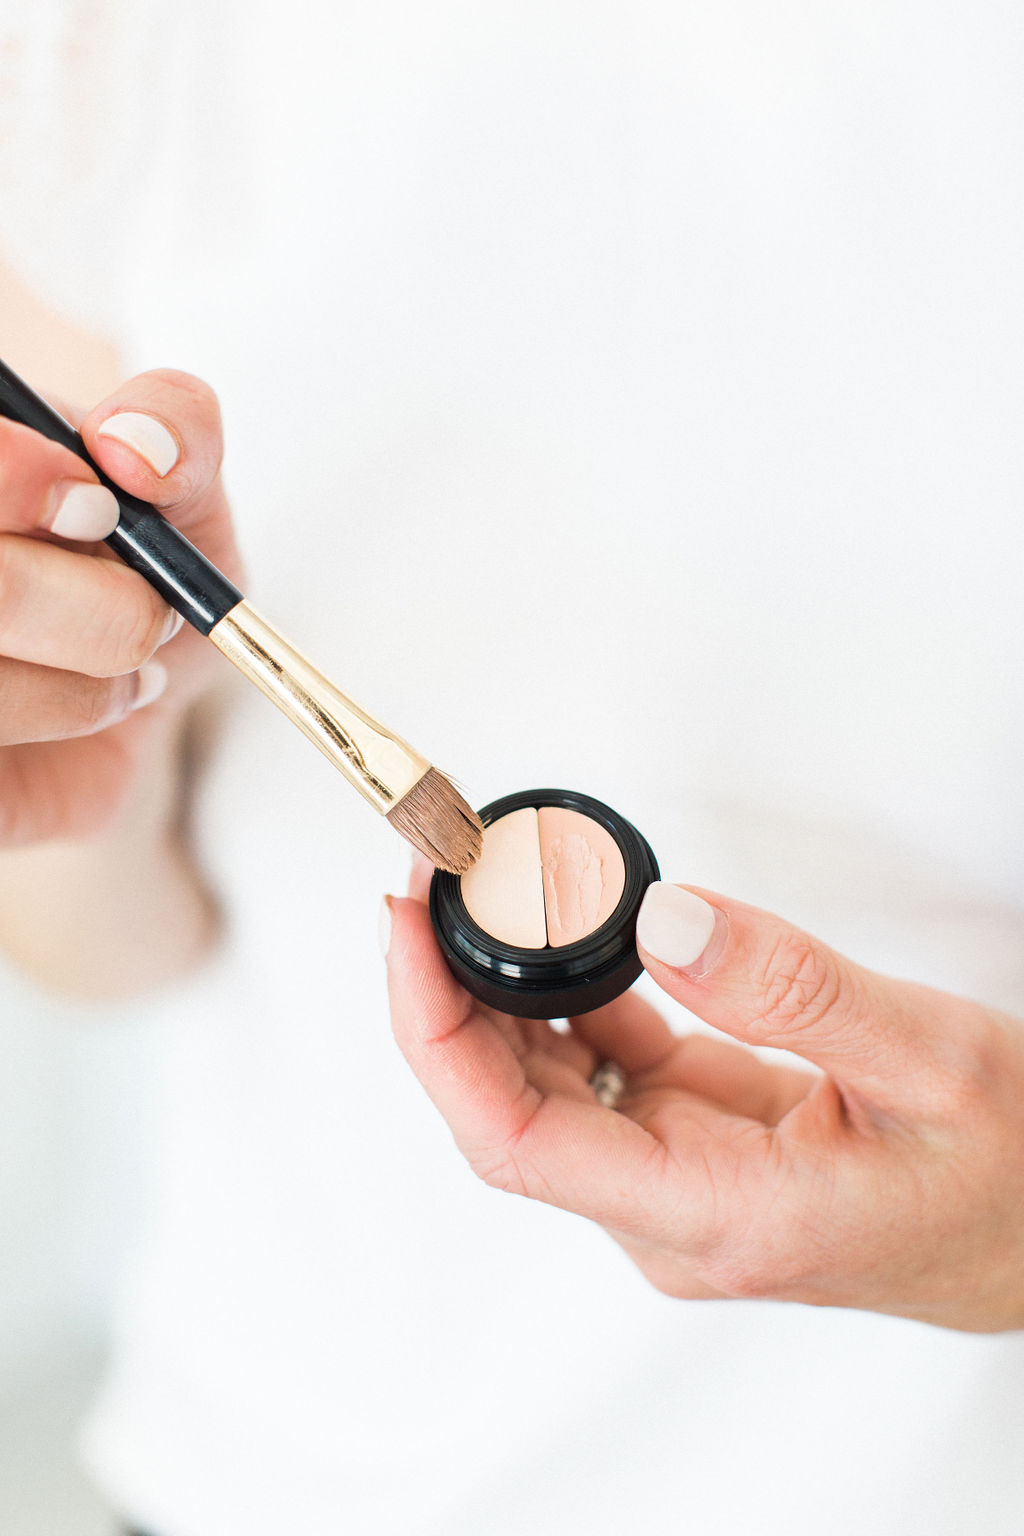
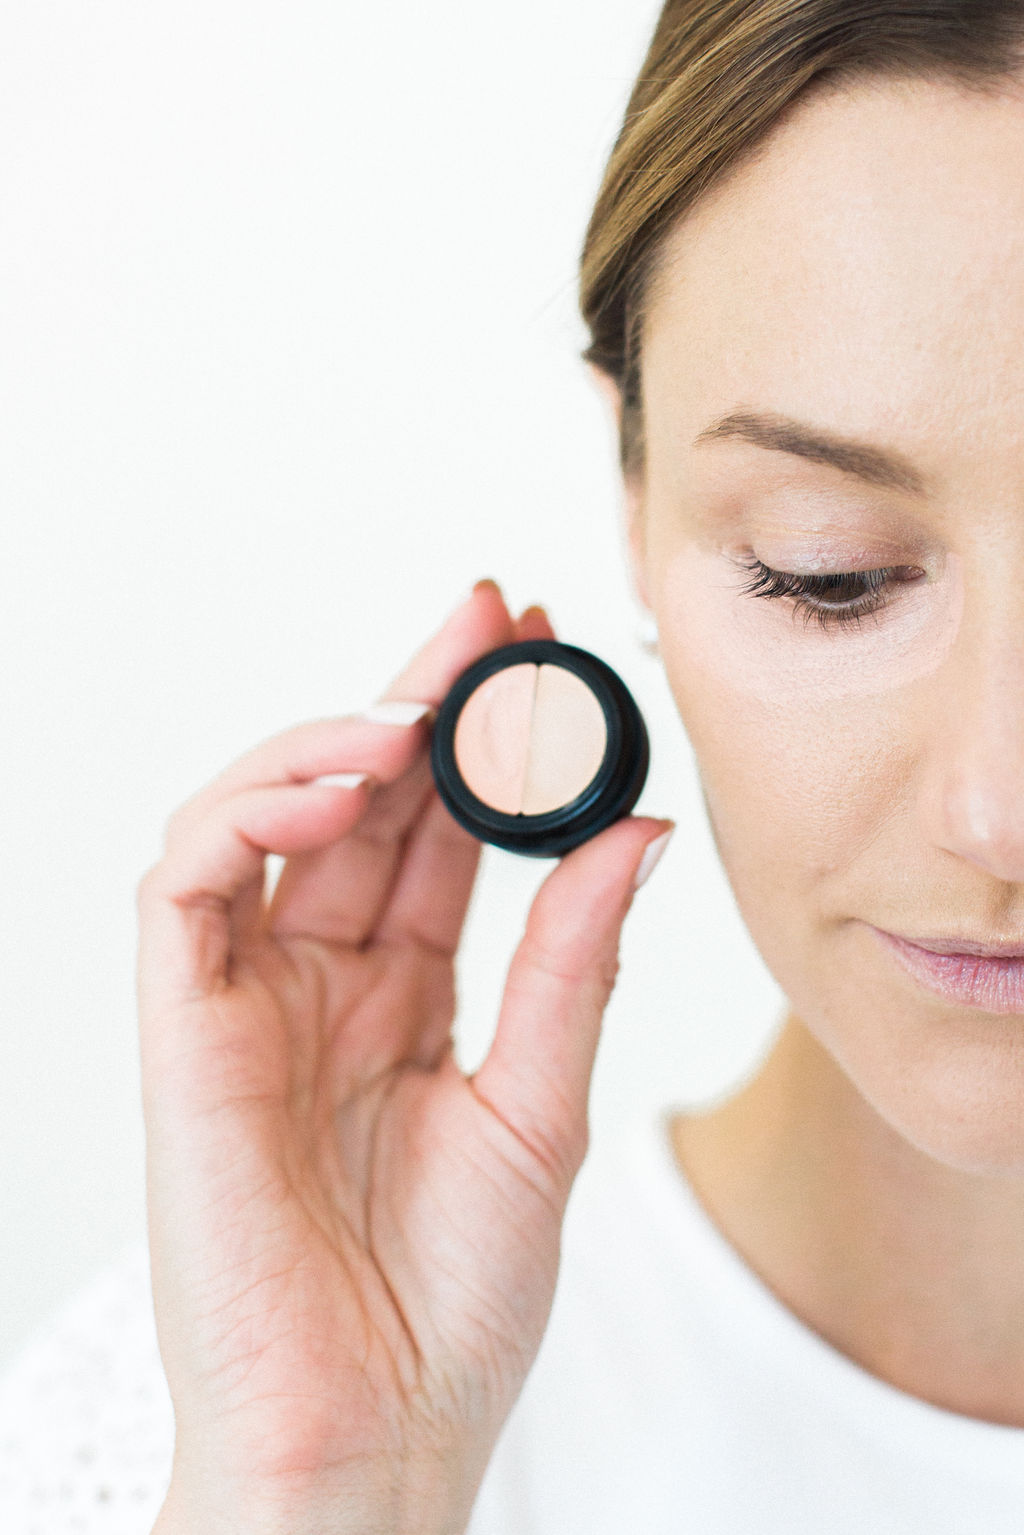
Step 4. Concealer
‘The’ secret to perfecting the look of your skin. Our favourite concealer is by Glo Skin Beauty which uses a corrector & concealer combination. The corrector neutralizes discolouration, while the concealer instantly brightens the under eyes and masks dark circles.
Apply the corrector first (pink tone), and then the concealer (beige tone) over top. A little goes a long way! A Beauty Blender can be used to blend further and lift excess product that will end up creasing.
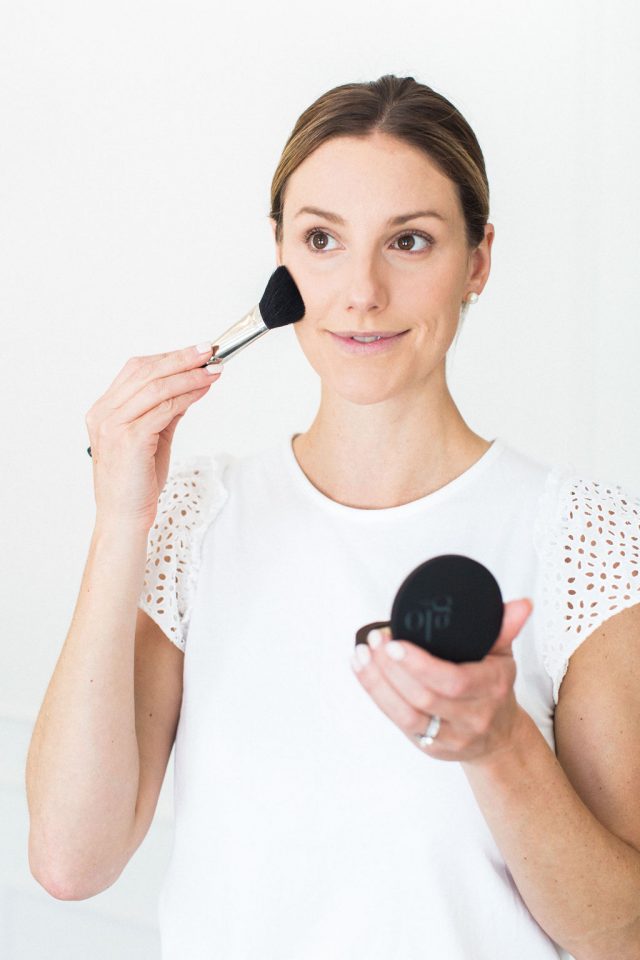
Step 5. Powder
Time to set! Using a translucent powder will lock everything in place and take away excess shine. It’s important to set a liquid foundation to help hold the foundation in place and prevent it from sliding off.
Our go-to is the (Paul & Joe # 4 pressed powder) it’s great for normal to oily skin.If you have dry skin and want a bit more coverage the Glo Skin Beauty mineral powder foundation is a great option.
Use a medium-large powder brush, pick up a small amount and tap off the excess. Pay special attention to your t-zone – it’s where we all get the most amount of shine and don’t forget to feather a little powder lightly under the eyes to prevent creasing.
xo, Denise Elliott