
Happy Tuesday! I’m thrilled to finally share this fresh and glowy spring tutorial I created, starring my friend (she’s also an amazing jewellery designer, check her out) Leah Alexandra!
With the change of season and warmer weather, it’s time to toss out those darker lip shades and give your makeup routine a little TLC. Spring is all about softer pastel and bronze tones.
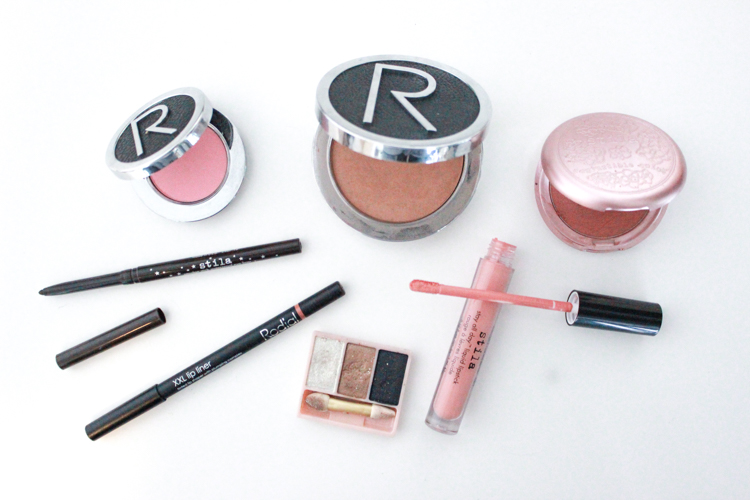
This tutorial focuses on a fresh, glowy look using neutral and bronze shades. As always I’ve used a few of my favourite brands to create this Spring look for Leah.
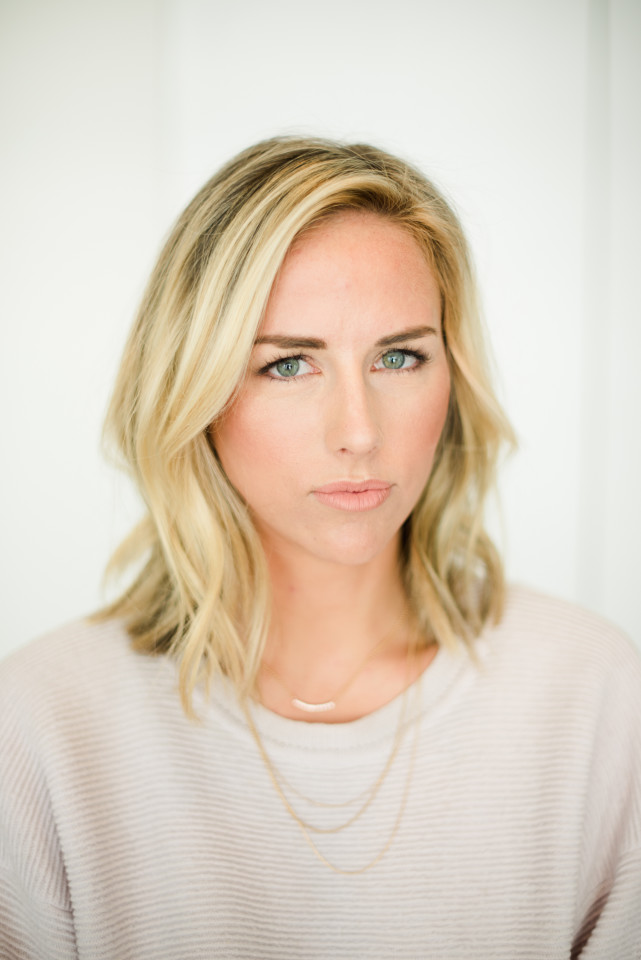
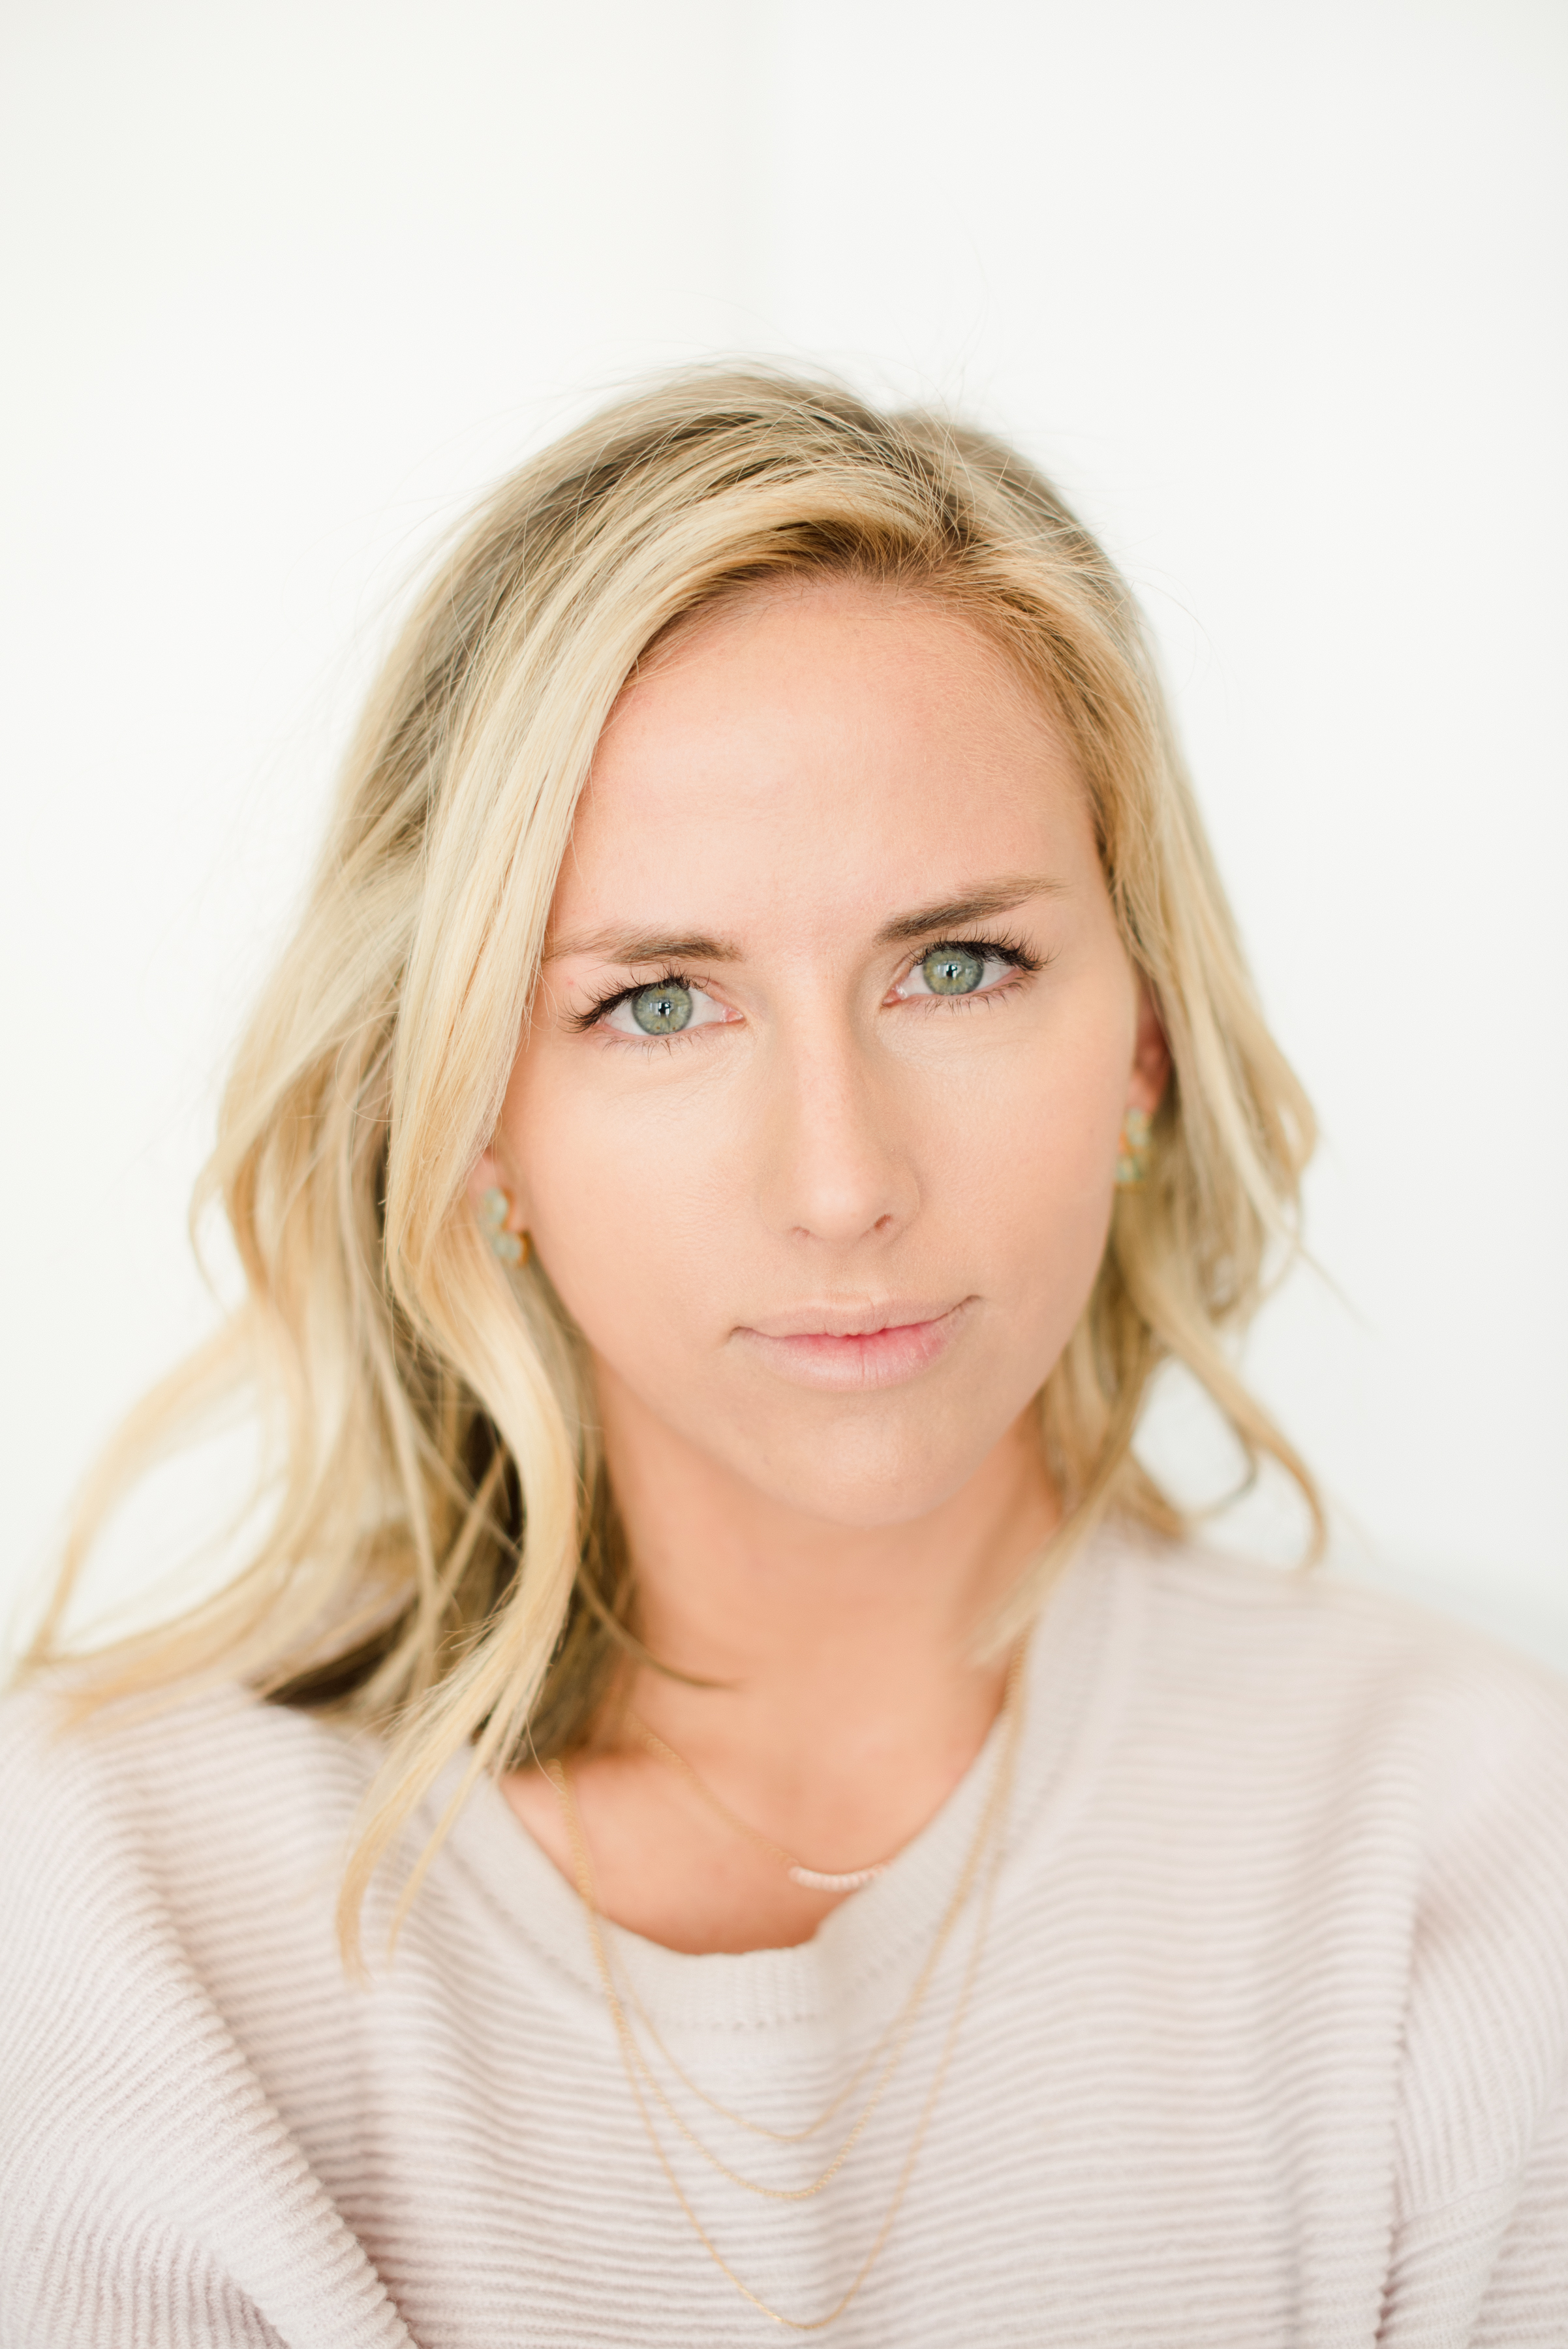
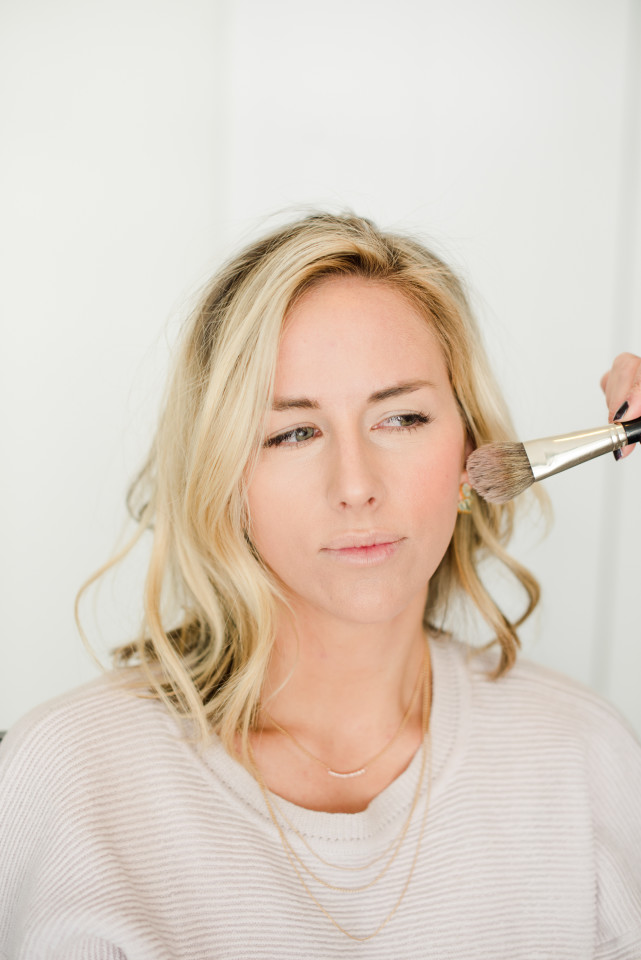
Before & After
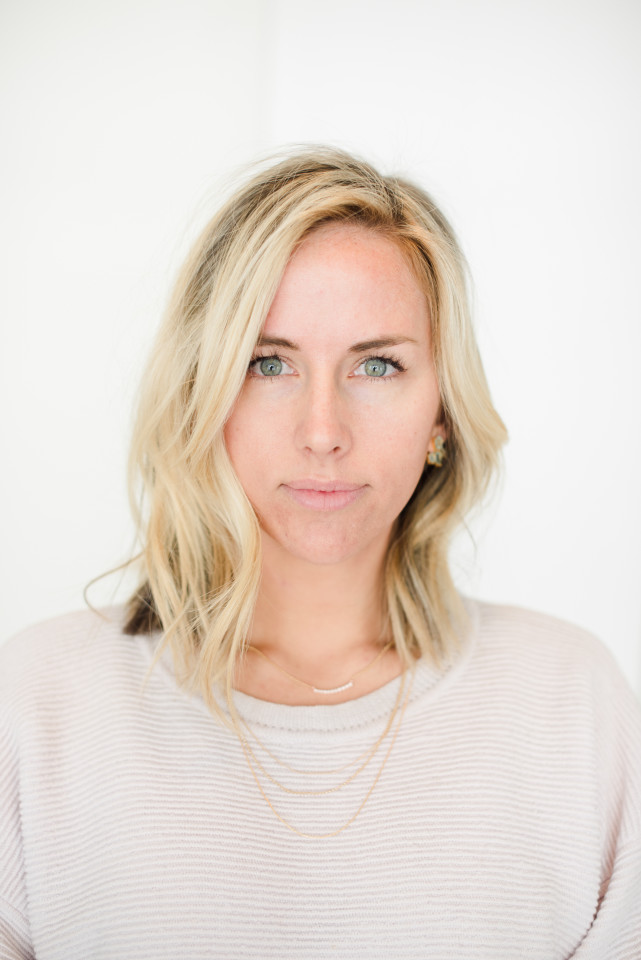
STEP 1: Flawless Face
*Helpful Tip*
Before any makeup is applied be sure to apply a moisturizer. My new fav is Embryolisse and remember to let it sink into the skin for about 30 seconds before apply foundation!
Primer: Something you seriously can’t live without!! Apply a dime size amount around the nose, cheeks and forehead. This will diminish the size of your pores and fill in any fine lines. My favourite primers are Laura Mercier Radiance and Stila Illuminating especially when you want to achieve that dewy glow!!
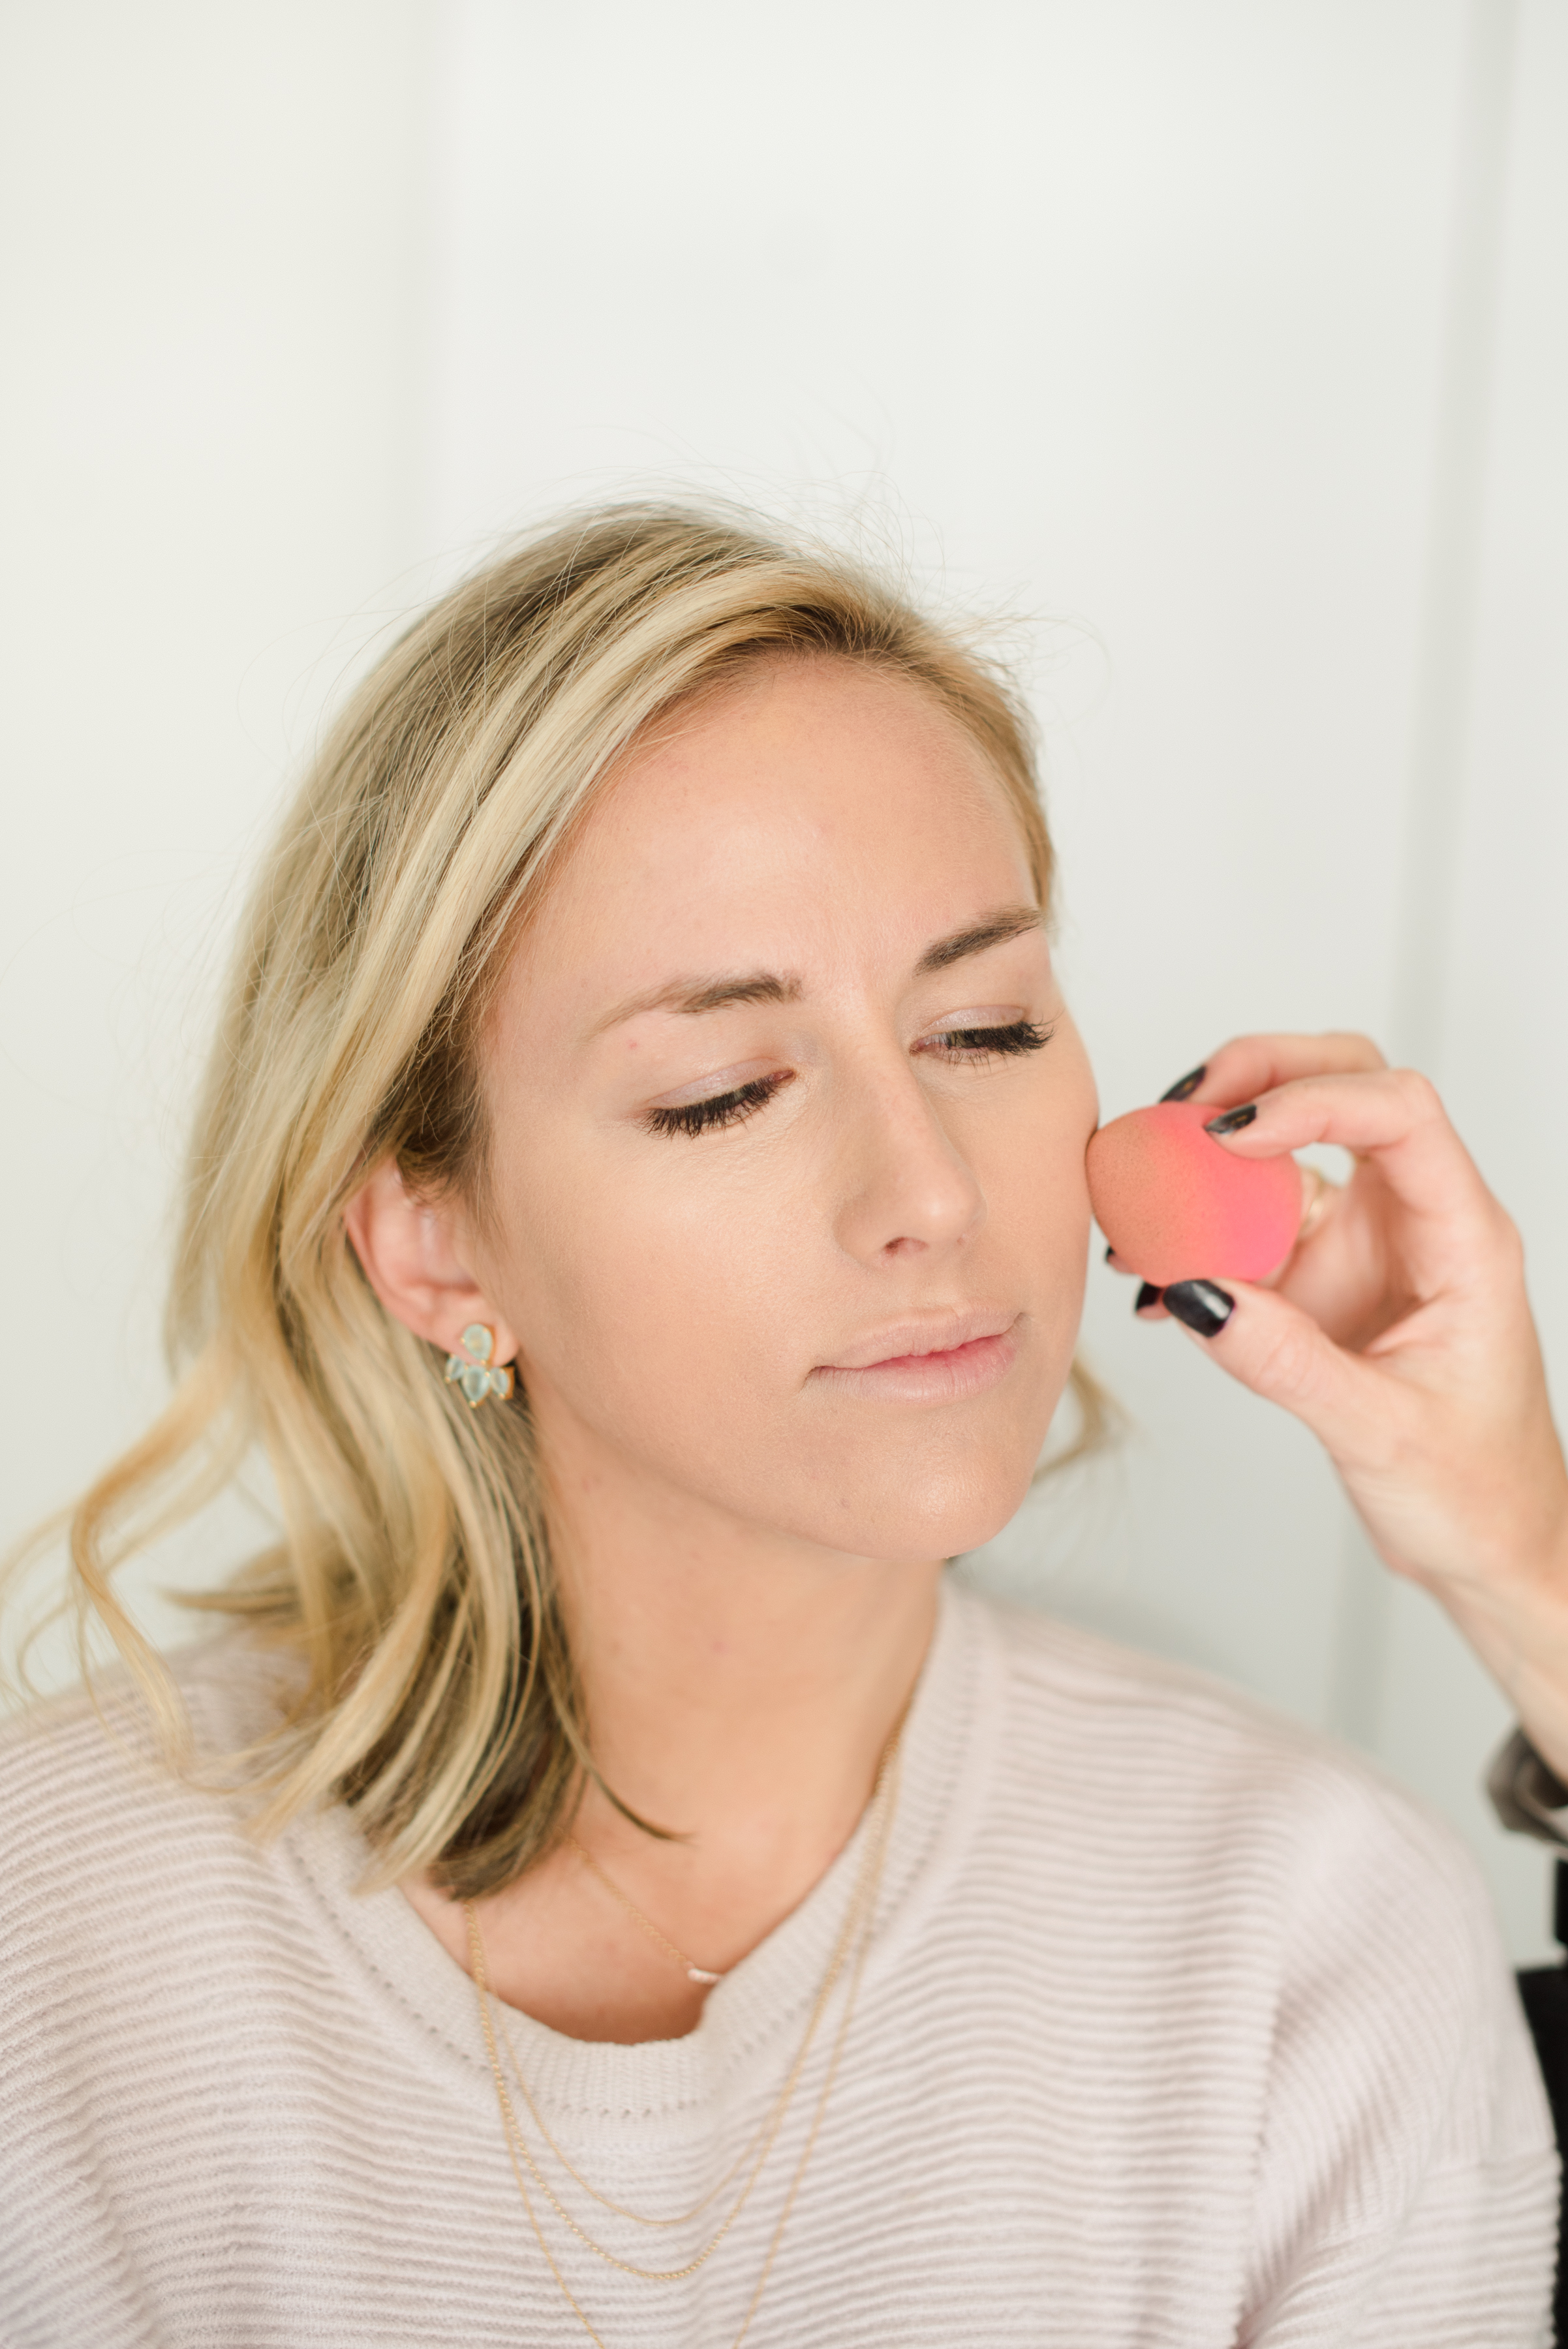
Foundation: Using the Beauty Blender I applied the Stila Illumanating Foundation. Start at the nose/inner cheek area then blend down the check to your jawline. Blending is the key to flawless skin and if you don’t blend well it will look heavy and overdone. Not look you want!!
Concealer: Lightly apply a small amount of concealer under the eye area. This will instantly make you feel more awake! The Rodial which I used on Leah has a create, creamy consistency.
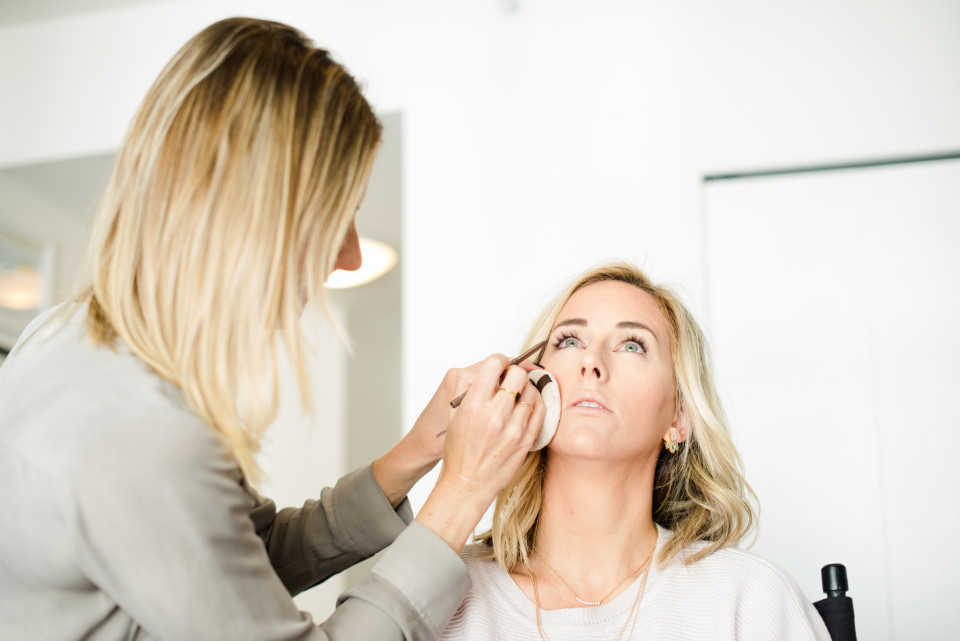
Powder: Dusting a very small amount to set the foundation. My go to favourites right now are Rodial and Stila.
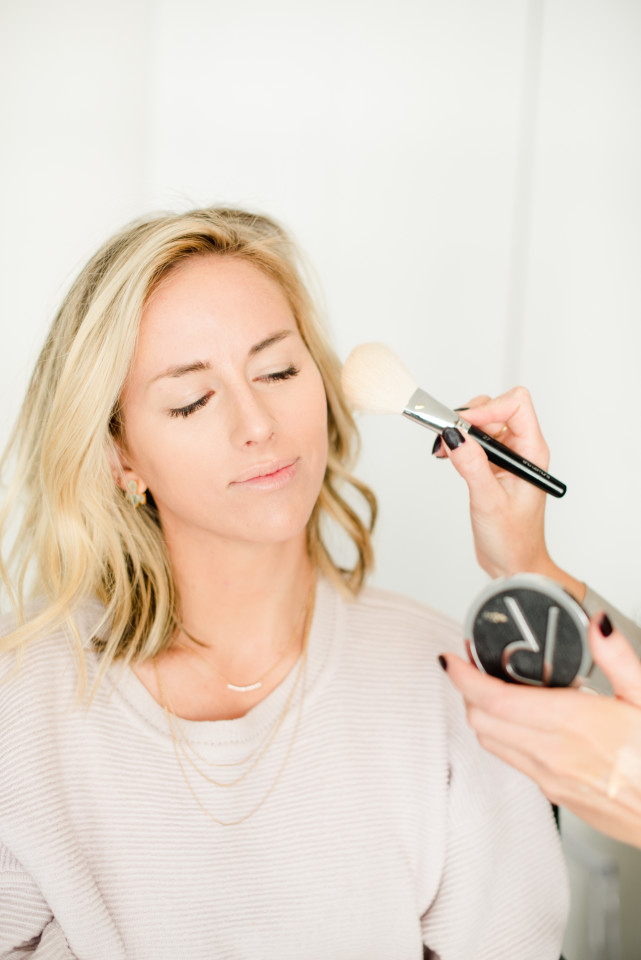
Step 2: Bronzer, Blush & Highlight
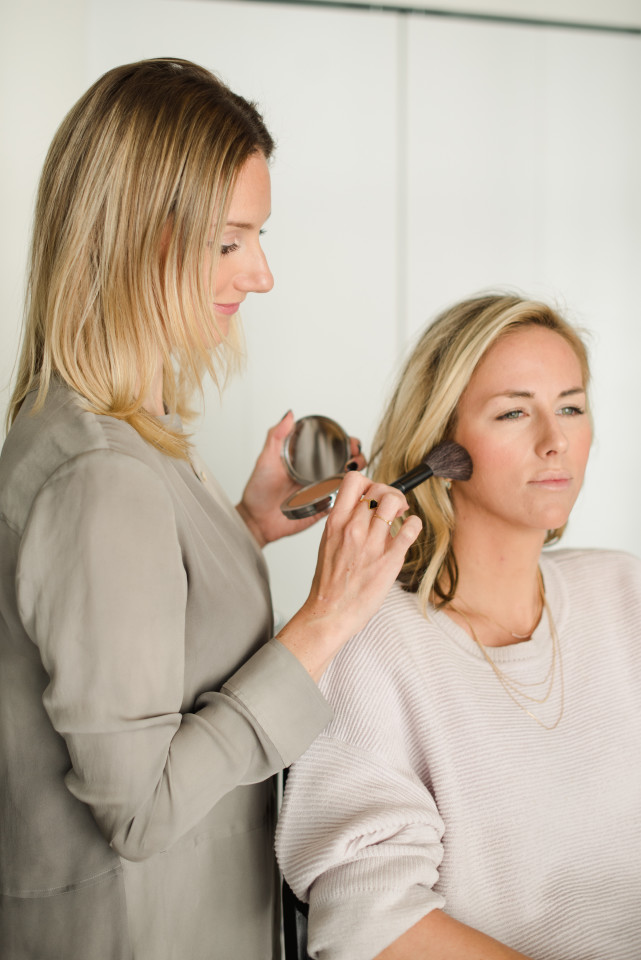
Bronzer can instantly make you feel fresh and awake! I love the way you can look like you’ve been in the sun without damaging your skin. I applied a matte bronzer which I’ve used it to contour her skin as well. This instantly makes her cheek bones pop!
The next step, apply blush on the apples of the cheeks and blend upwards. I used a Stila Cream Blush (peony) first for Leah and then Rodial powder blush (south beach) over top to brighten her skin.
Lastly, I applied a cream highlighter at the high point of your cheek bones. This gives the skin a perfect, dewy finish.
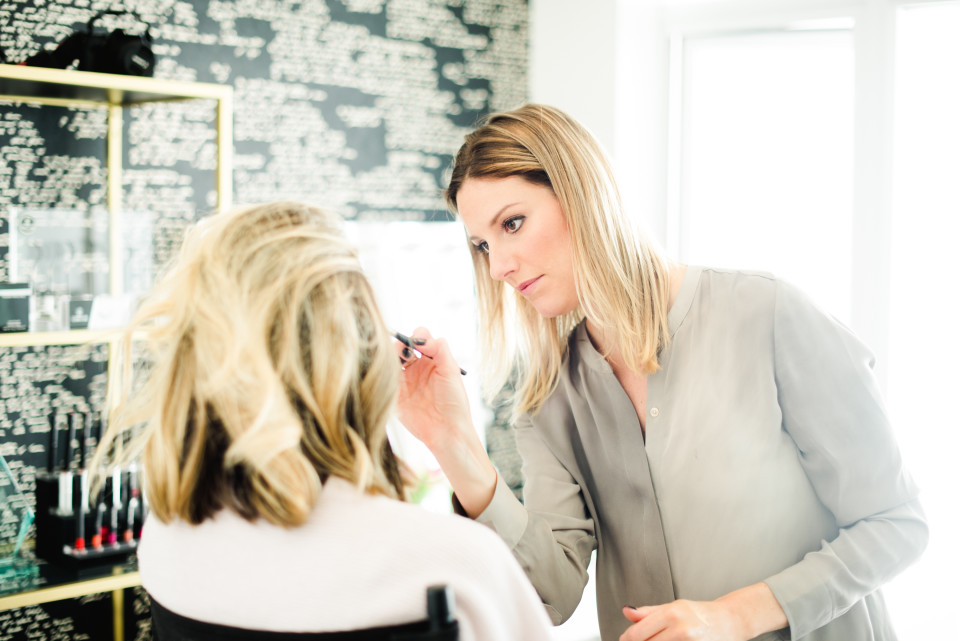
Step 3: Eyes
I’ve recently been introduced to a product line called Paul & Joe and seriously loving it. They have super cute packaging too!
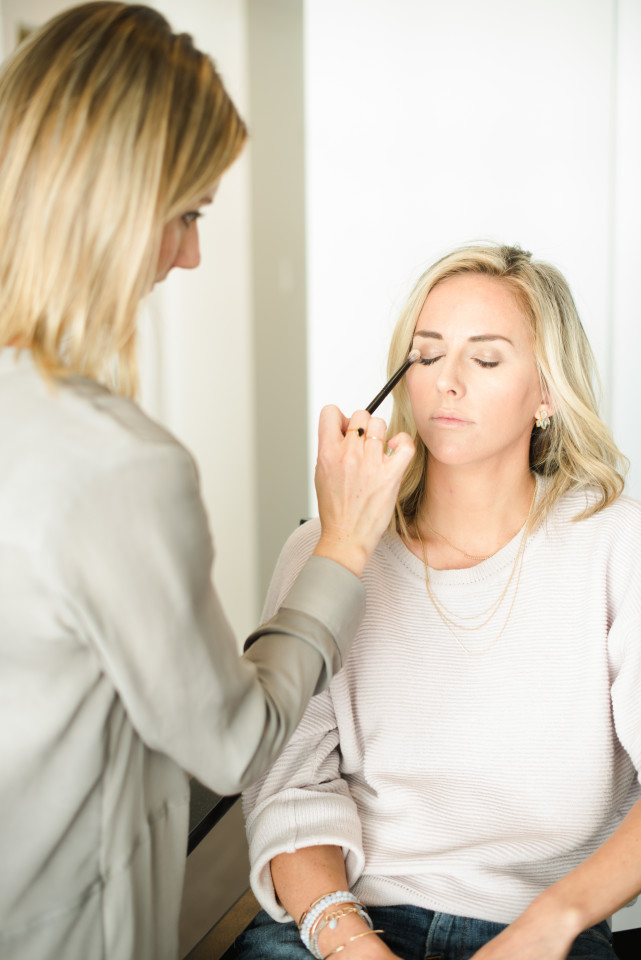
I applied their Eye Primer Base on Leah, from her lash line to the eyebrows. This will prevent the eyeshadow from creasing and holds the pigment of the eyeshadow better as well.
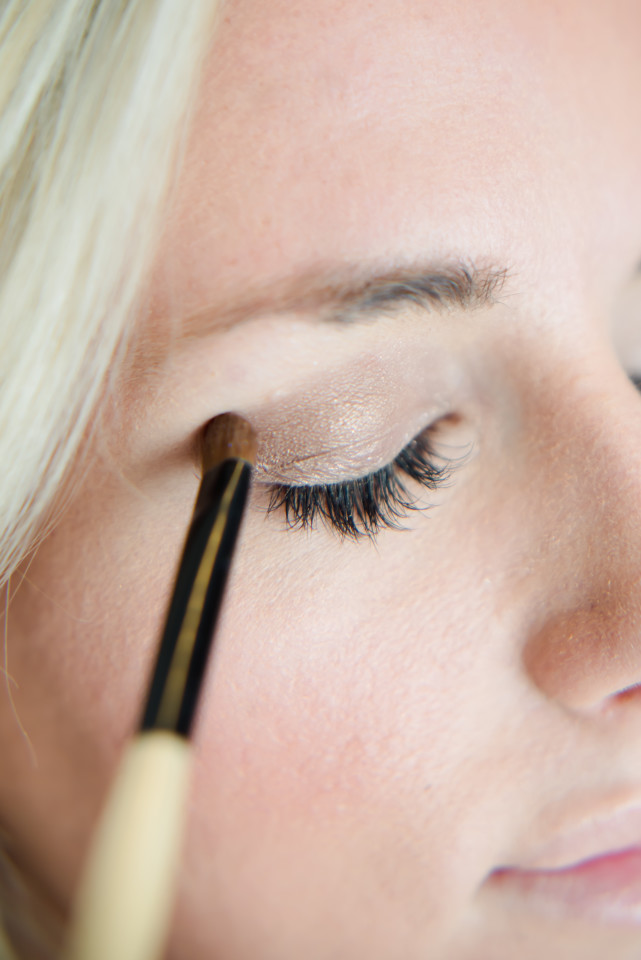
Next, I applied their Eyeshadow Trio 8 to the crease (using the middle bronze shade only). Then apply the white colour to the inner corners of the eye. This will instantly highlight and make the eyes stand out!
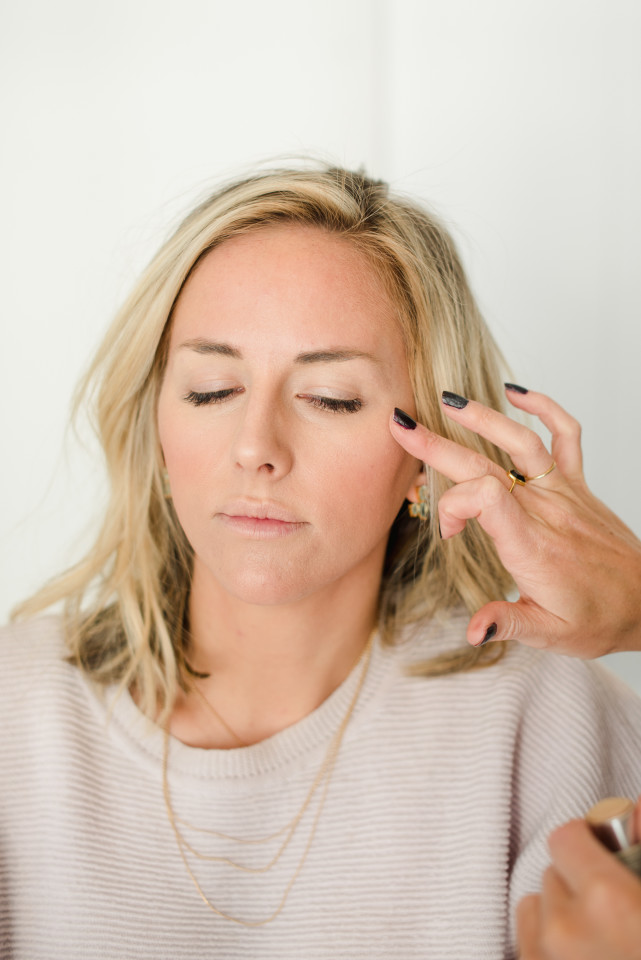
Lastly, I used a Stila eye liner in Damsel (it’s a gorgeous copper brown colour) applying on the top lash line and a lightly to her lower lash line.
Step 4 Lips:
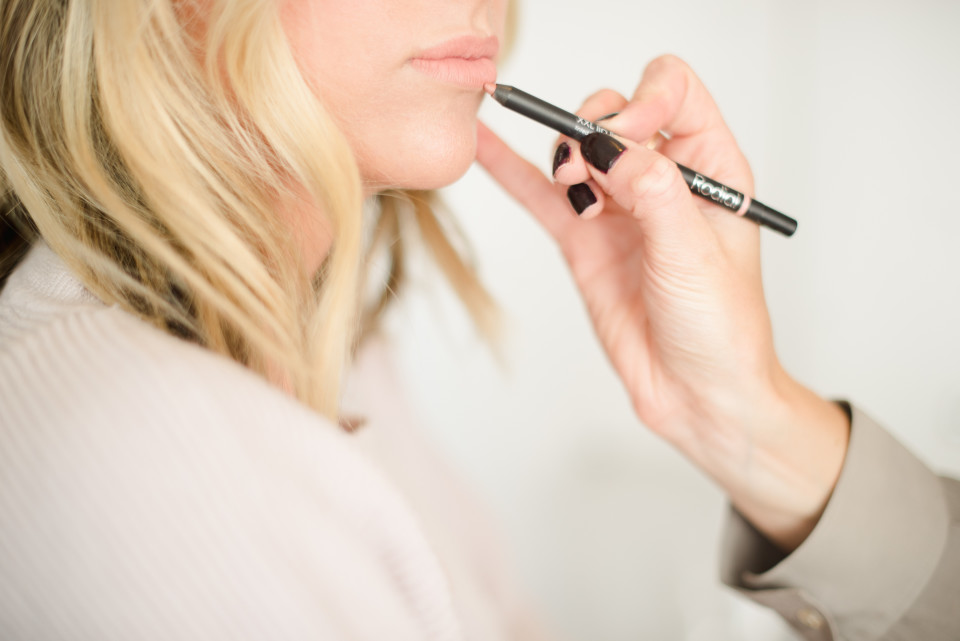
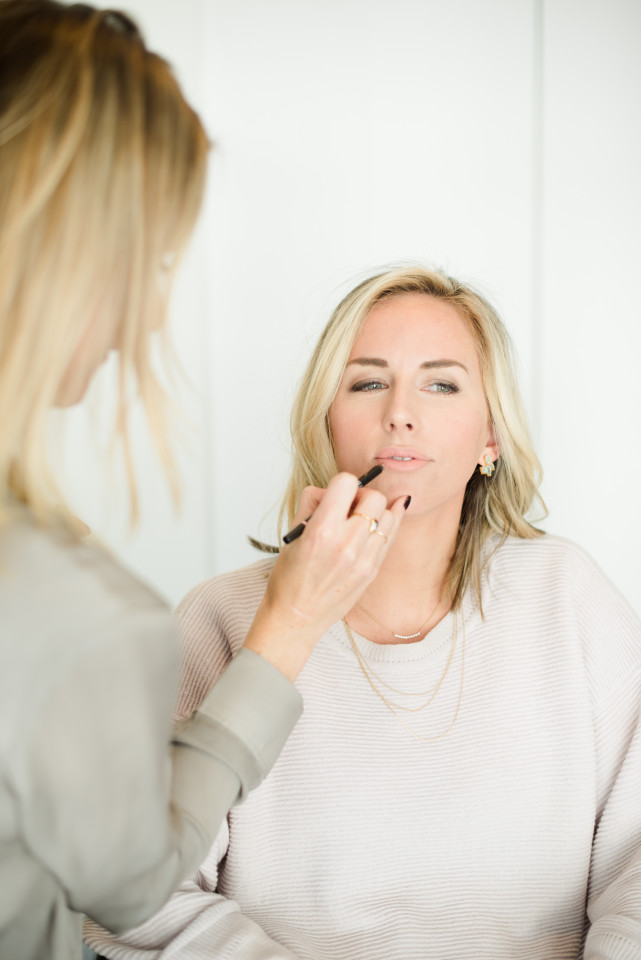
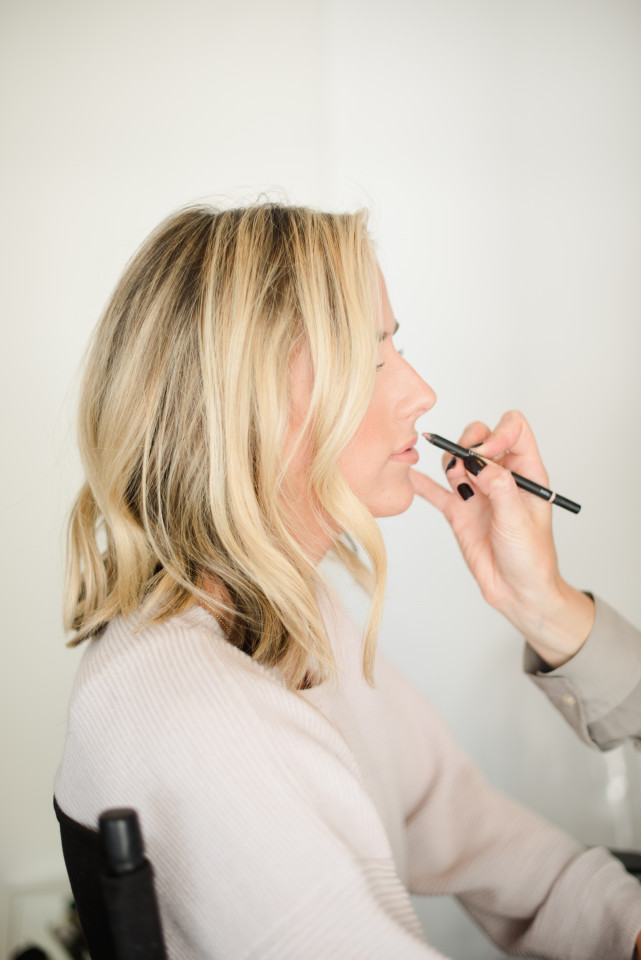
Instead of using a brighter lip, which is my go-to routine when doing Leah’s makeup, I went with a neutral lip. Using a lip brush I applied the Stila Stay All Day Liquid Lipstick in Belissma. Remember to use a lip liner after the lipstick is applied! Blending lightly around the lip to fill in any areas where needed.
Keep an eye out for next week post! I will be turning this look into an evening glam in 3 simple steps.
Photography by Christie Graham Photography