Ever considered doing your own bridal makeup? Whether your having a local or destination wedding, you may feel more comfortable doing your own makeup.
With the right products, tools and a few tricks of the trade you will be set for success! Follow along our bridal makeup lesson for a fool proof bridal look!

We were lucky enough to host Cam Lee (bride-to-be) in our new store for her bridal makeup lesson! She brought in her current makeup products which we were able to use along with a few extra staples to achieve that camera ready look.
Step 1. Complexion
Prep your skin with a light-weight moisturizer. This is essential for a flawless makeup application. Next step, primer. This is one of the most important steps to do, especially on your wedding day! I would recommend using an oil-free primer. This helps minimize pores, smooth any fine lines and maximizes the staying power of the makeup. Pick a foundation that is long wearing and oil free foundation that will give you a beautiful glow and last all day on the skin.
Recommended Products:
Stila One-Step-Correct Primer, Stila Stay All Day Foundation or Armani Luminous Silk Foundation
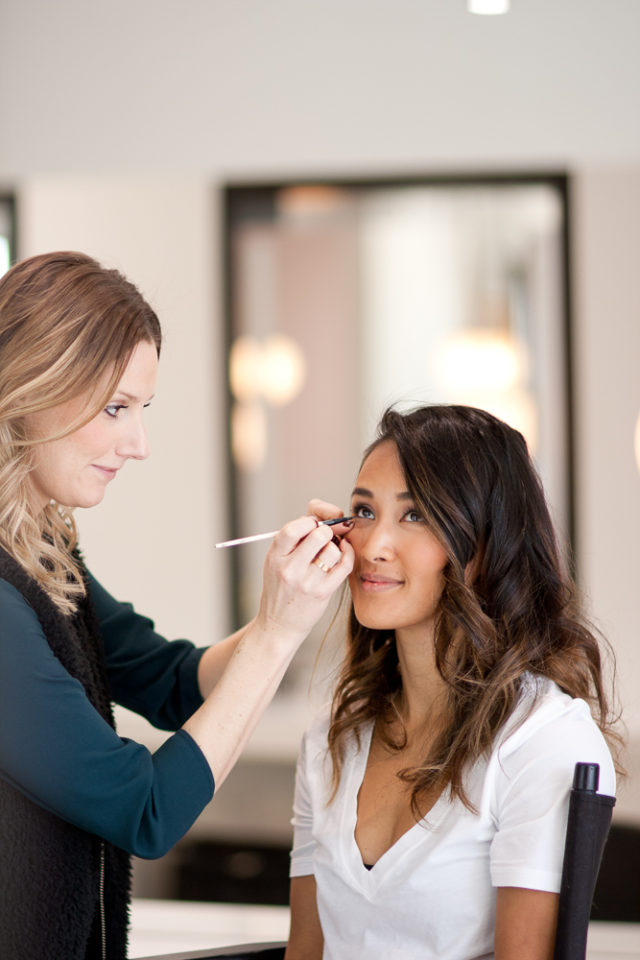
Step 2. Eyes
Make sure to use an eye primer! This will give your powder eye shadows something to adhere too so they stay put all day. Once the eye area is prepped, you can add your powder shadows. To add depth to the eyelid, take a medium tone eye shadow and start blending on the outer corner of the eye into the middle. Blending is key! Next step is eyeliner. Eyeliner should always be darker then the iris of your eye, this is key to make your eyes pop! By lining your upper lash line, this will give shape to your eye and make your lashes appear thicker, and fuller. And of course you’ll want to apply waterproof mascara for the big day.
Recommended Products:
Paul and Joe eye primer, Stila In the light Palette,

Step 3. Blush / Bronzer
Bronzer is best used on the high points of the face. Making a number “3” shape on each side of the face. Blending from the hairline, underneath the cheek bones and then down the jawline. Think of where the sun would naturally hit the skin.
Blush should be picked to match the colour that would come up if you naturally flush. Using light strokes, blend from the apples of the cheeks back to the hairline and down to the jaw.
Recommended Products:
Stila Bronzer & Stila convertible cream blush
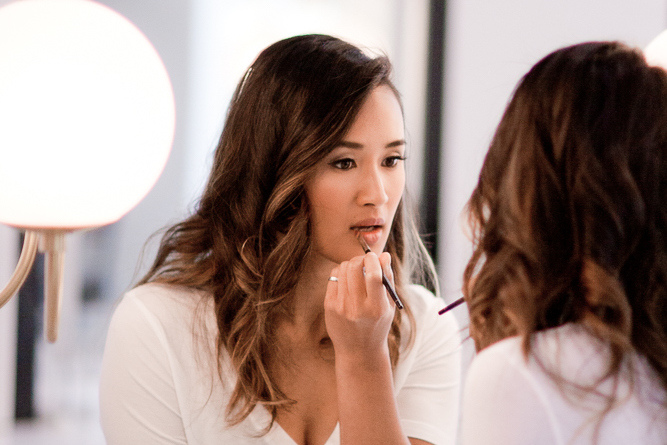
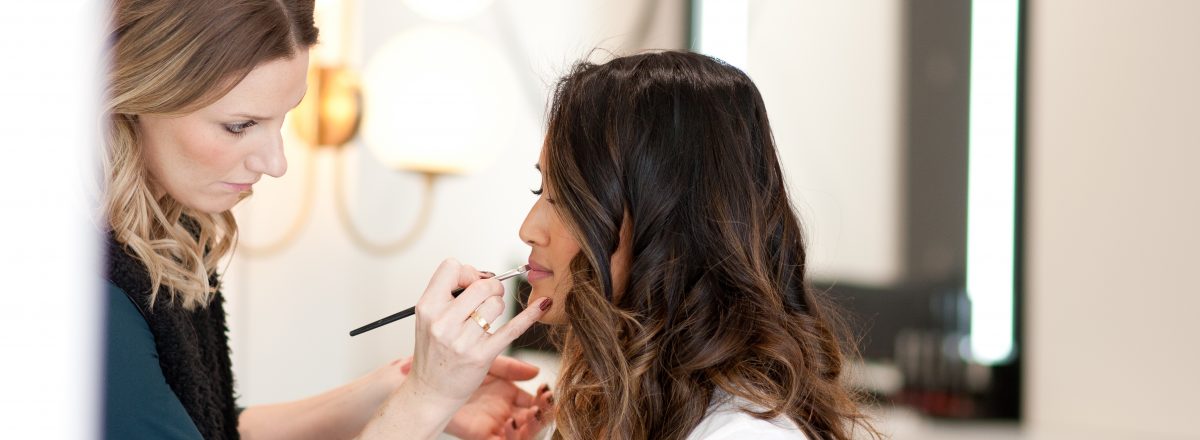
Step 4. Lips
I would recommend choosing a lip colour that is more on the natural side and a long-wear formula. You will always look back at these photos and it’s important to create a look that is timeless.
Recommended Products:
Stay all Day Stila Lipsticks

You don’t have to be getting married to need a makeup lesson, we love to host individuals or groups for a one on one tailored look! If you simply feel in a rut with your makeup routine or just want to learn a few more quick tricks then please don’t hesitate to let us teach you!
We made sure Cam left her lesson feeling pretty and confident, knowing that she could create this look again for her wedding day stress free! Be sure to check out the feature from Cam Lee’s makeup lesson experience on Real Weddings!
Don’t forget, confidence is beauty!
Love,
Denise Elliott