Welcome to the launch of my beauty series! I’ve created numerous makeup tutorials (so exciting!!) and will be posting beauty tips on a weekly basis. From the popular demand of teaching makeup lessons through my business I decided it would be a good fit to start blogging tips and application tricks that I tell my clients..SO here I go!
Makeup steps can feel complicated and overwhelming, my goal is to make it as simple as possible for you breaking it down step by step.
Makeup tutorial #1’s focus is shaping & filling in your eyebrows. It’s a step that’s easy to forget, but let me tell you..it frames the face! You will notice with brows filled and shaped properly give you a more defined look.
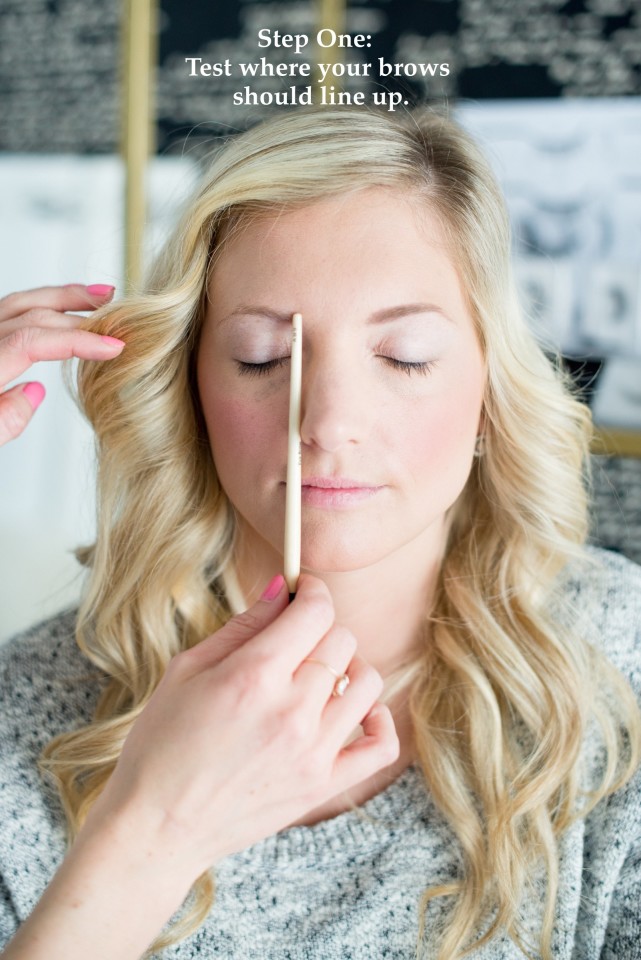
Step 1:
Take a makeup brush place it vertical right in line with the side of your nose and that should be where your eyebrows start.
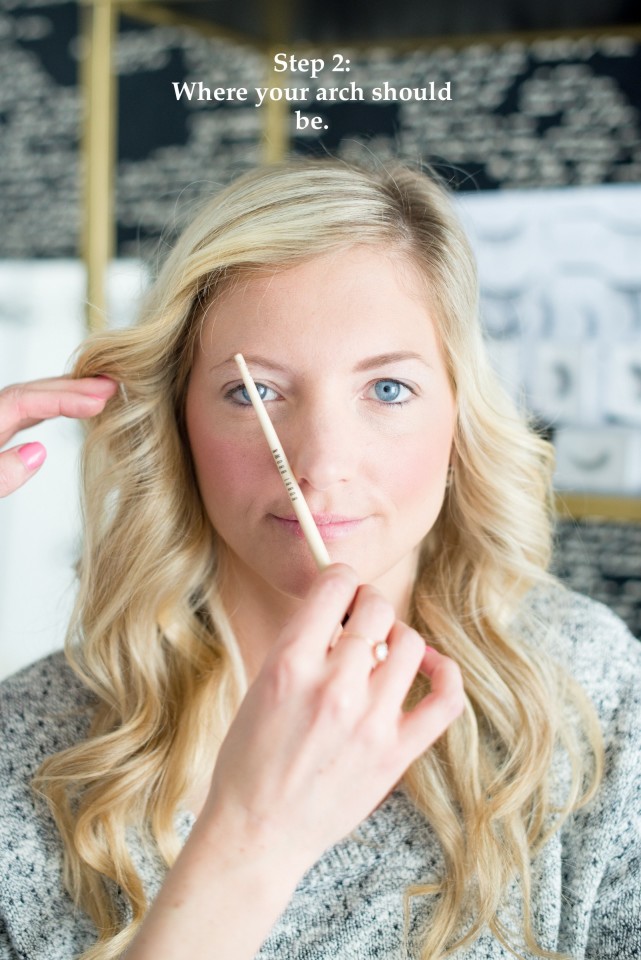
Step 2:
Place the brush against your nose, tilt it inline with the middle of your pupil, this is where your arch should be.
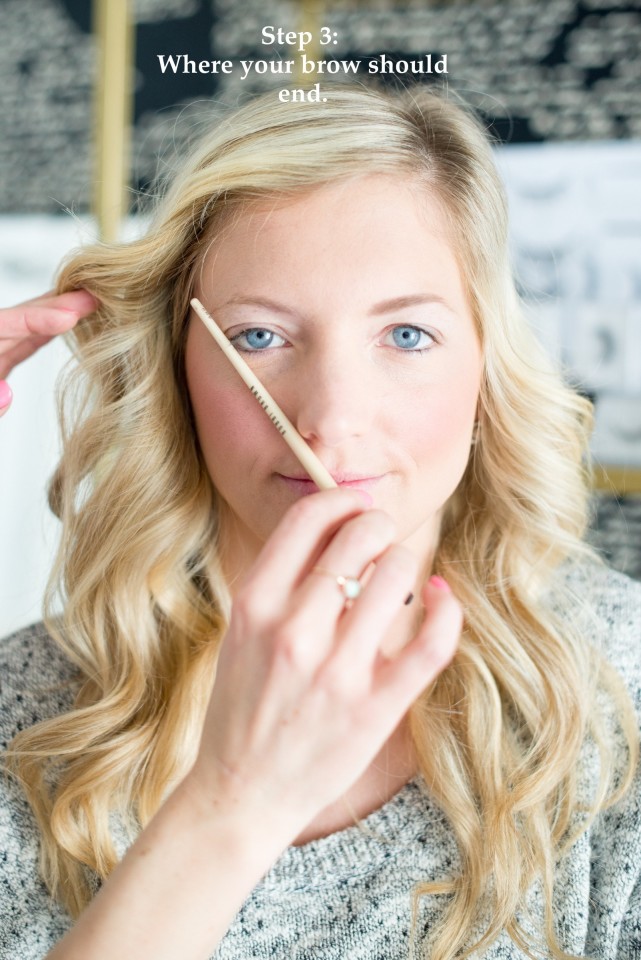
Step 3:
By placing the brush at a 45 degree angle (at the outer corner of your eye) this will guide you to where your brows should stop.
Step 4: Filling in your brows
1. Use an eye shadow with angled brush or eyebrow pencil to fill in the spotty areas (specifically start where your arch is). Apply the product by gentle strokes into the brows without looking drawn on.
My product picks:
Eye Shadow: Laura Mercier Brow Powder Duo
Angled brush: Mac Brow Brush
Eyebrow pencil: Chanel pencil or NYX Pencil
2. Groom a brow mascara to brush them and have the colour hold all day!
My product picks:
Eyebrow mascara: Nars brow mascara
Eyebrow Mascara: Benefit Speed Brow


Thanks to photographer: Christie Graham & gorgeous model/bride to be Sydney Roberts (The Working Girl) for being a part of this beauty series!
1 thought on “Filling in your eyebrows – makeup tutorial #1”