We all want a naturally flawless looking skin that appears to glow from within. Here we have created a natural dewy look that is easy to achieve. Keep reading to learn how!

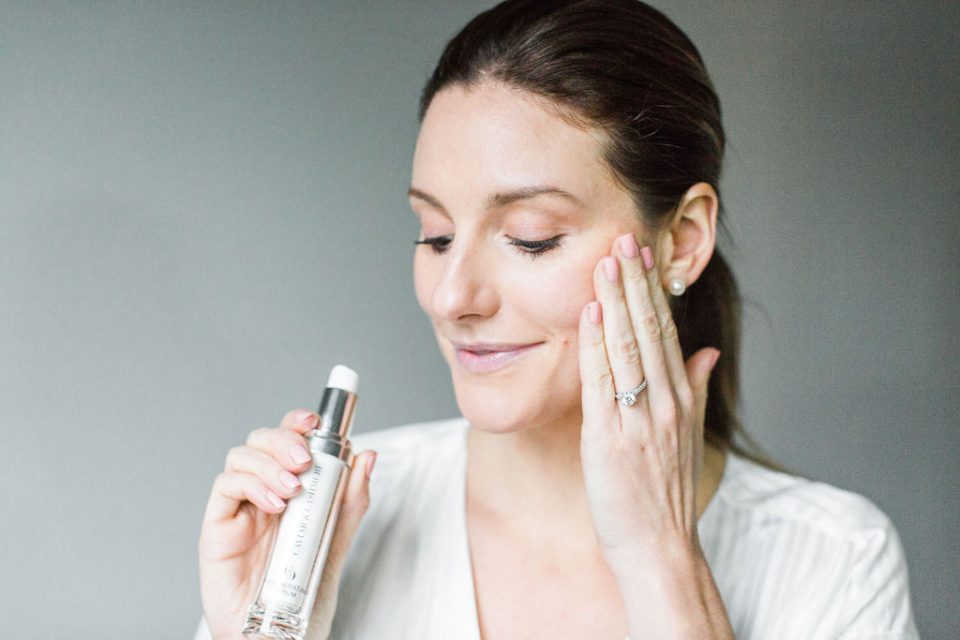
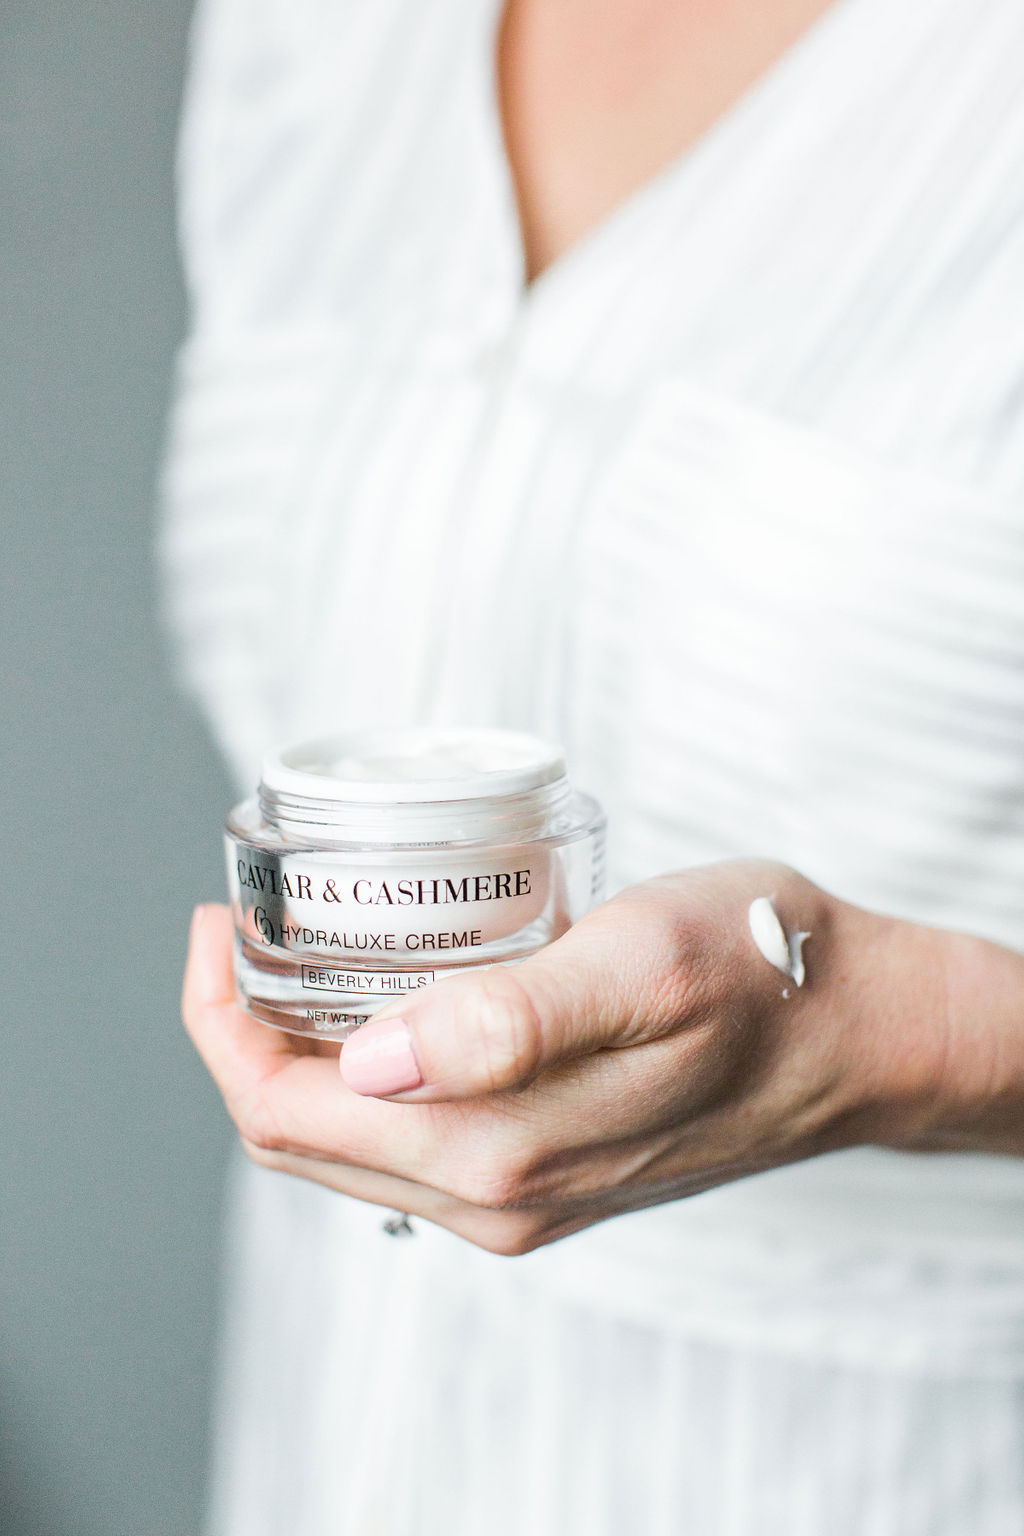
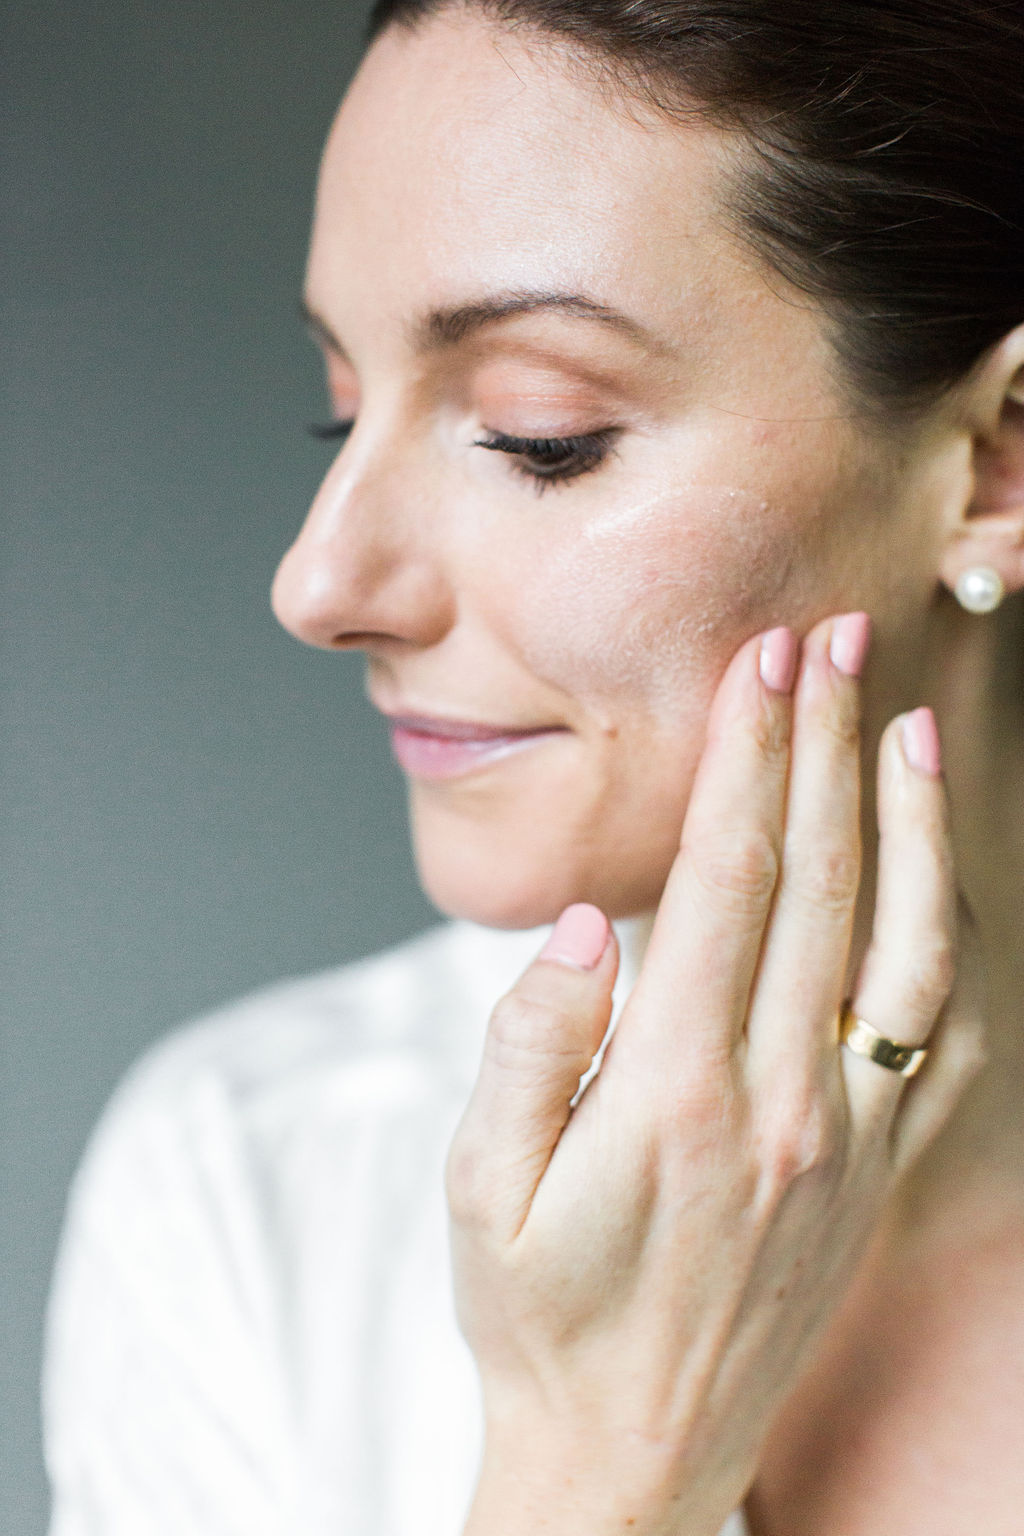
Step One: Prep the skin
Prep the skin with Caviar and Cashmere Regenerating Serum followed by the Hydra Luxe Cream for beautifully hydrated skin. This creates a nice base for the makeup to go onto and will add to the overall glow.
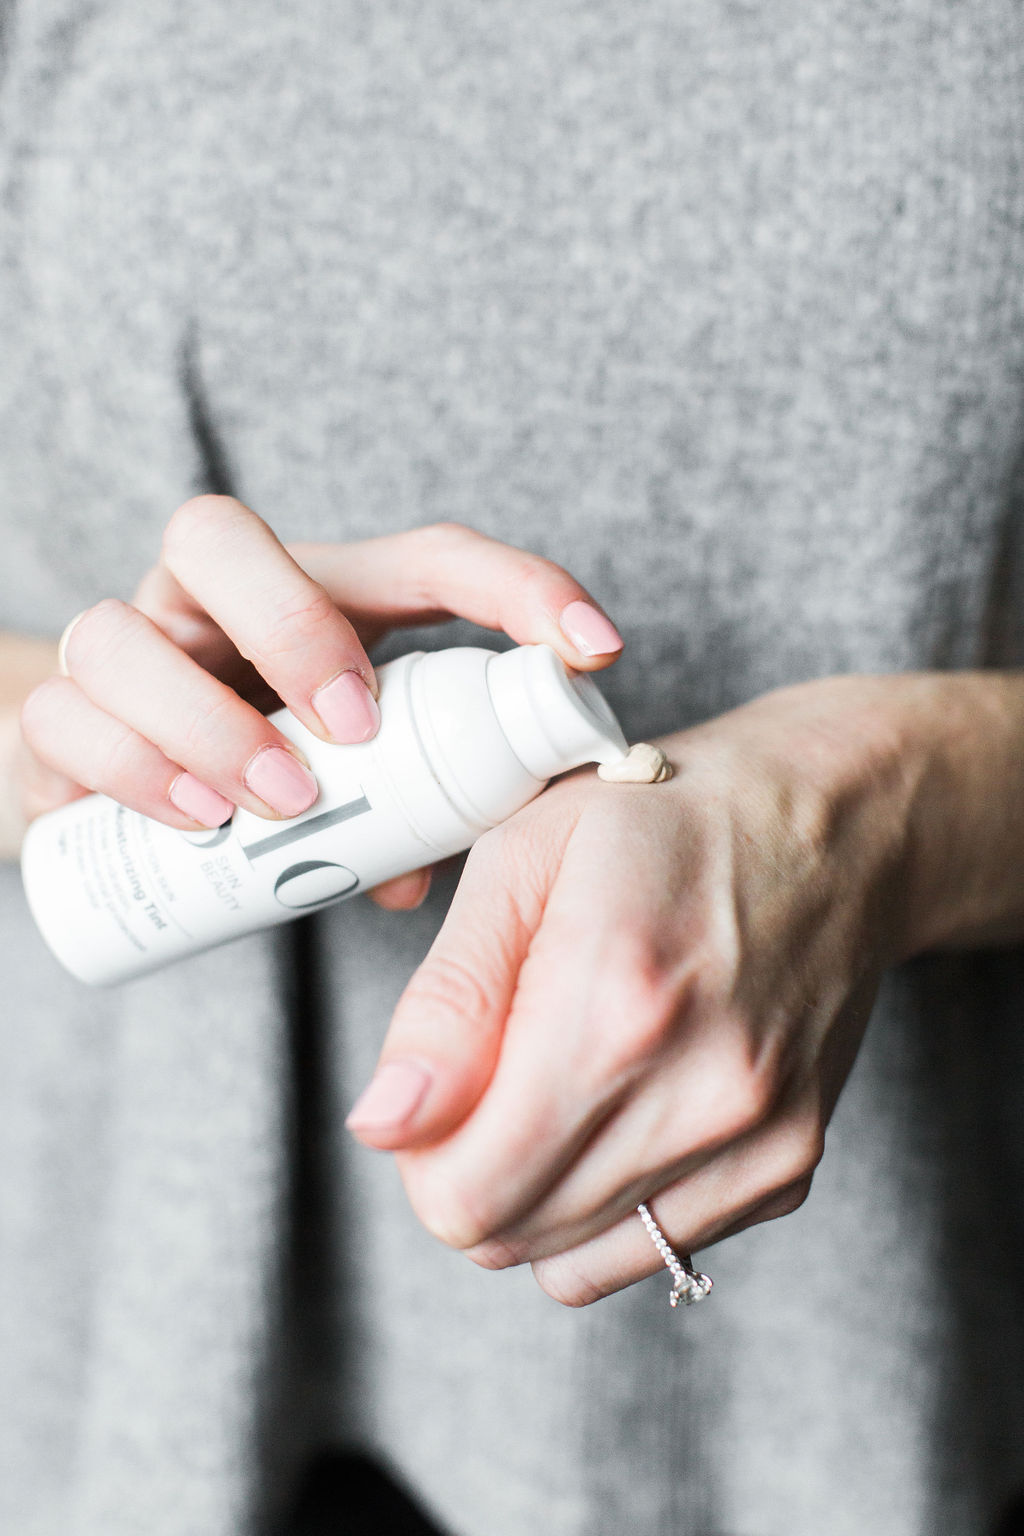
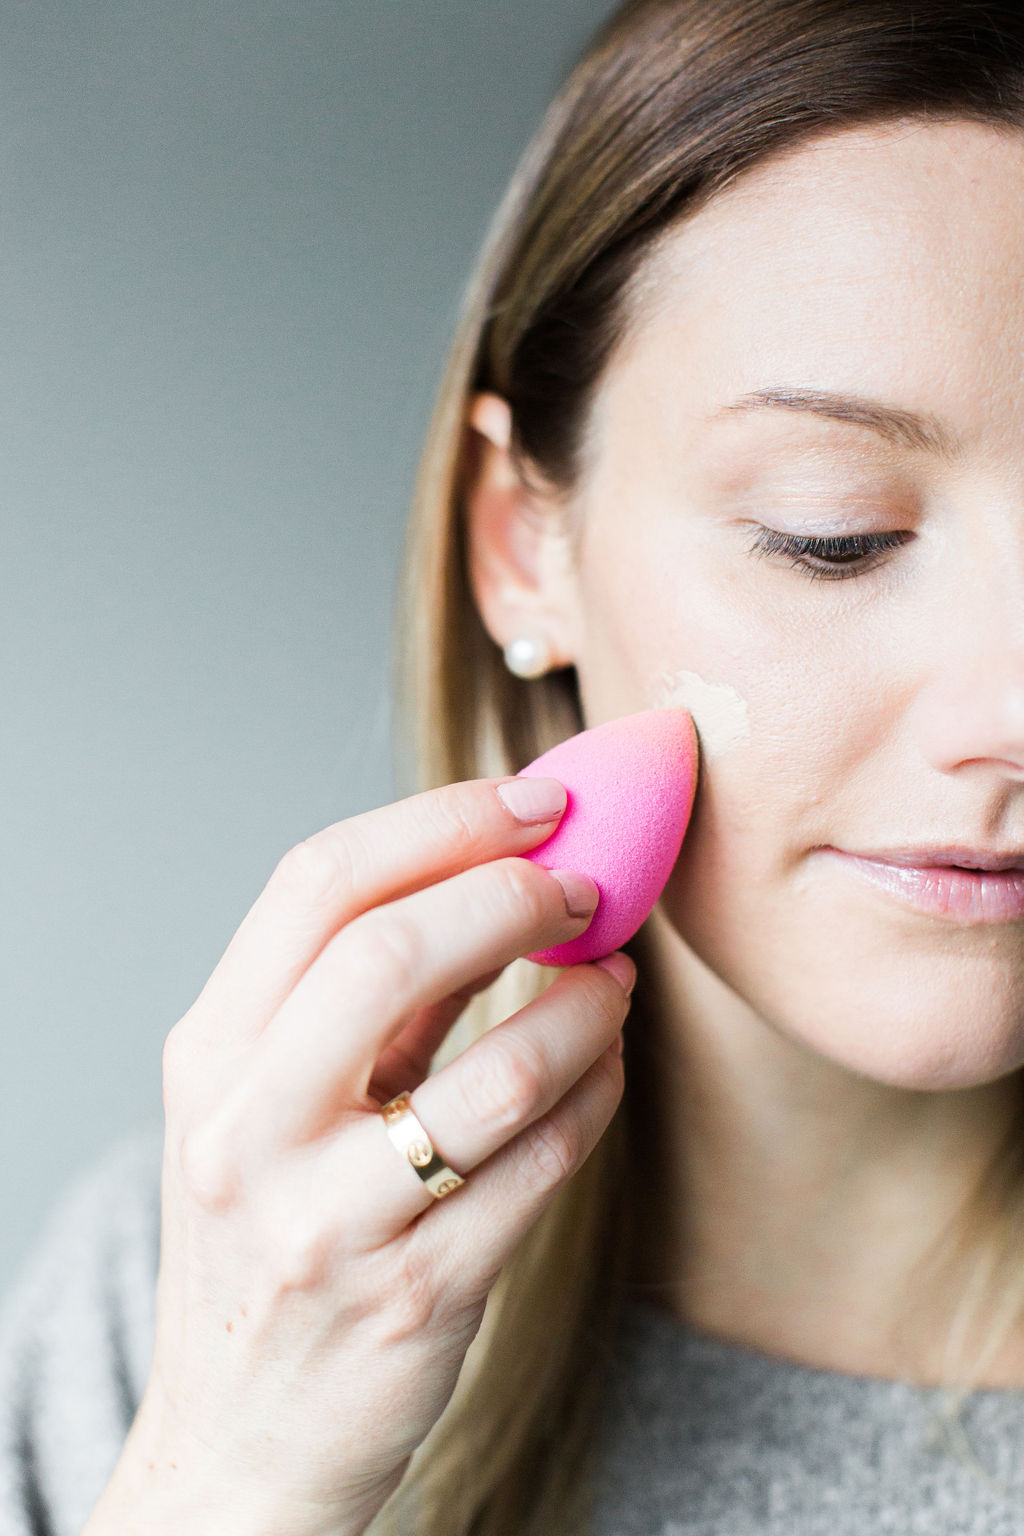
Step Two: Complexion
Apply Glo Skin Beauty Moisturizing Tint all over the face for sheer dewy coverage, using your fingers, a Beauty Blender sponge, or a synthetic brush to apply.
Next, wake up those eyes by applying a few swipes of Paul and Joe Concealer Pen to the inner corner and under eye area, tapping the product into the skin with your ring finger. Use in any other areas that require a little extra coverage. Of course, you can modify this to suit your skin by using your favourite fuller coverage concealer on any trouble areas.
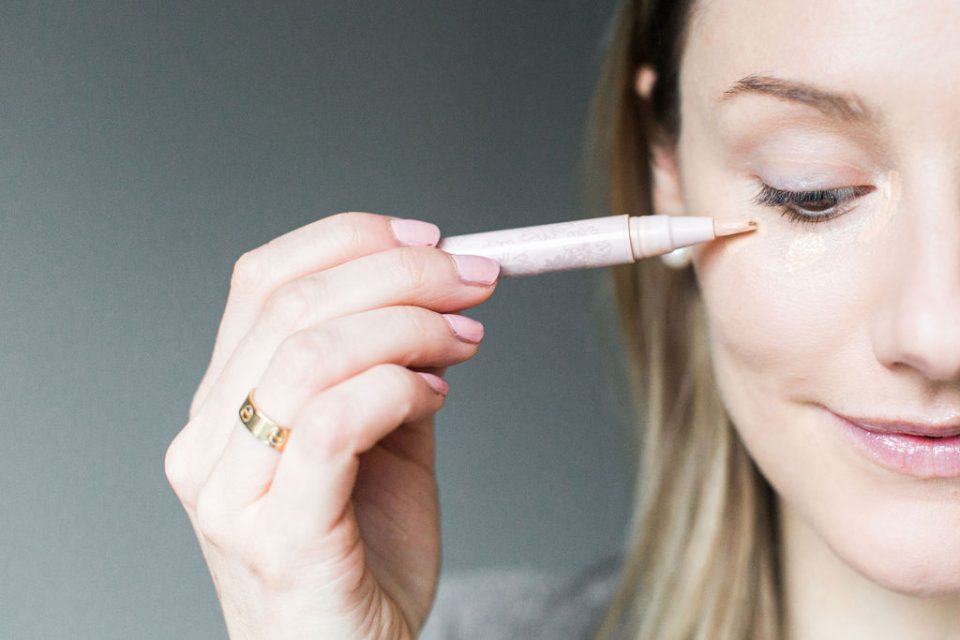
Denise’s Tips: To keep the skin looking natural, only apply the concealer where needed using a small brush to apply and blending your edges well.
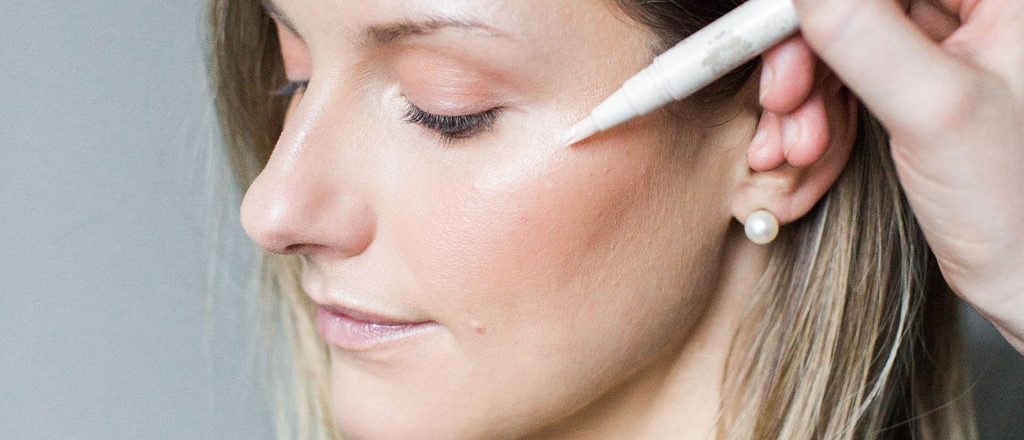
Step 3: Highlight & Glow
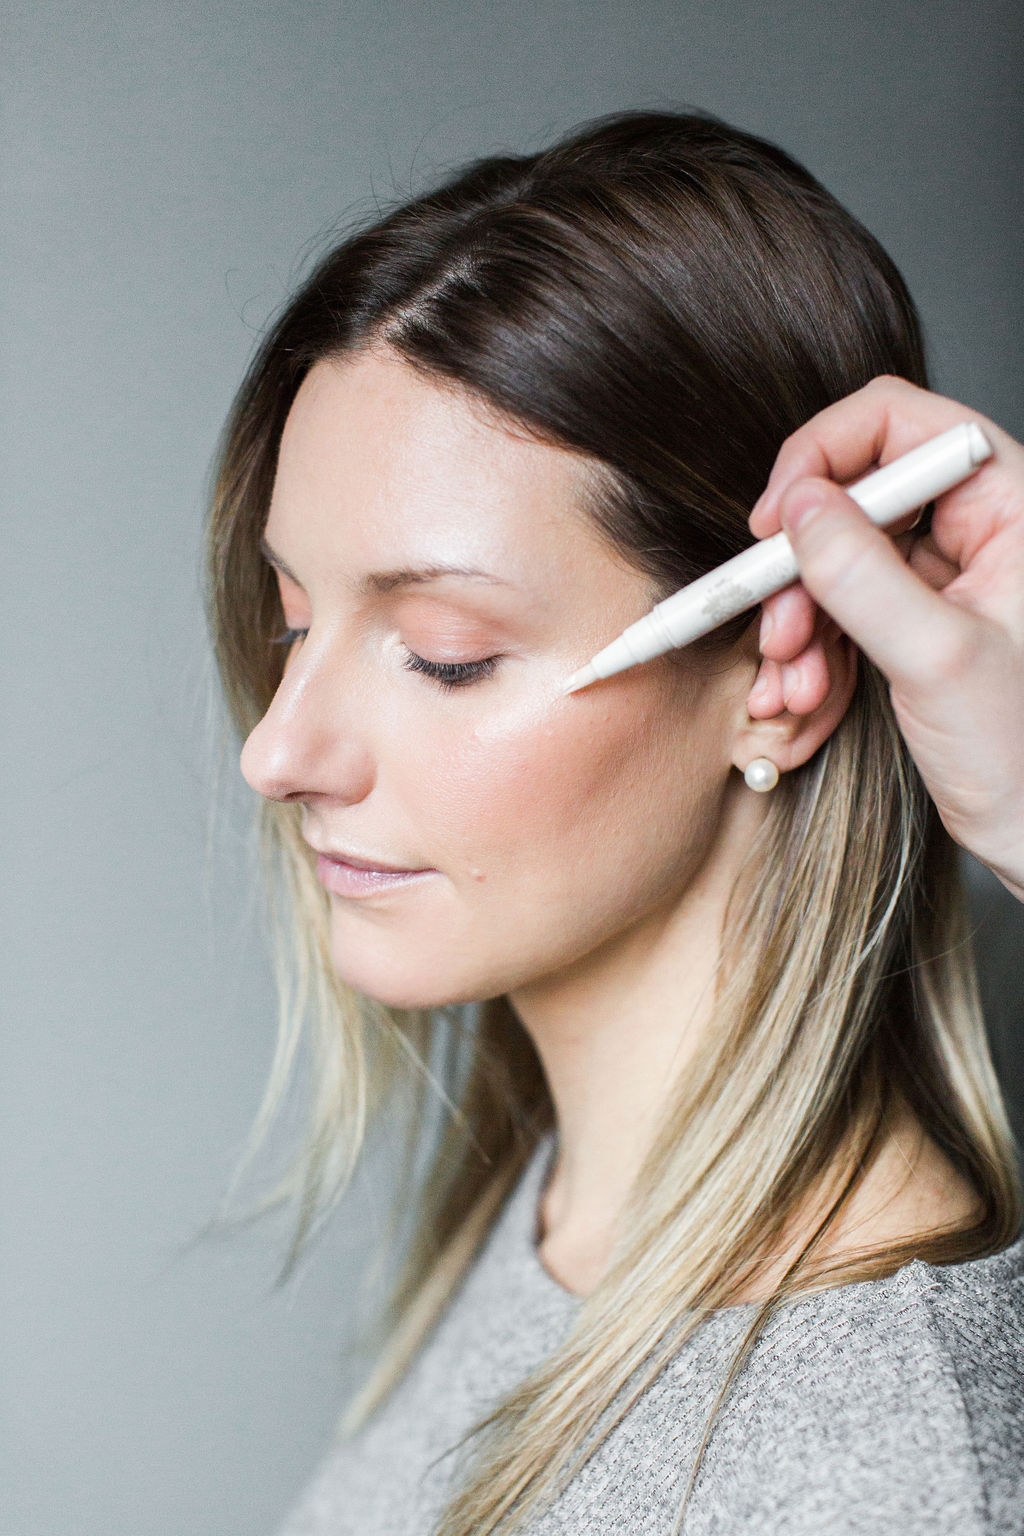
The main secret to achieving this look is to use a highlighter, and we chose the Paul and Joe Illuminating Touch Pen. Apply this to all the high points of your face; cheekbones, brow bone, bridge of the nose, and cupids bow. We love this particular highlighter because it is a sheer liquid with a more believable skin finish, so you get the shine without feeling like a glittery disco ball!
Denise’s Tips: Highlight the inner corner of the eye to look more bright eyed and awake.
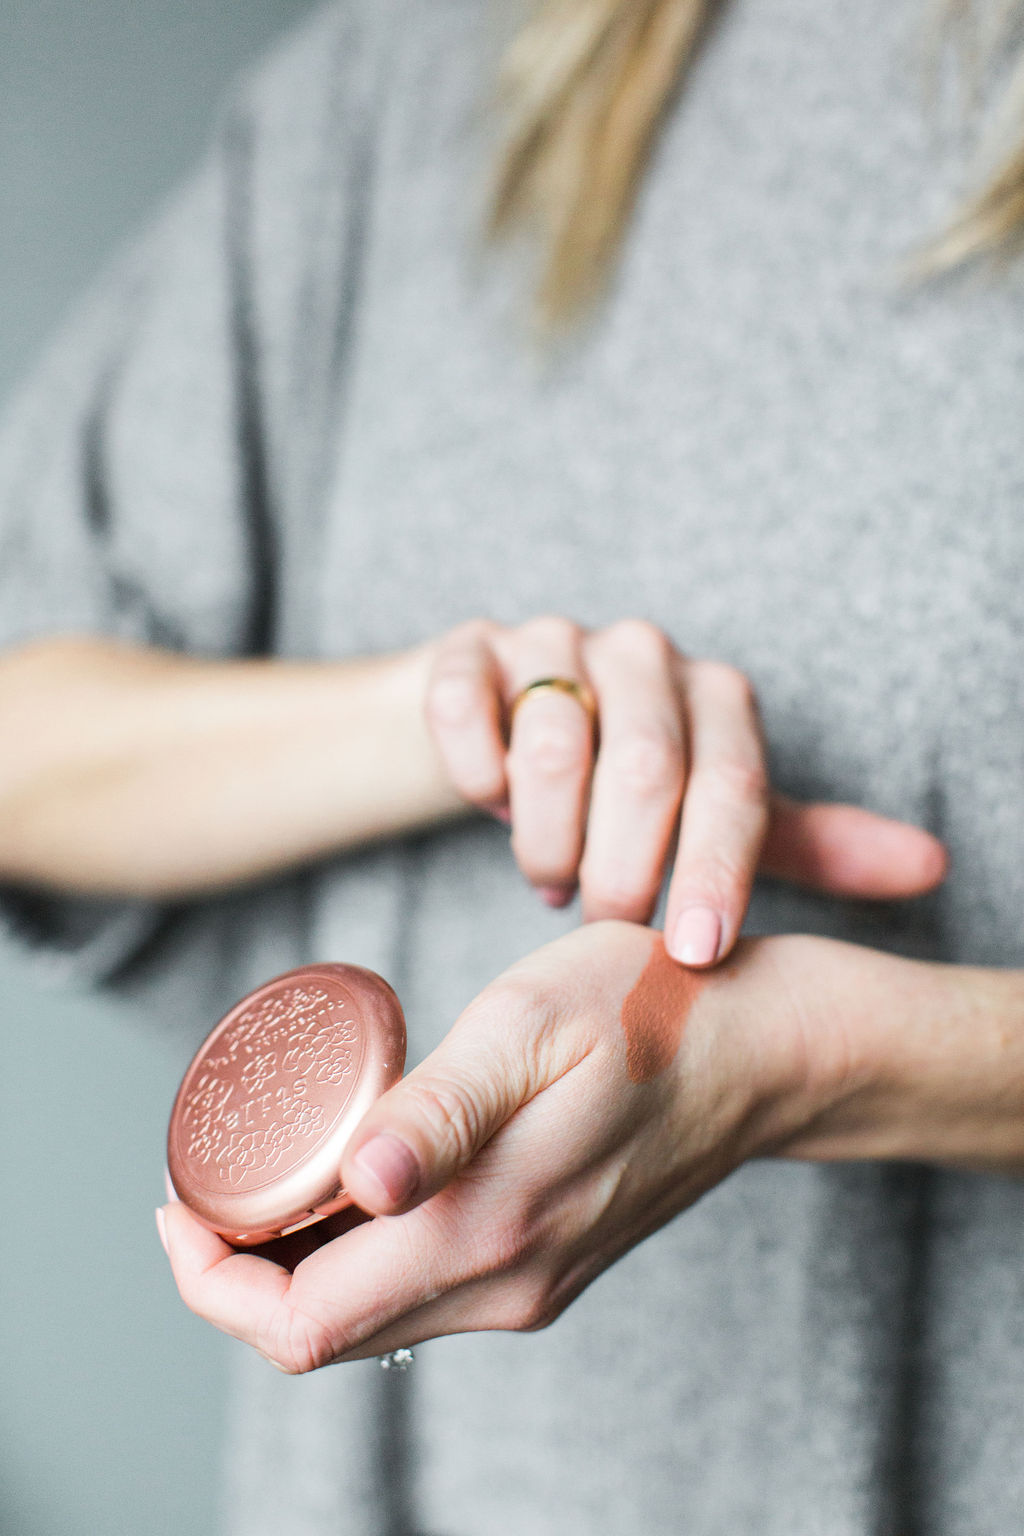
Use fingers to apply cream blush to apples of the cheeks. We used Stilas Convertible Colour in Camellia. Since Camellia is more of a bronze shade it can be used on the lids and high points to add a touch of sunkiss to the complexion.
Denise’s Tips: A little goes a long way! If you accidentally use too much, use the brush that you applied the tint with to soften edges.
Step 4: Eyes
As we mentioned in Step 3, we used Stila Convertible Colour in Camellia all over the lid up to the crease. Apply with fingers and then with a fluffy duo fiber synthetic brush, buff the product into the lids and blend the edges.
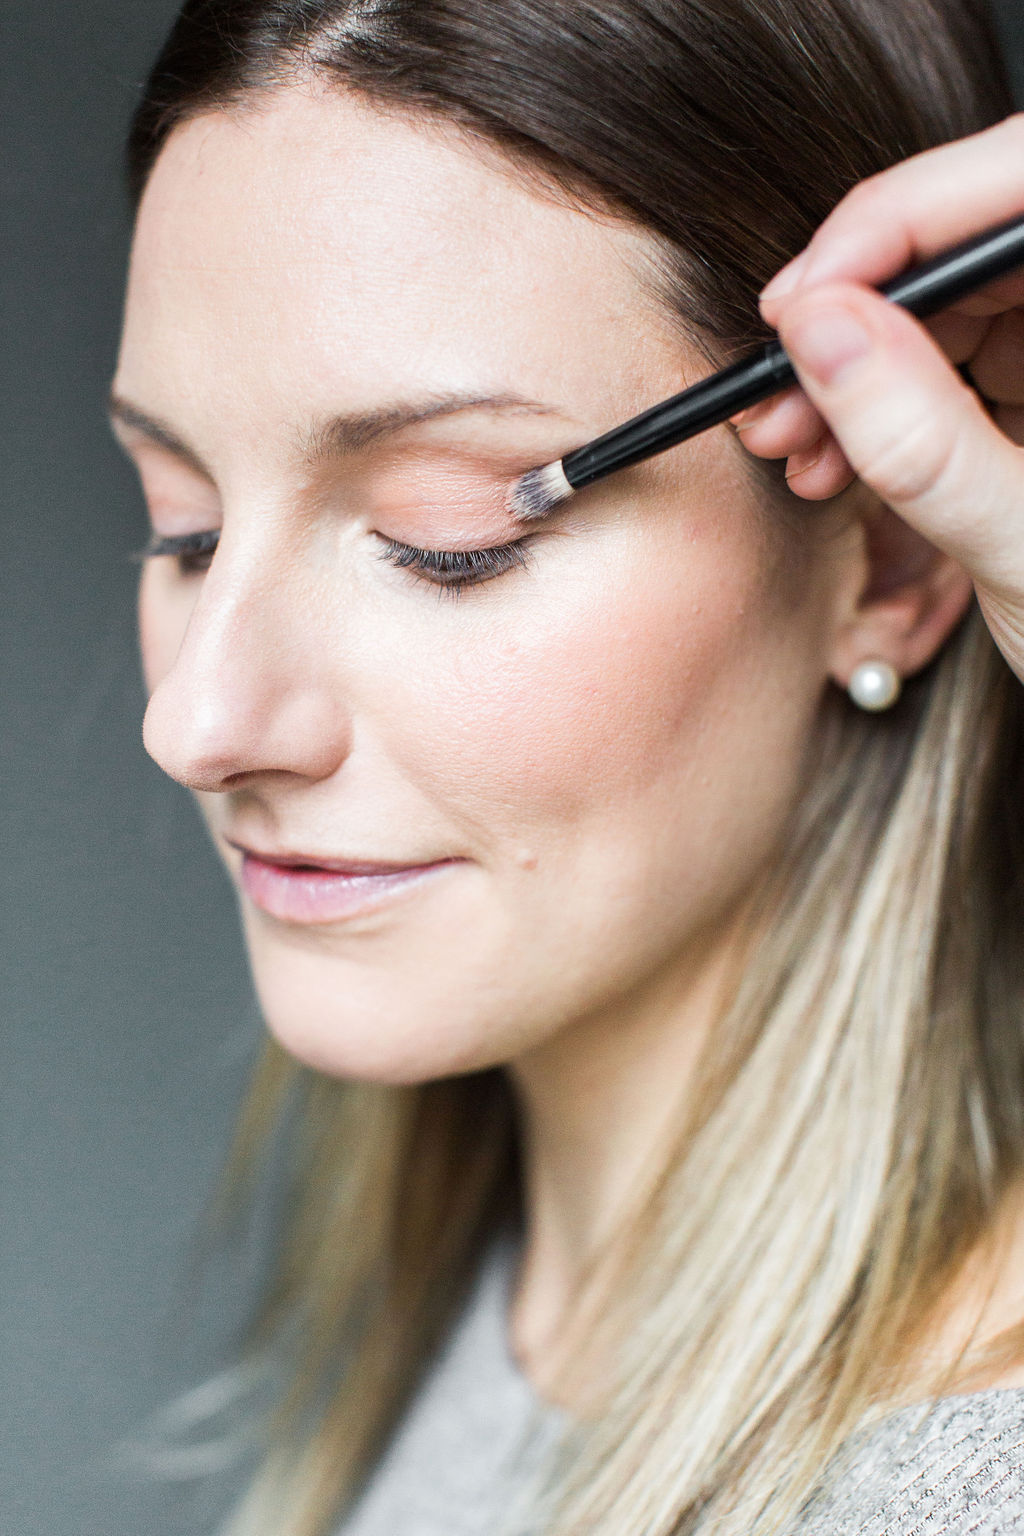
Add few coats of mascara from root to tip, making sure to wiggle the brush into the lashes for maximum volume and separation. Make sure to use a smudge proof formula like Paul and Joe’s Smudgeproof Mascara when used a cream product on the lids.
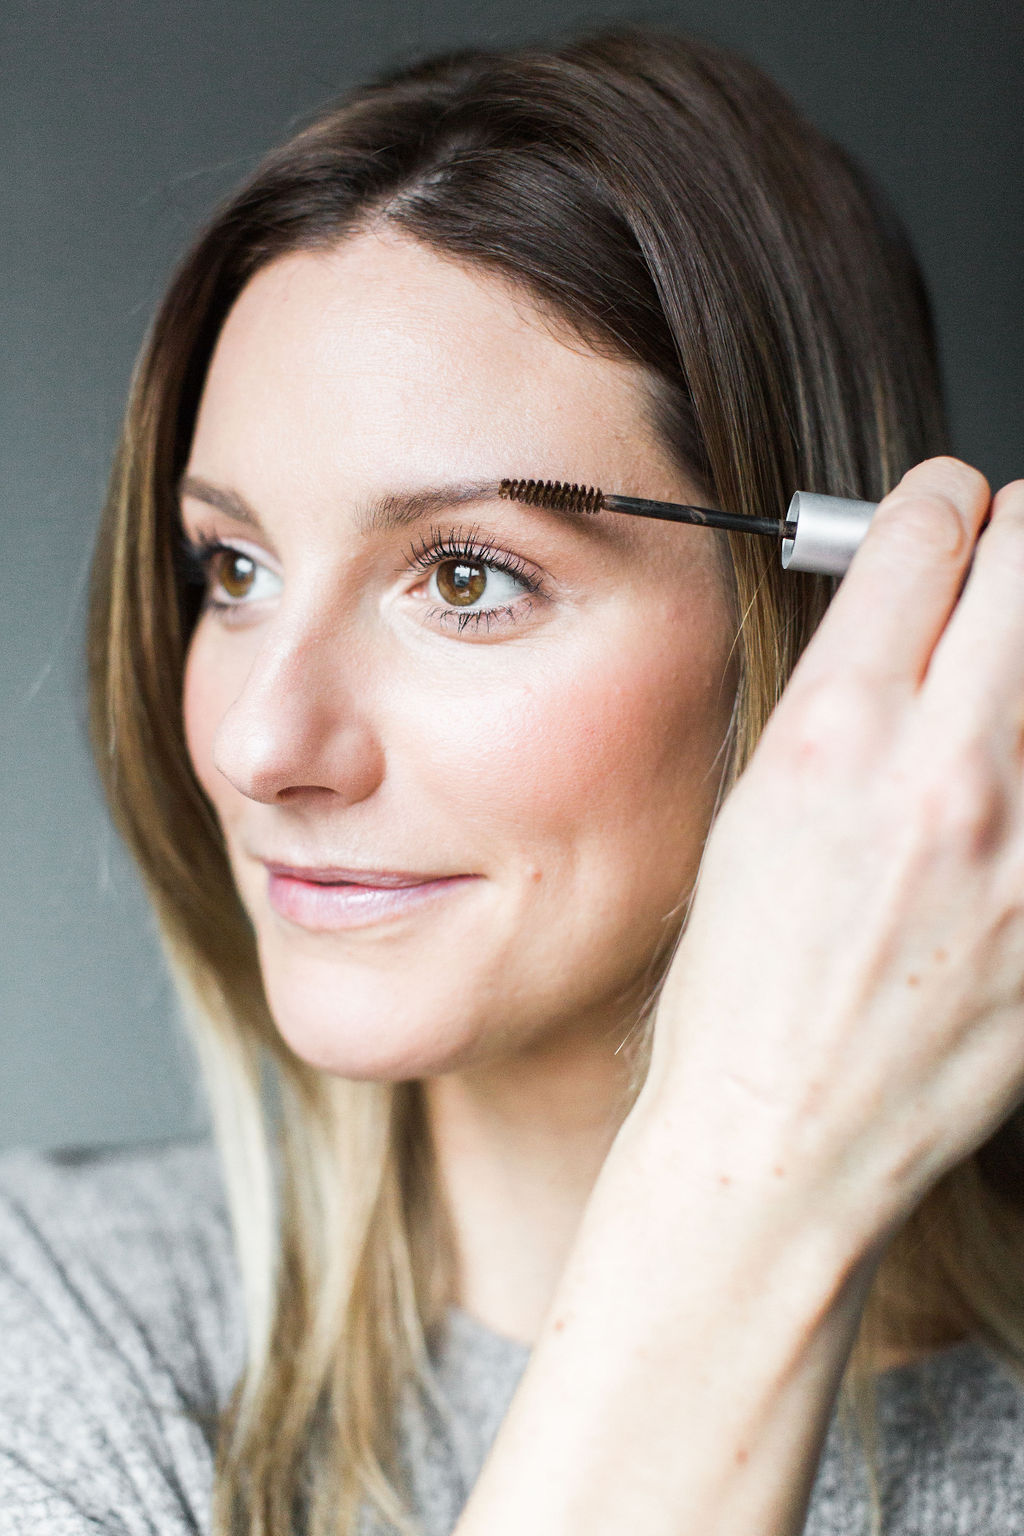
Define the eyebrows using Glo skin Brow Gel, brushing the hairs upward for fuller brow effect.

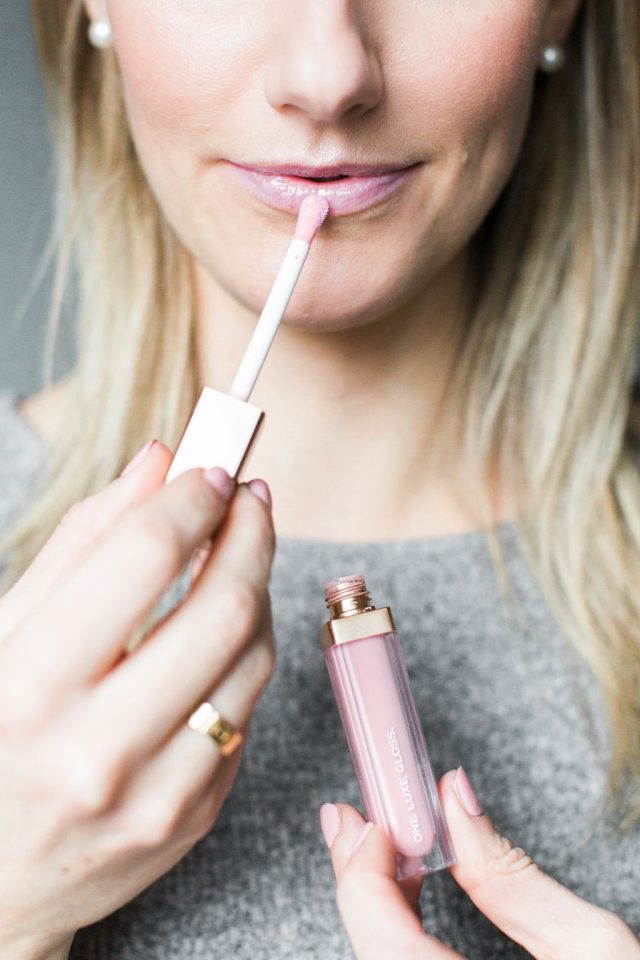
Step 5: Set & Gloss
Even though we want a glowy look, its still important to powder under the eyes and t-zone to set and remove unwanted shine. Using Glo Skin Beauty Luminous Setting Powder with a small brush for precise placement, apply to under eyes, around the nose, chin and center of the forehead.
Complete the look by using Sara Happs Ballet Slip Gloss for the perfect pale pink shine on the lips.
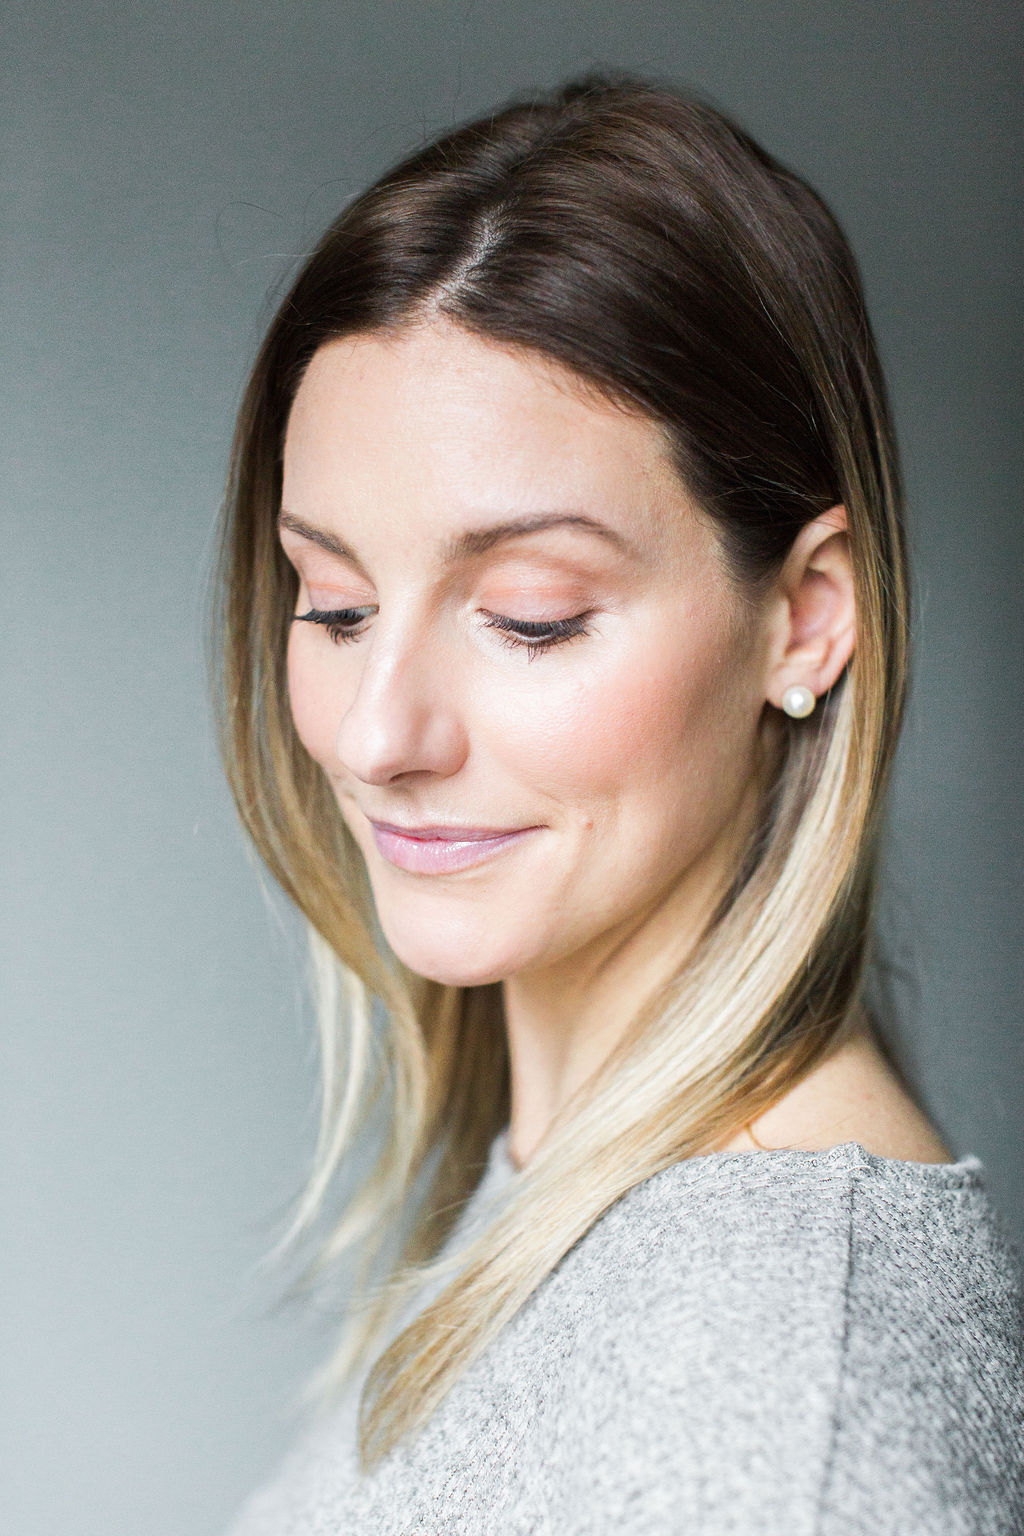
Before & After

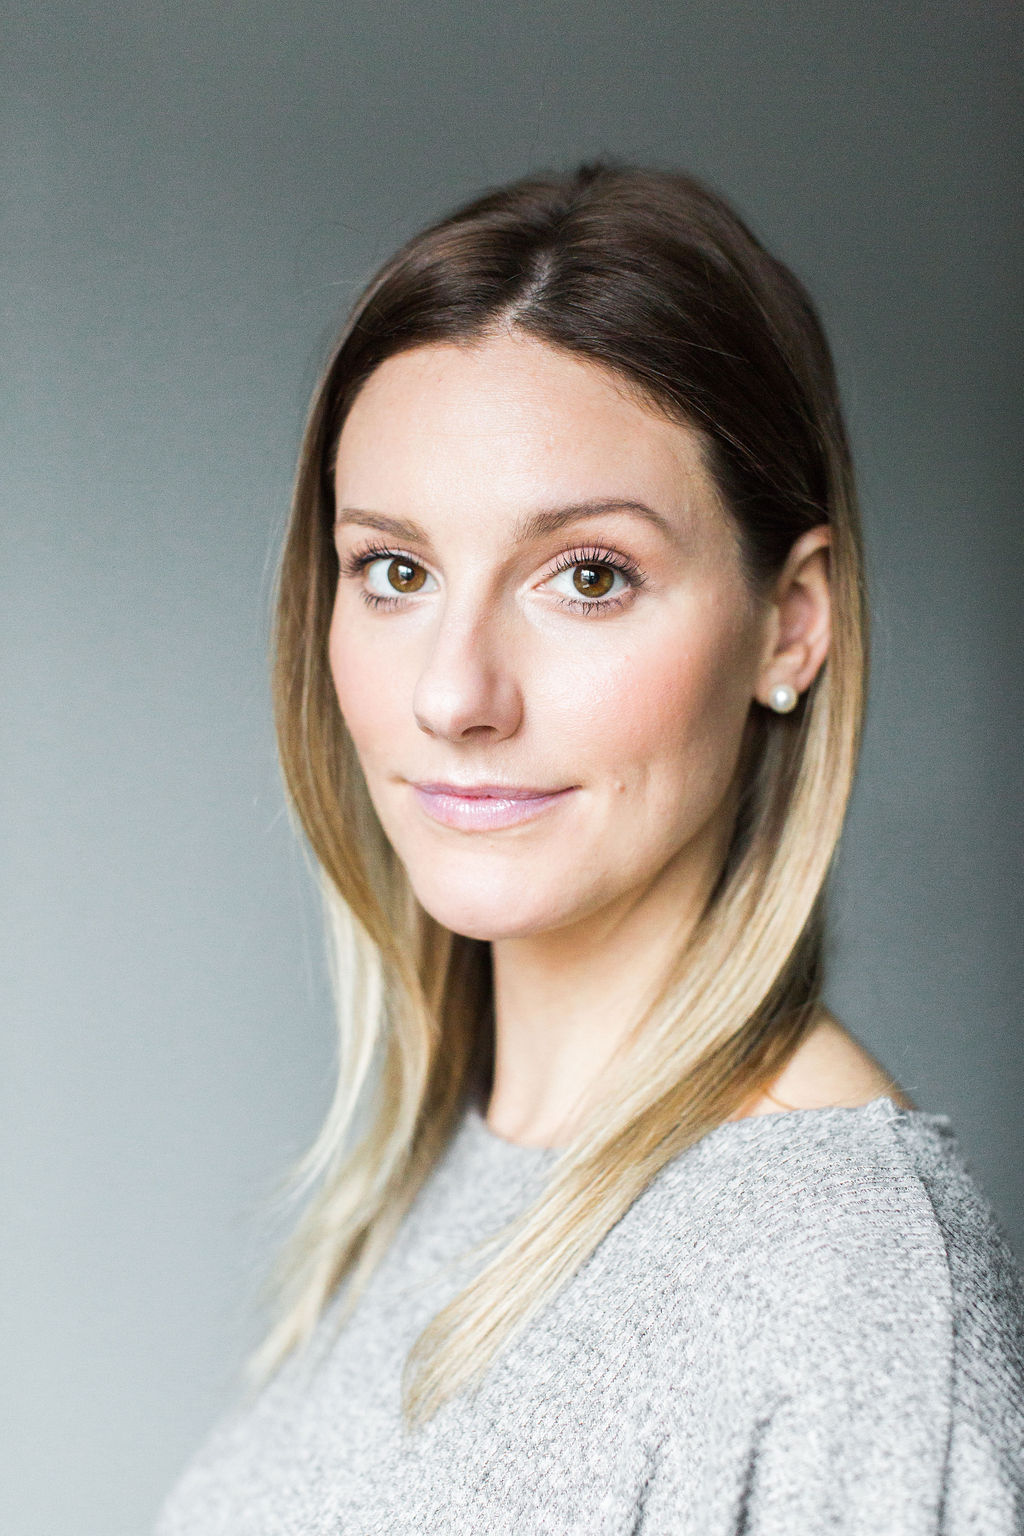
We hope you enjoyed this skin focus tutorial and would love to know if you try it out at home!
Love Denise,
xo