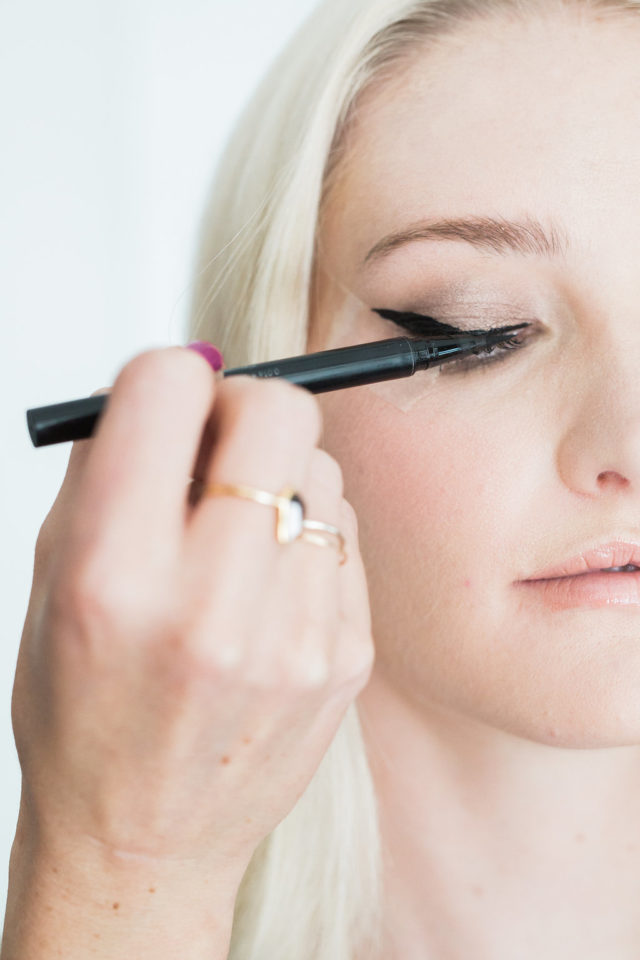
Ever wanted to learn how to achieve the perfect winged eye liner? Fortunately we have found a house hold staple (scotch tape!!) that will make your cat eye envious to all around you!
For this step-by-step tutorial we are using one of our favourite highly pigmented liquid liners by Stila. This waterproof liner is the blackest of the black and will glide on like butter. I prefer using a waterproof liner as it will last and stay put all day.
My dear friend Lauren from Partyskirts lent me her beautiful blue eyes to create this bold cat eye.
Step 1: Measure outer corner of eye
Using a brush or pen, place on the outer edge of the nose angling up to the end of the brow bone. This will give you a guide line of where to place the scotch tape. It’s of course your preference how simple or dramatic you want your look. I prefer just a small wing, nothing too crazy for a daytime look.


Step 2: Placing the Scotch tape
Using a short piece, place it on the outer corner of the eye leading up to the brow bone. One helpful tip that has always helped me is to imagine if your lower lash line were to continue, you would follow the angle upwards.
Step 3: Applying liner
I personally like to start with the outer corner area (the wing), then you can finish the line towards the inner corner. To create your wing, glide the pen upwards following along the tape. Next, start building the thickness by sweeping downwards to fill in the shape we created toward the centre of your eye. To taper off the liner apply small strokes gently to line the inner corner and make sure to keep the line as close to the lash line as possible.
Step 4: Gently remove tape
Before you peel off the tape, give the liner about 30 seconds to a minute to fully dry. This will prevent from a “bleeding” effect. If needed use a pointed q-tip or thin liner brush to clean up the line or shorten it if you prefer.


Voila!
Don’t forget to check out our previous post on our favourite blendable shadow sticks!
Shop our favourite pen liners here:
Love, Denise Elliott

