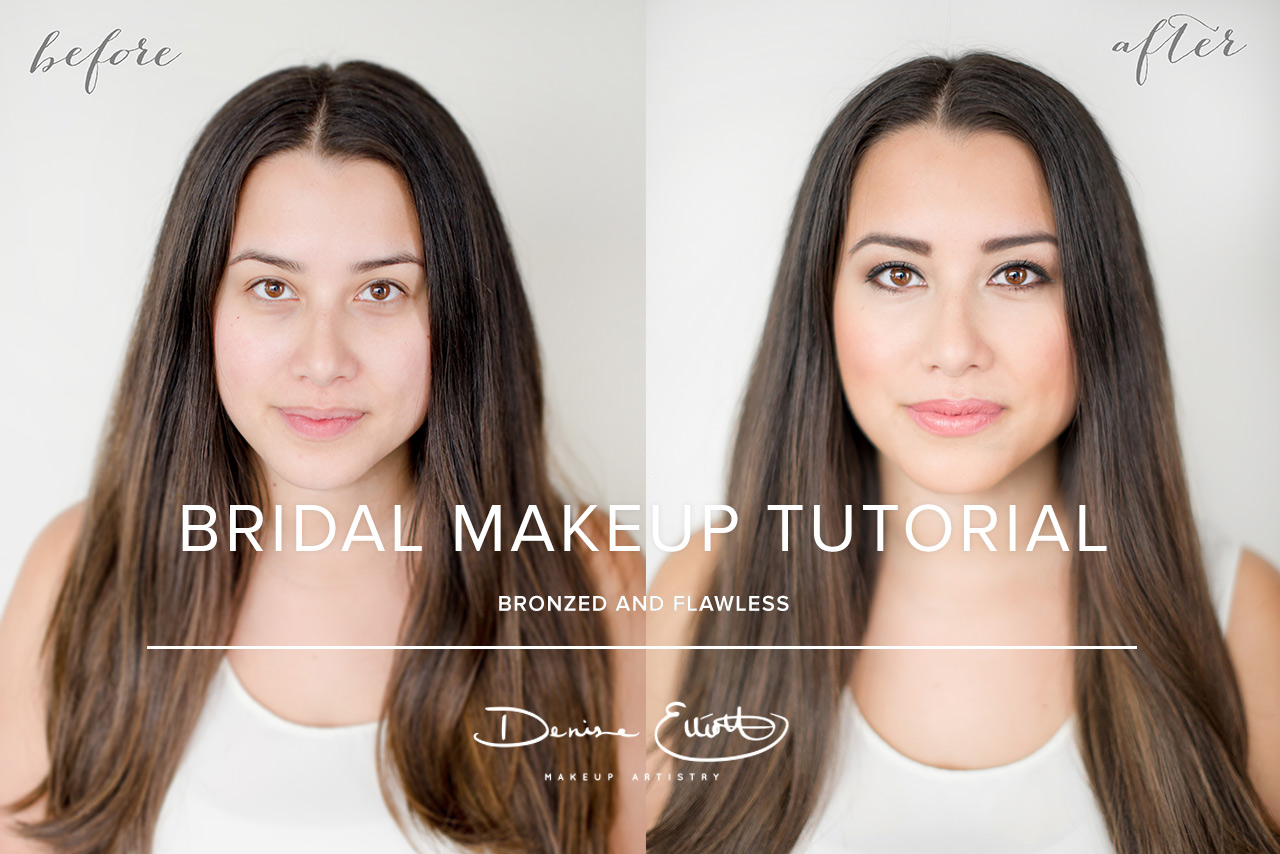
First Bridal Makeup Tutorial on the blog! I’ve been prepping lots of fun tutorials and this one is how to achieve that step-by-step “bronzed and flawless” makeup look. Countdown is on for Alicia Fashionista’s wedding day! This could be bridal makeup or even just your everyday makeup routine…Take a look. Photos done by Christie Graham Photography!
Step 1: Prep the Skin!
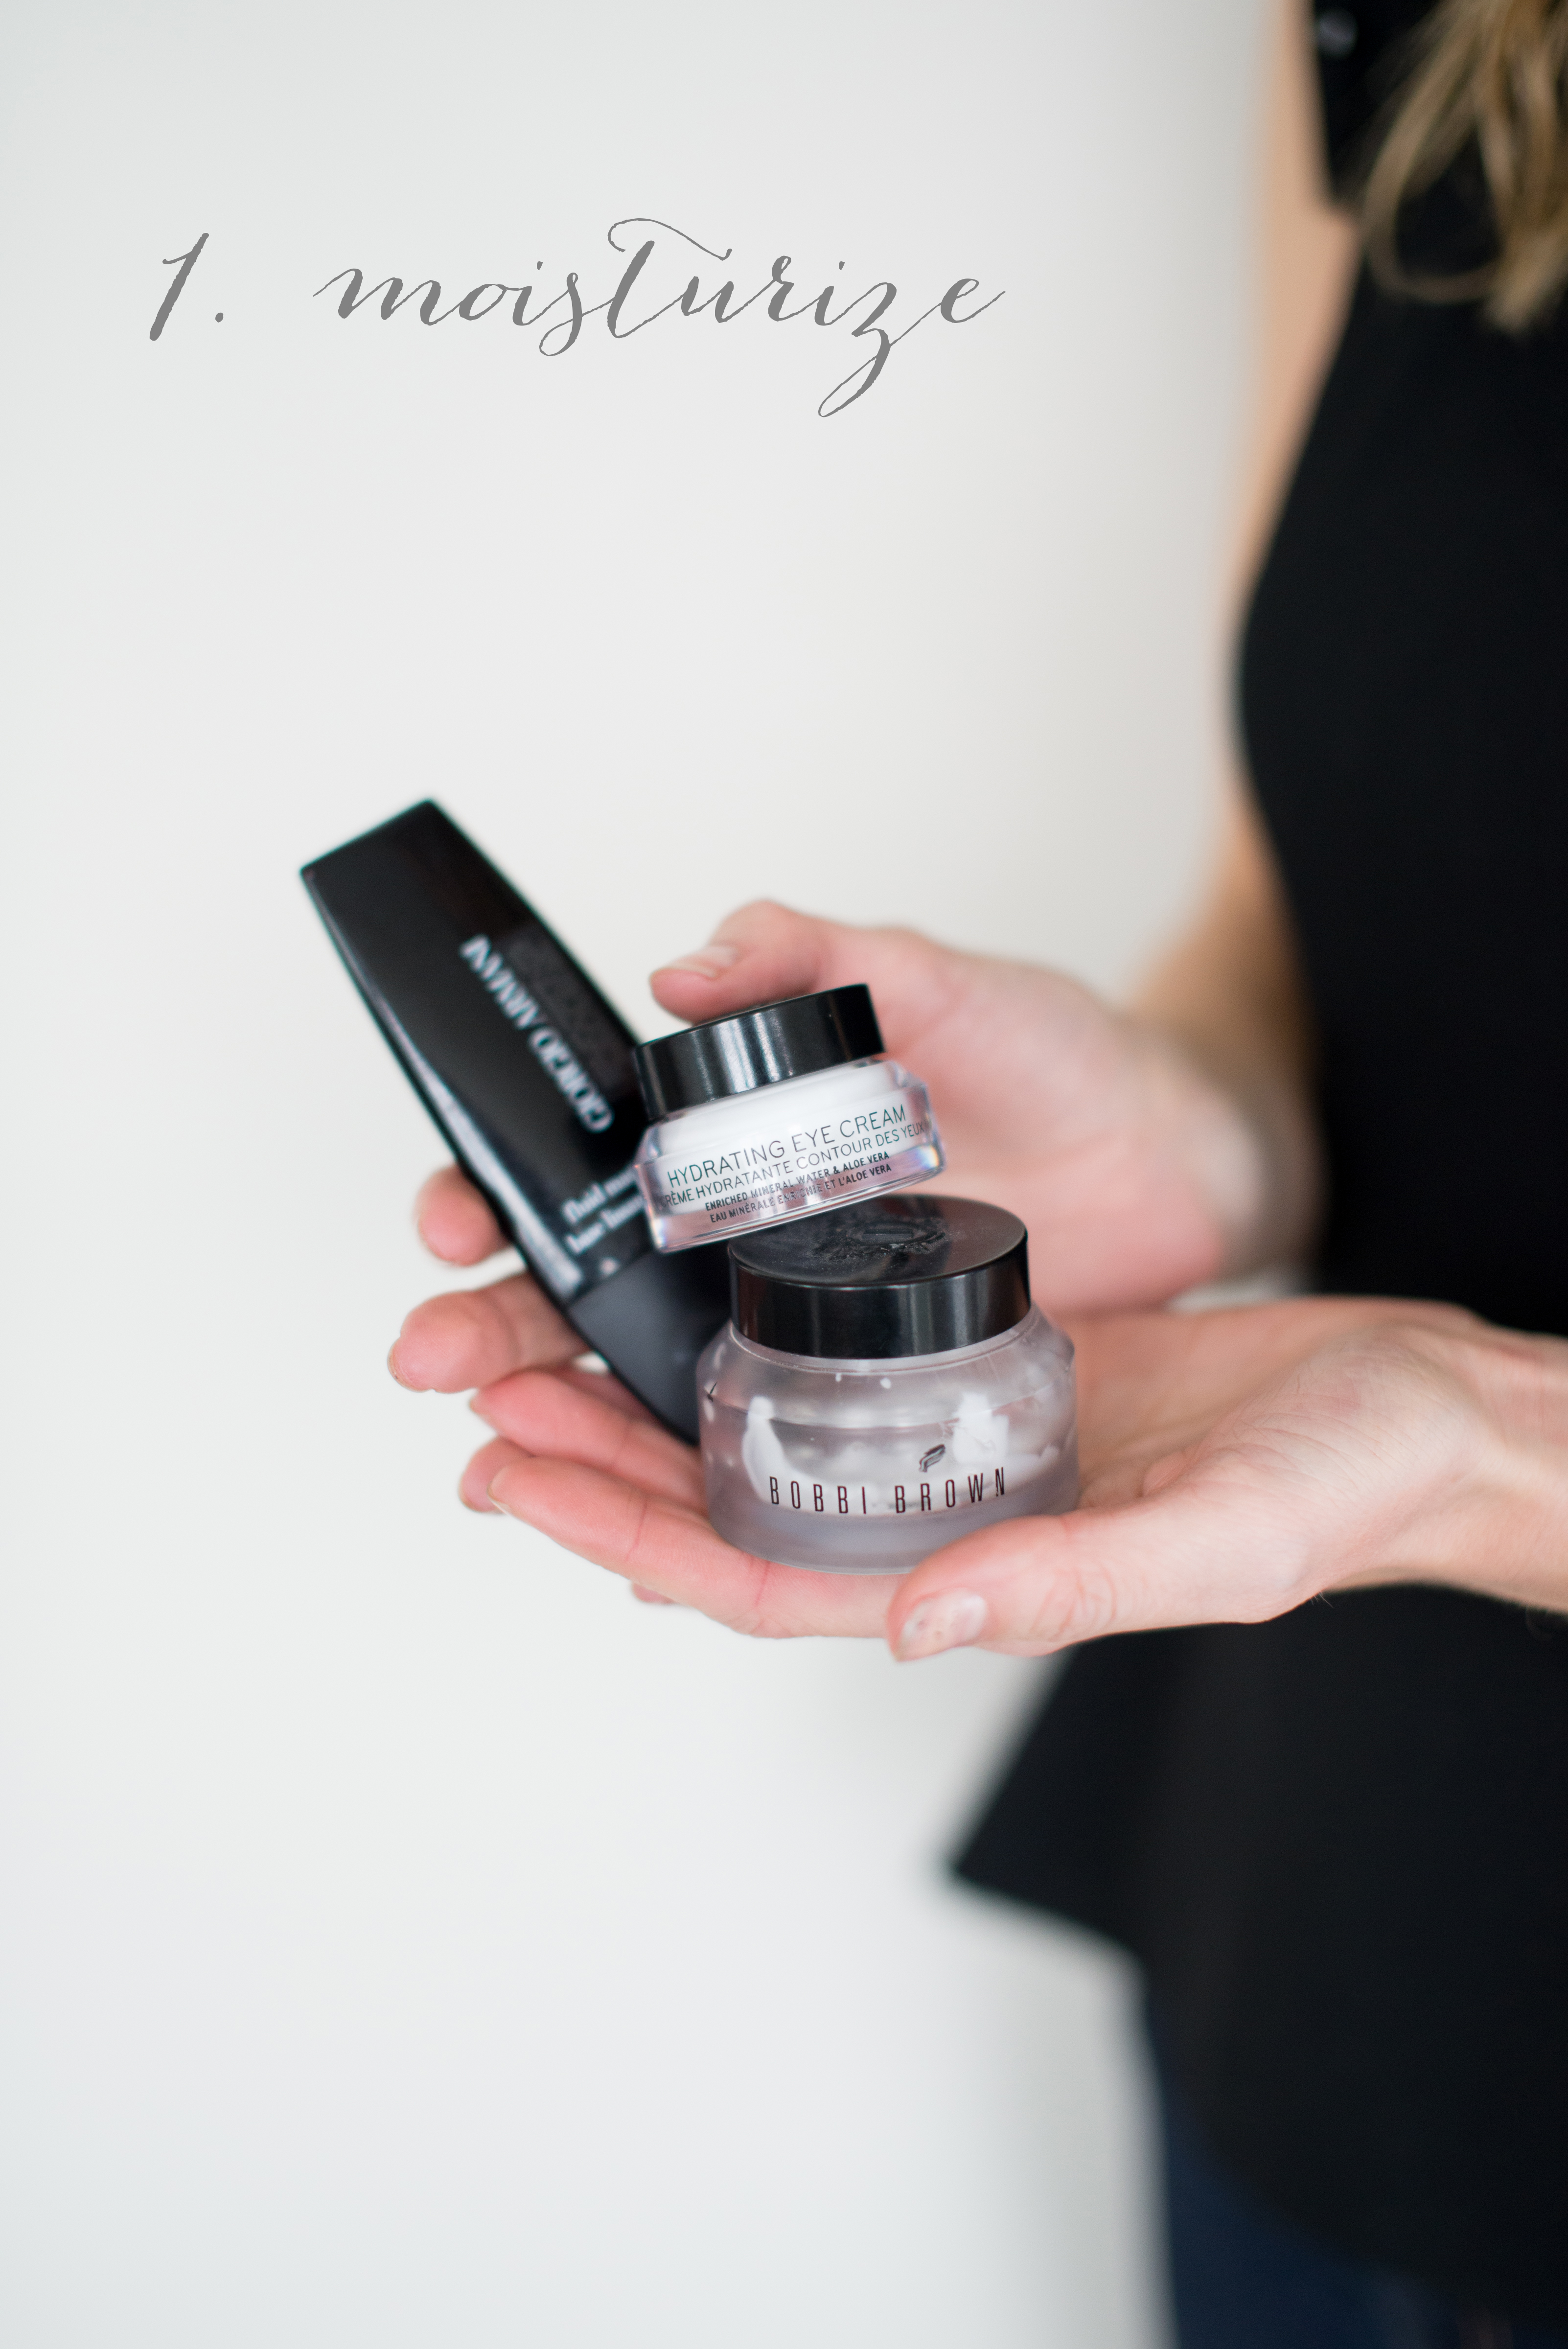
It’s important to keep up with good skin care routine and which keeps the skin looking hydrated. I personally love the Bobbi Brown Hydrating Face Cream as a moisturizer. Once that’s applied all over the skin, apply a primer especially concentrating in the T-Zone where most of us get a little oily!
Products:
Face Cream: Bobbi Brown Hydrating
Primer: Giorgio Armani
Step 2: Eyes
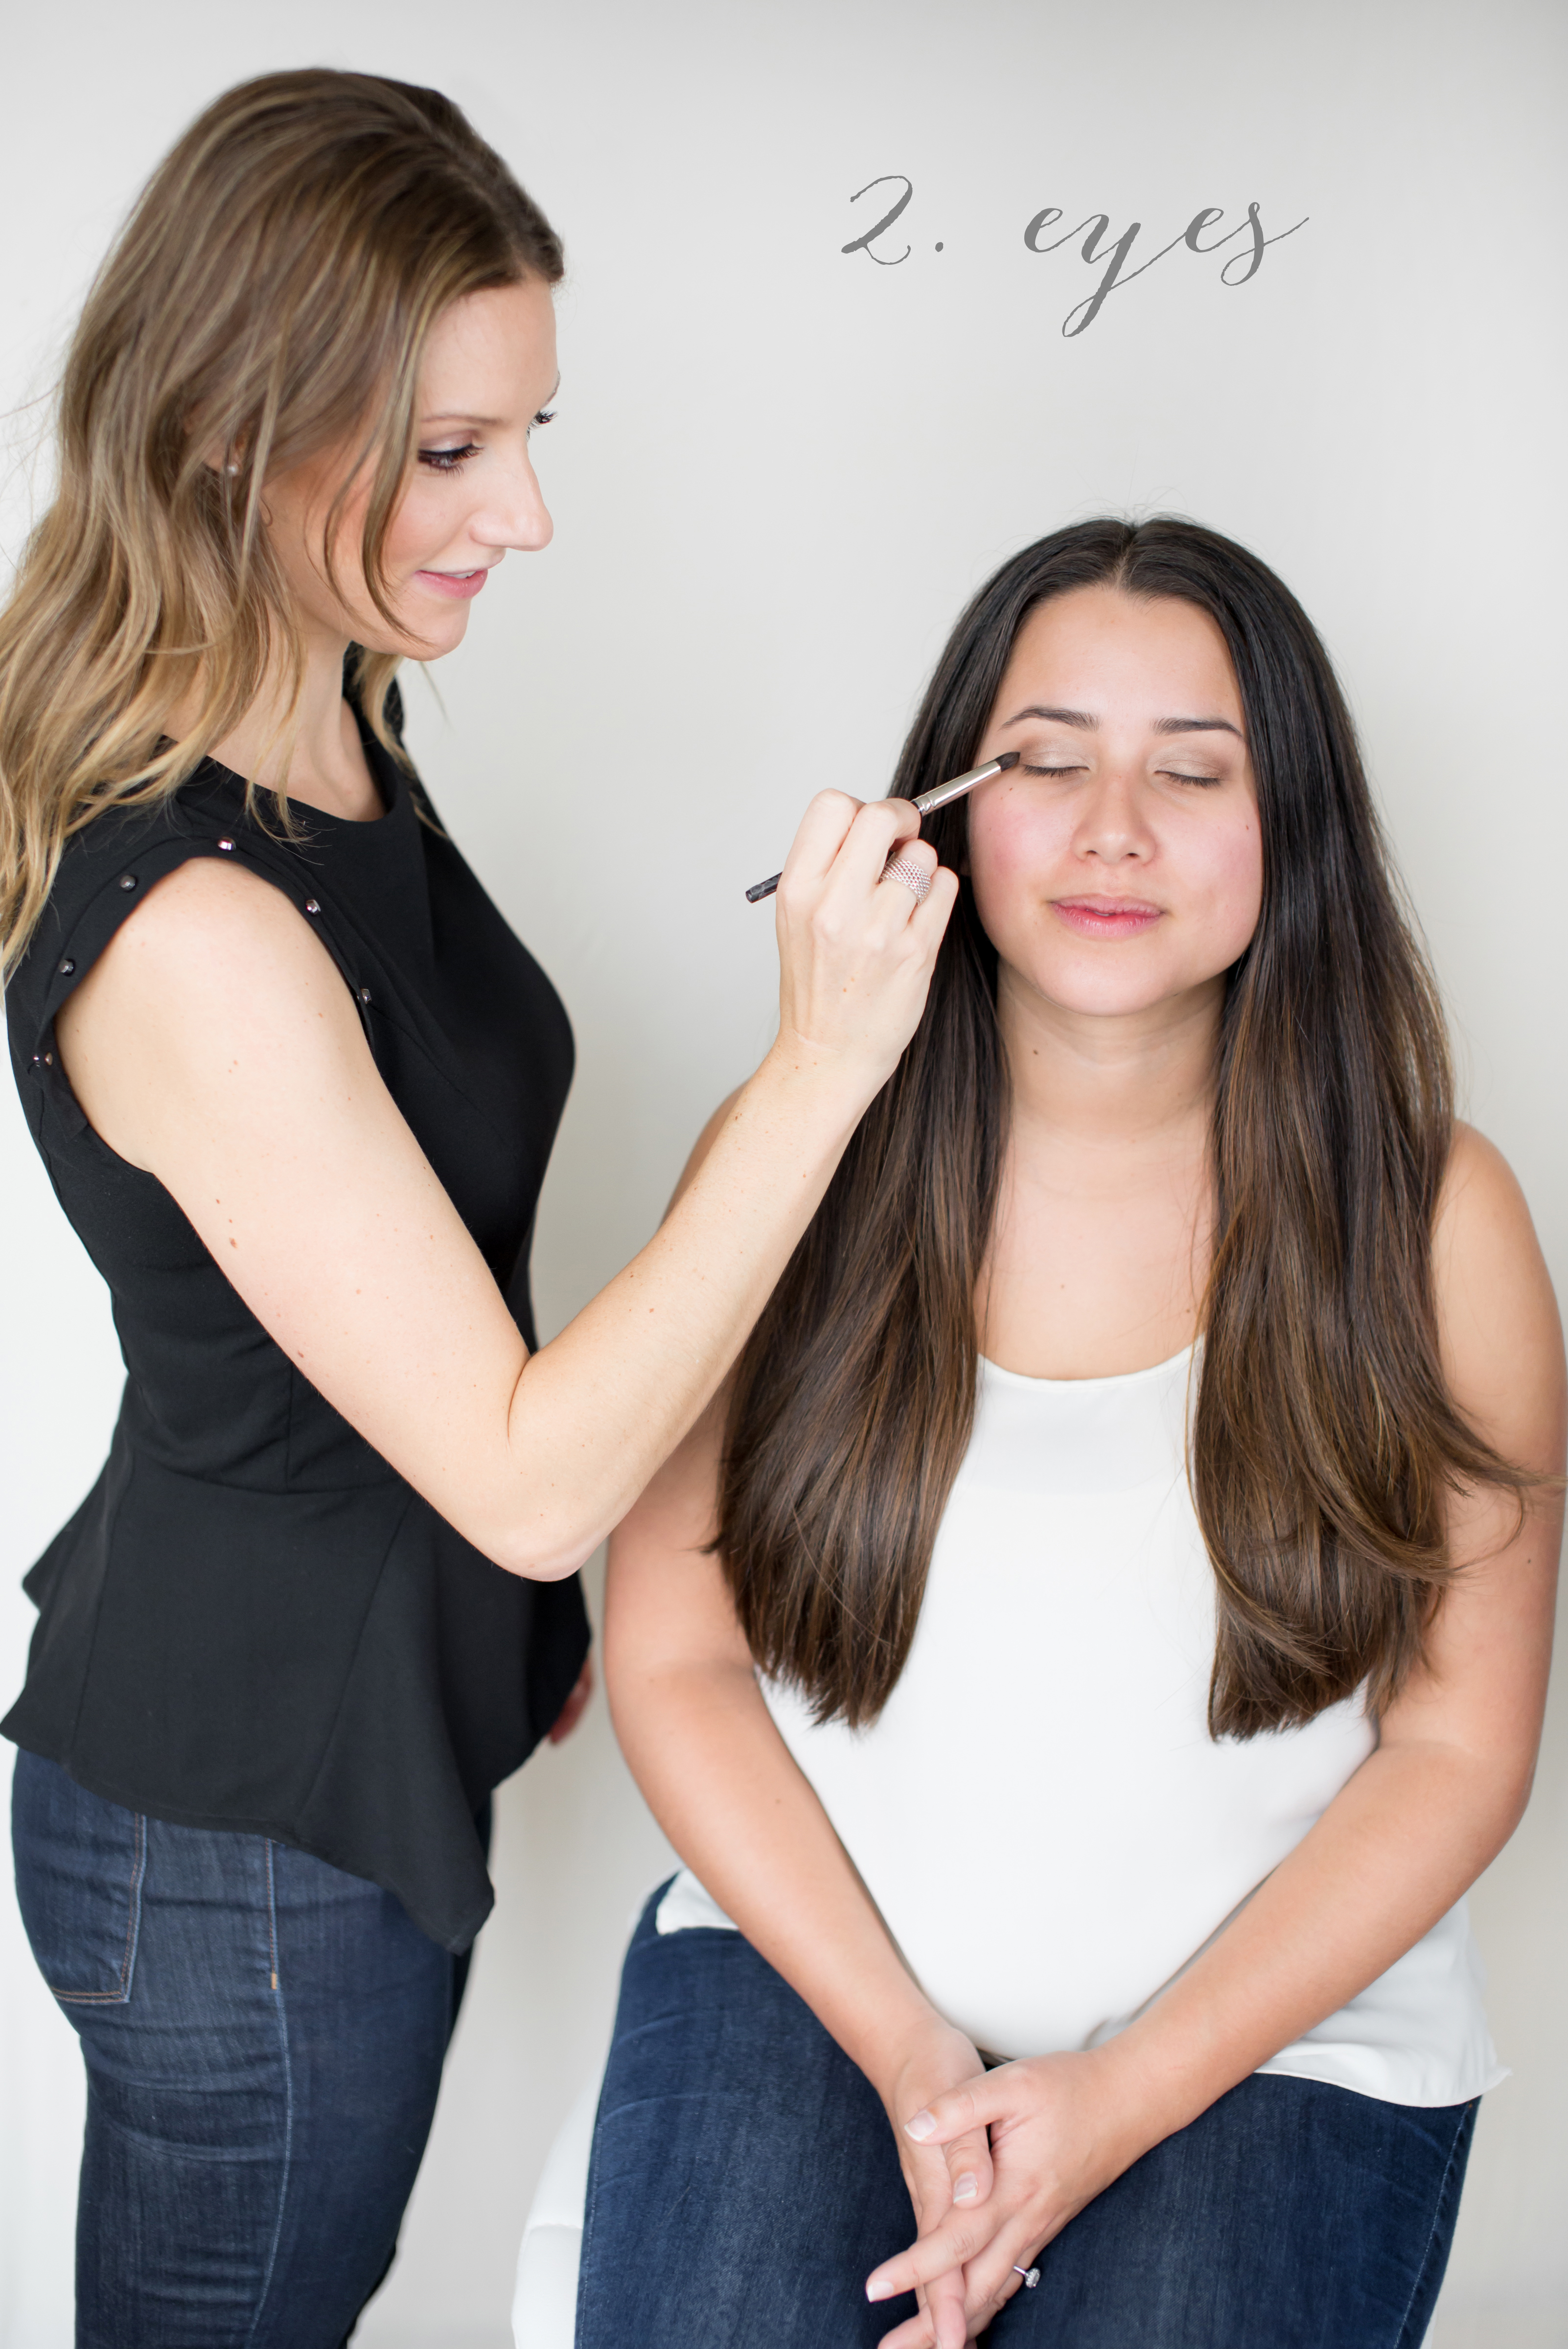
A little helpful tip, I find it better to do your eyeshadow first before ANY foundation or concealer. You will always get fallout from shadow under your eye and have to clean it up.
- Use a base – Laura Mercier Eye Basic (apply all over the lid, which primes the eye and neutralize the lid)
- Apply colour right on the lid to the crease
- Blend darker eye colour in the crease (this will create a contrast with the eye…making it pop!)
- Eye liner – personally gel will work the best to stay all day for wedding makeup. I’d recommend YSL, Bobbi Brown Gel liner.
Products:
Eye cream: Bobbi Brown Hydrating eye cream
Eye primer: Laura Mercier Eye Basic Cream
Shadow: Laura Mercier Gold Metallic & Laura Mercier bronze eye shadow
Gel liner: Bobbi Brown Gel or YSL gel liner
Mascara: L’oreal voluminous or YSL
Step 3: Corrector and Concealor
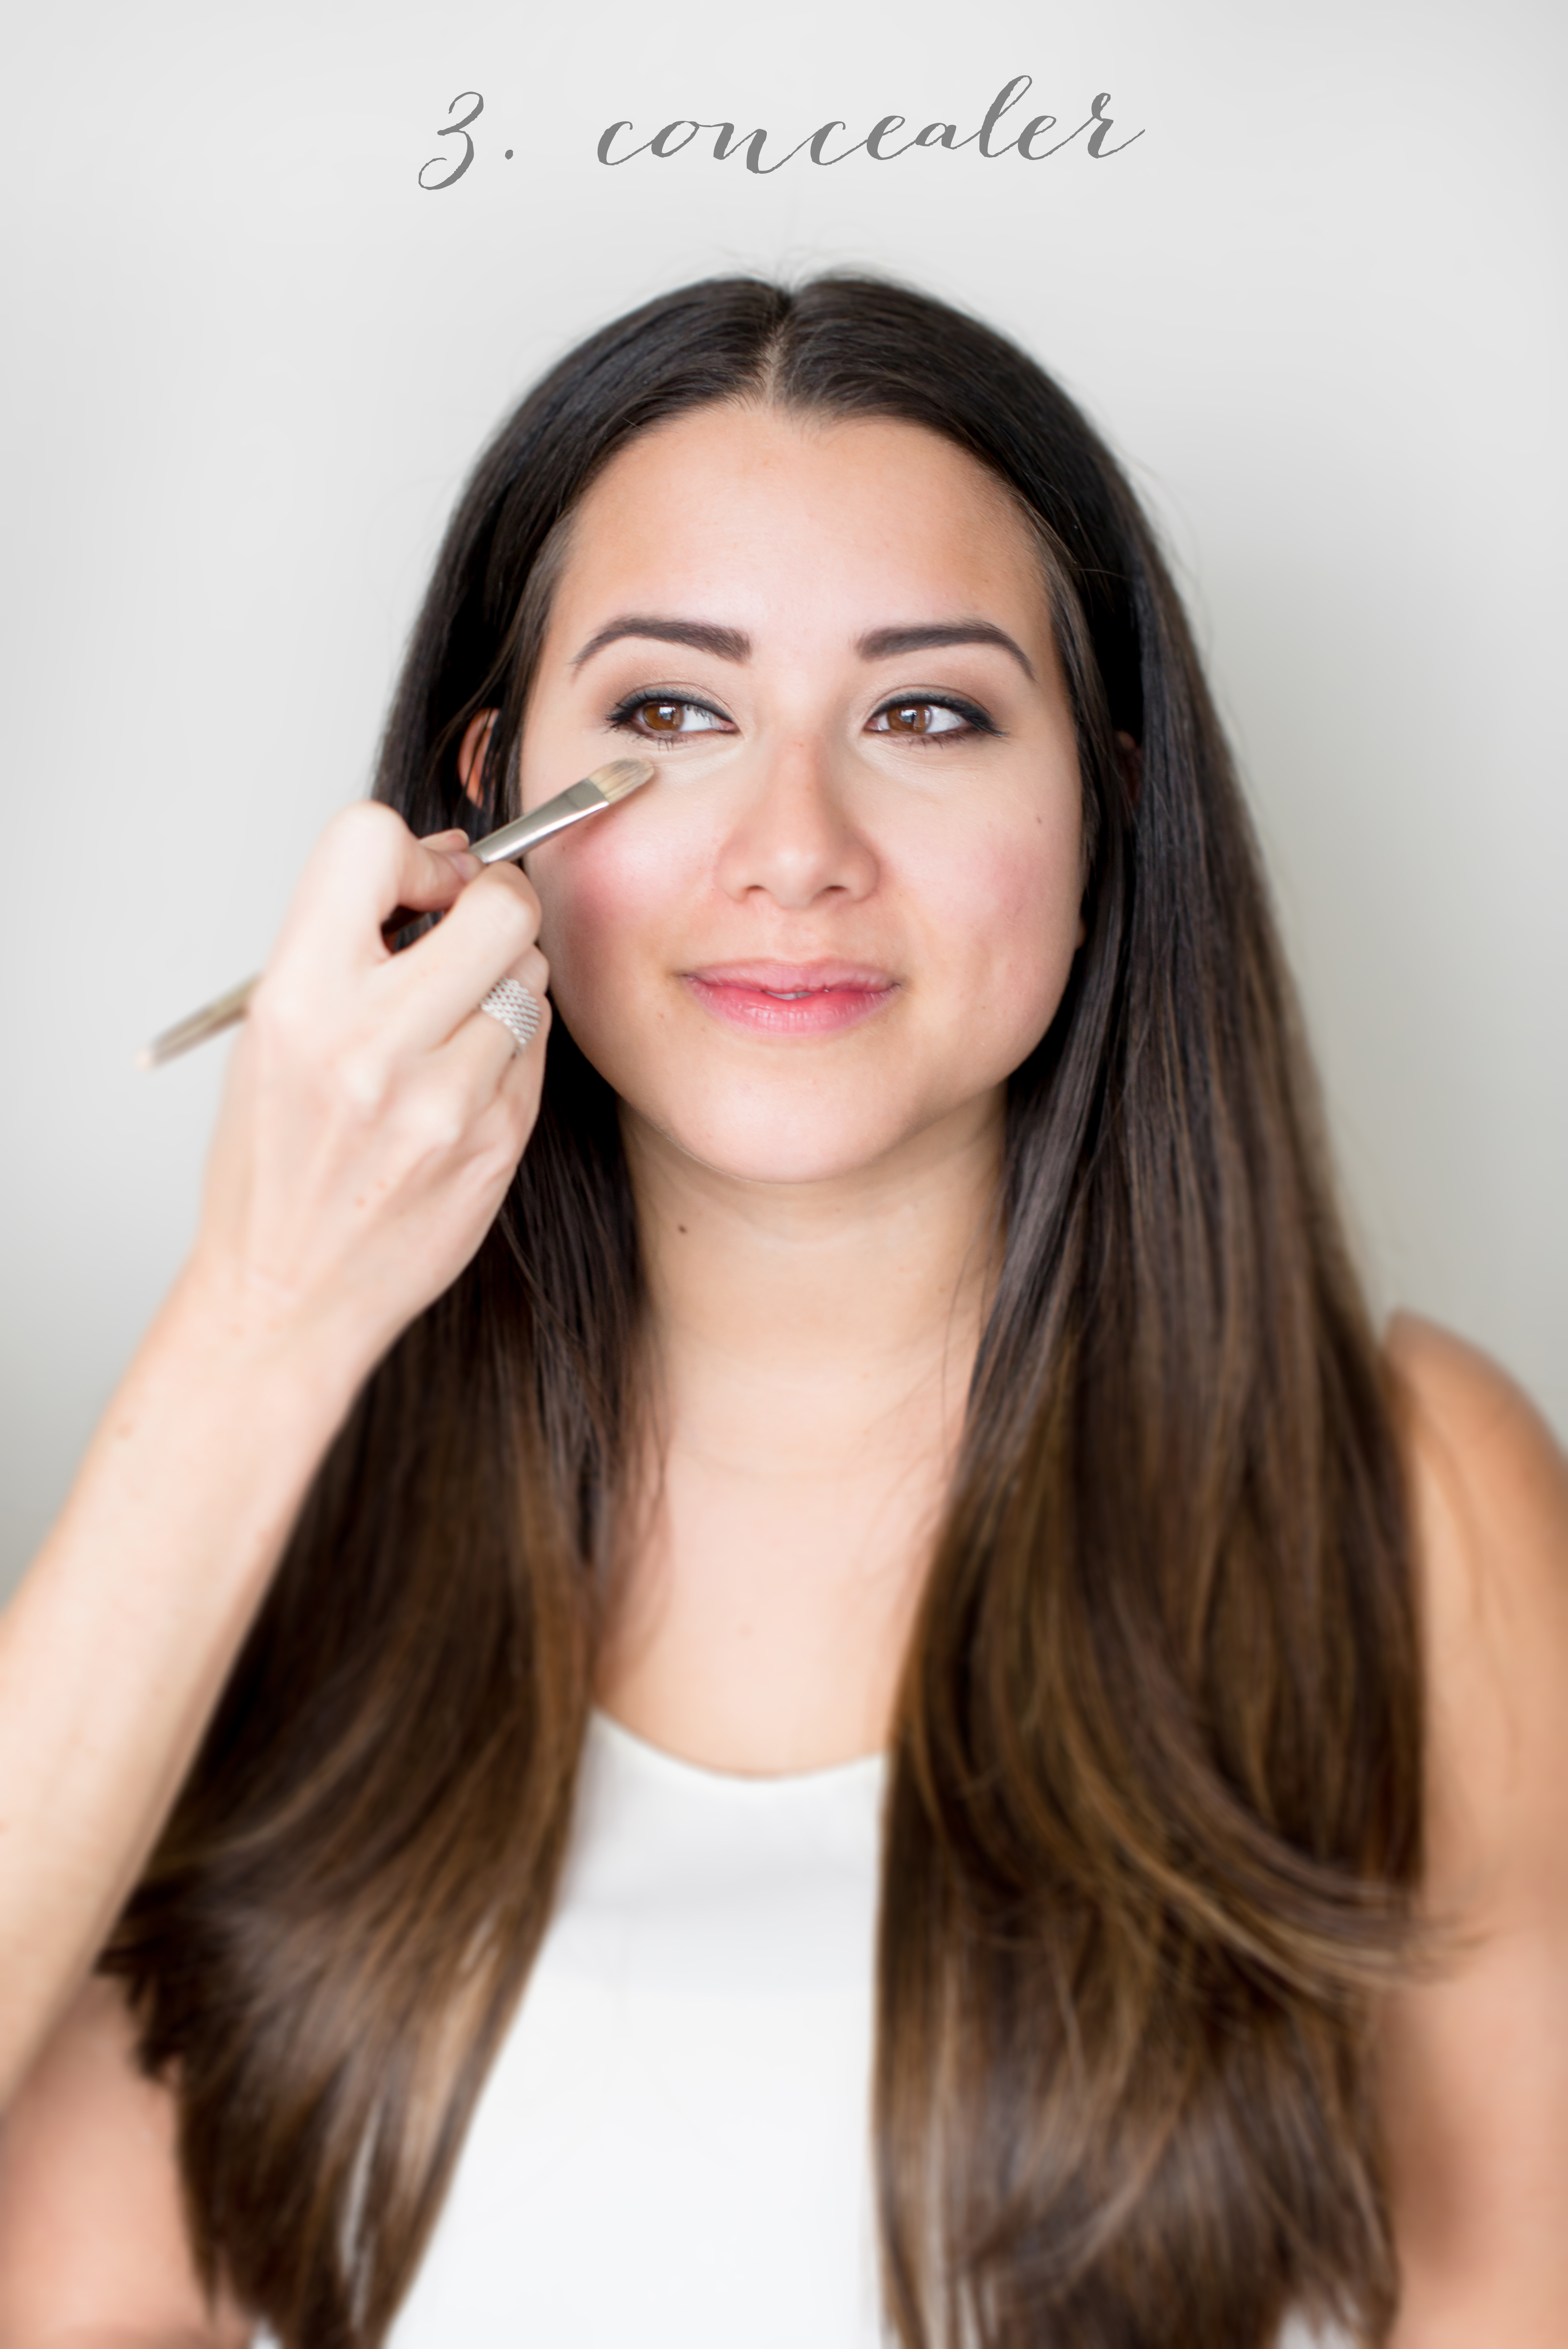
Apply corrector to neutralize under eye darkness. Then the concealor is applied over top to brighten.
Products:
Corrector: Bobbi Brown
Concelaor: Giorgio Armani precision retouch
Step 4: Foundation
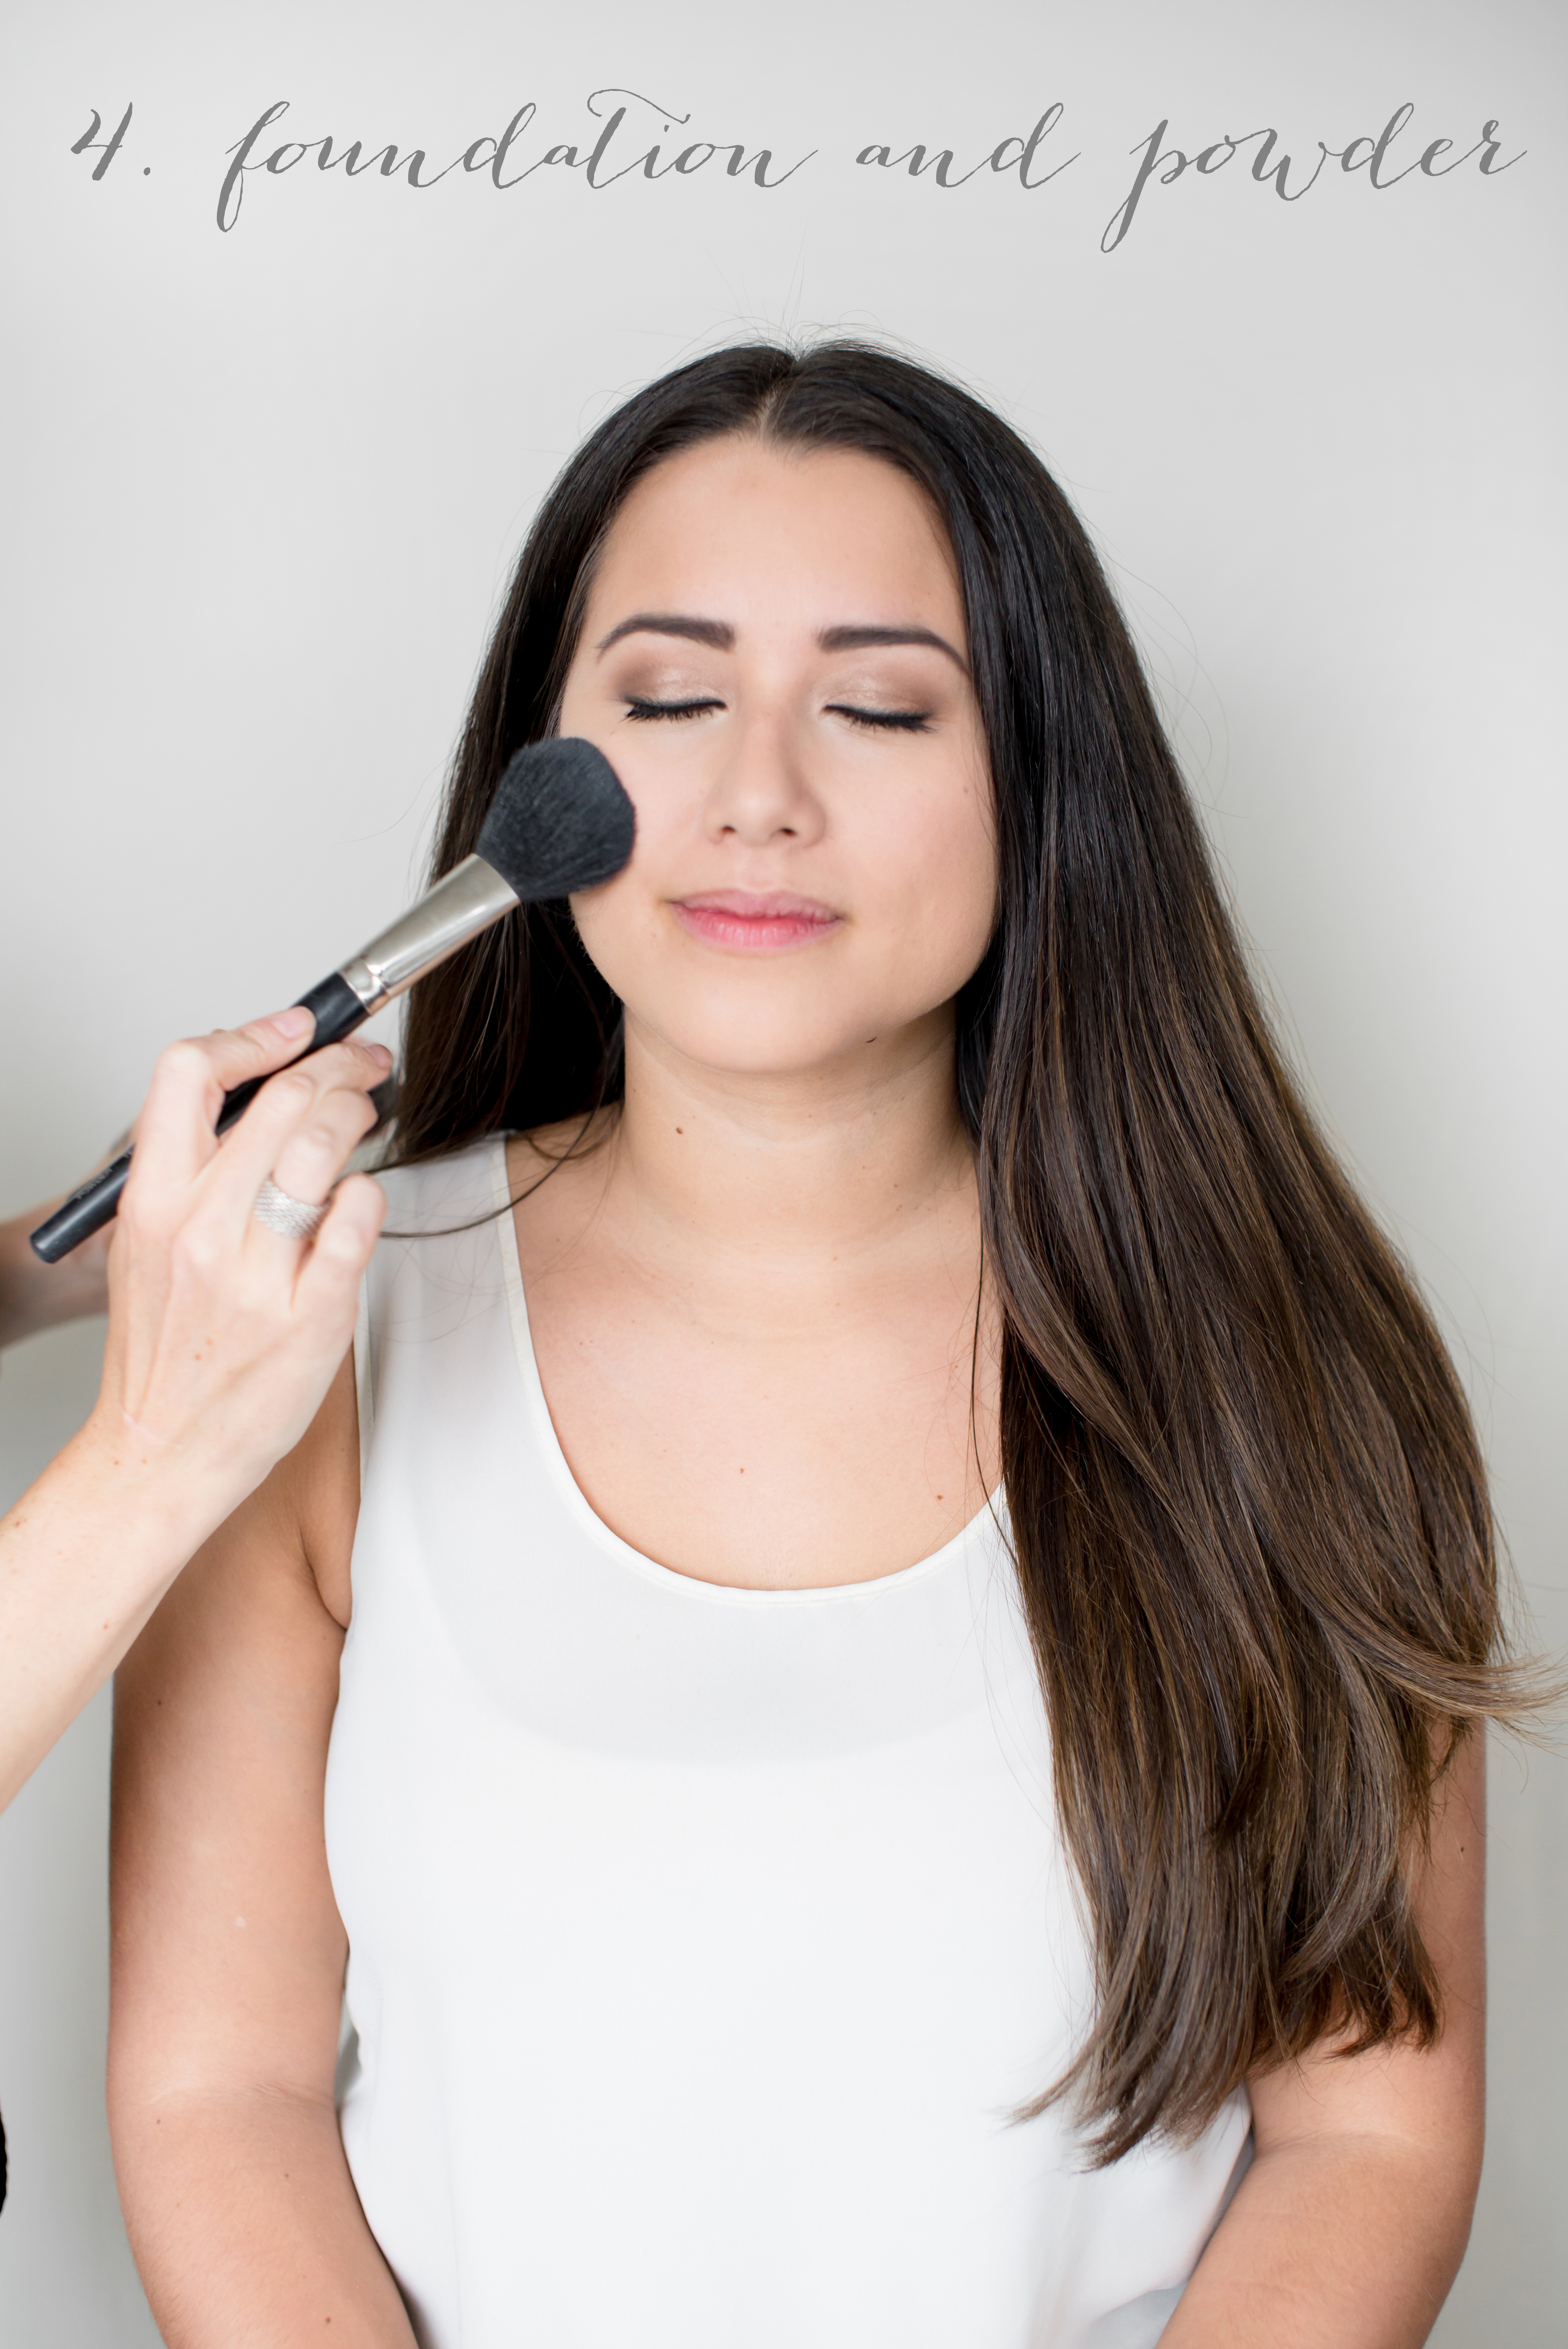
Apply with foundation brush or beauty blender (if you want lighter coverage). Start in the center of the face and blend outwards making it blend right into the jaw line. Use a powder brush to apply the powder by pressing it into the skin setting the liquid foundation. Also, don’t forget to set the under eye area where you applied corrector/concealor.
- Helpful Tip:
If you have the pressed powder, bring it with you for touch-ups during the day if you get oily in the T zone.
Products:
Foundation: Giorgio Armani Luminous silk (For oily skin: Lasting Silk UV Foundation)
Powder: Laura Mercier Translucent loose/pressed.
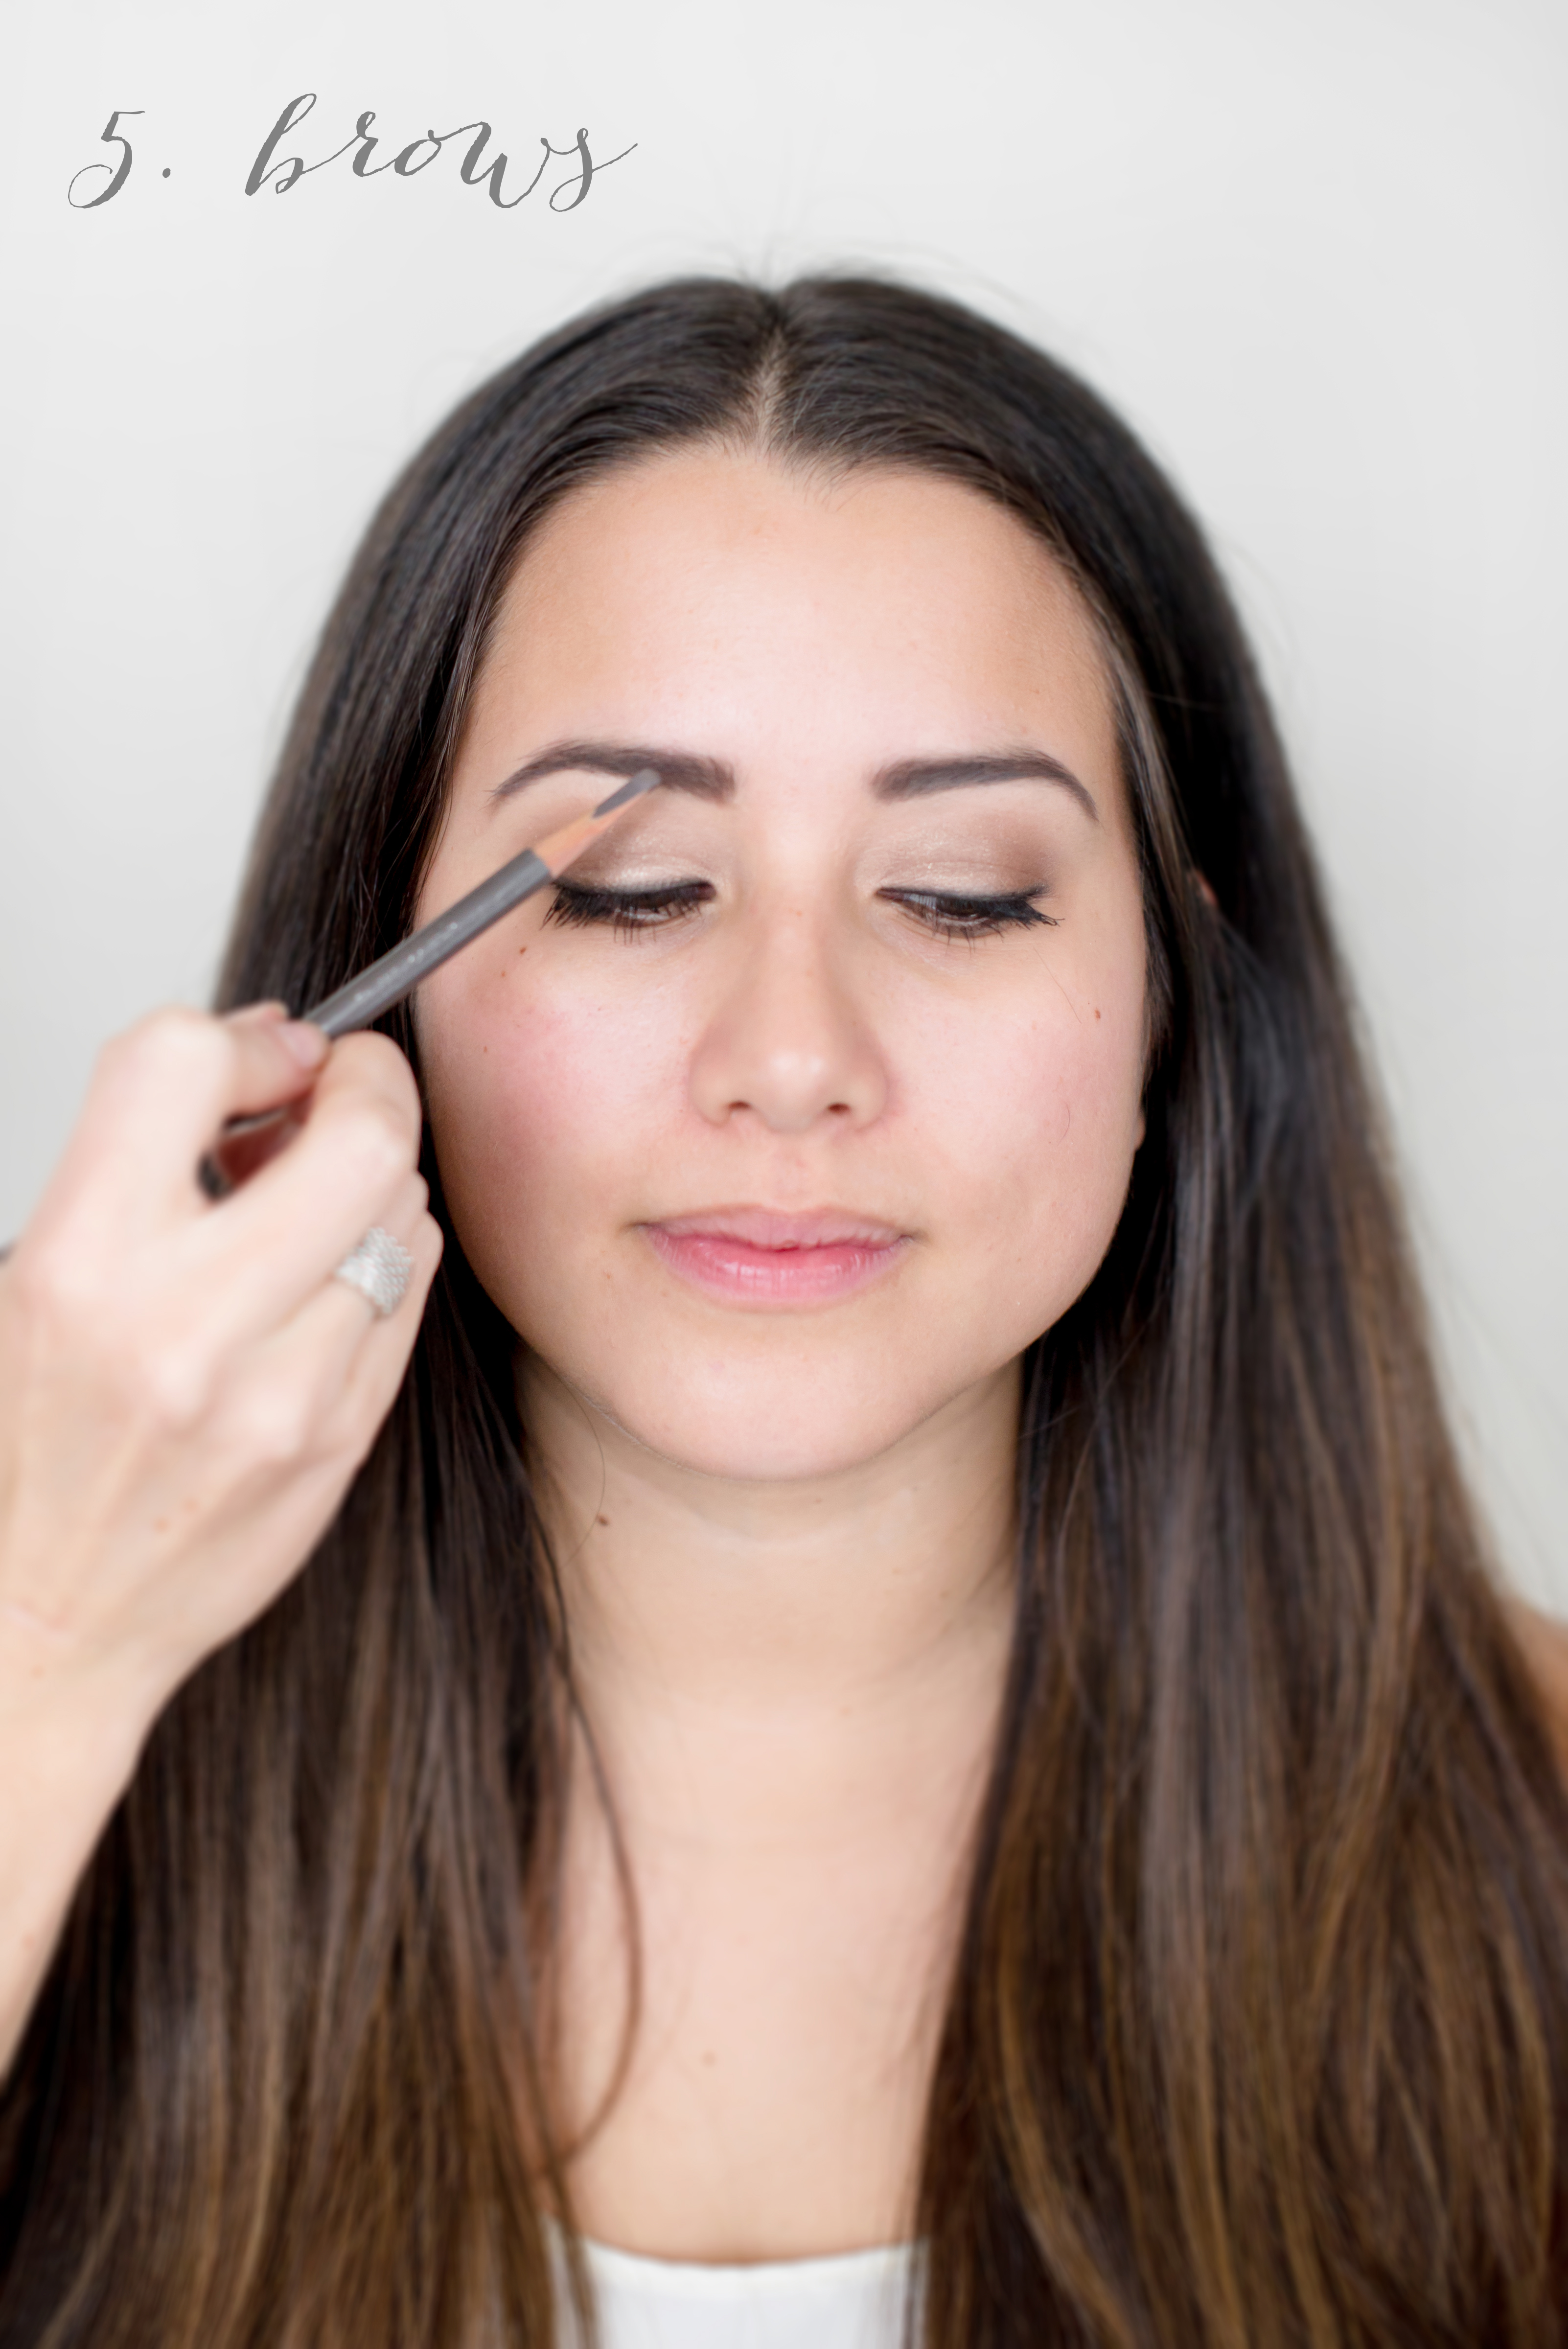
Step 5: Brows
Brows are key as they frame your face. Fill brows from the edge of your nose to the outer corner of your eye. Having the arch lined up with the middle of your pupil means your arch is in the correct shape.
Products:
Brow Pencil: Shu Uemura brow pencil or use an eyeshadow with an angled brush.
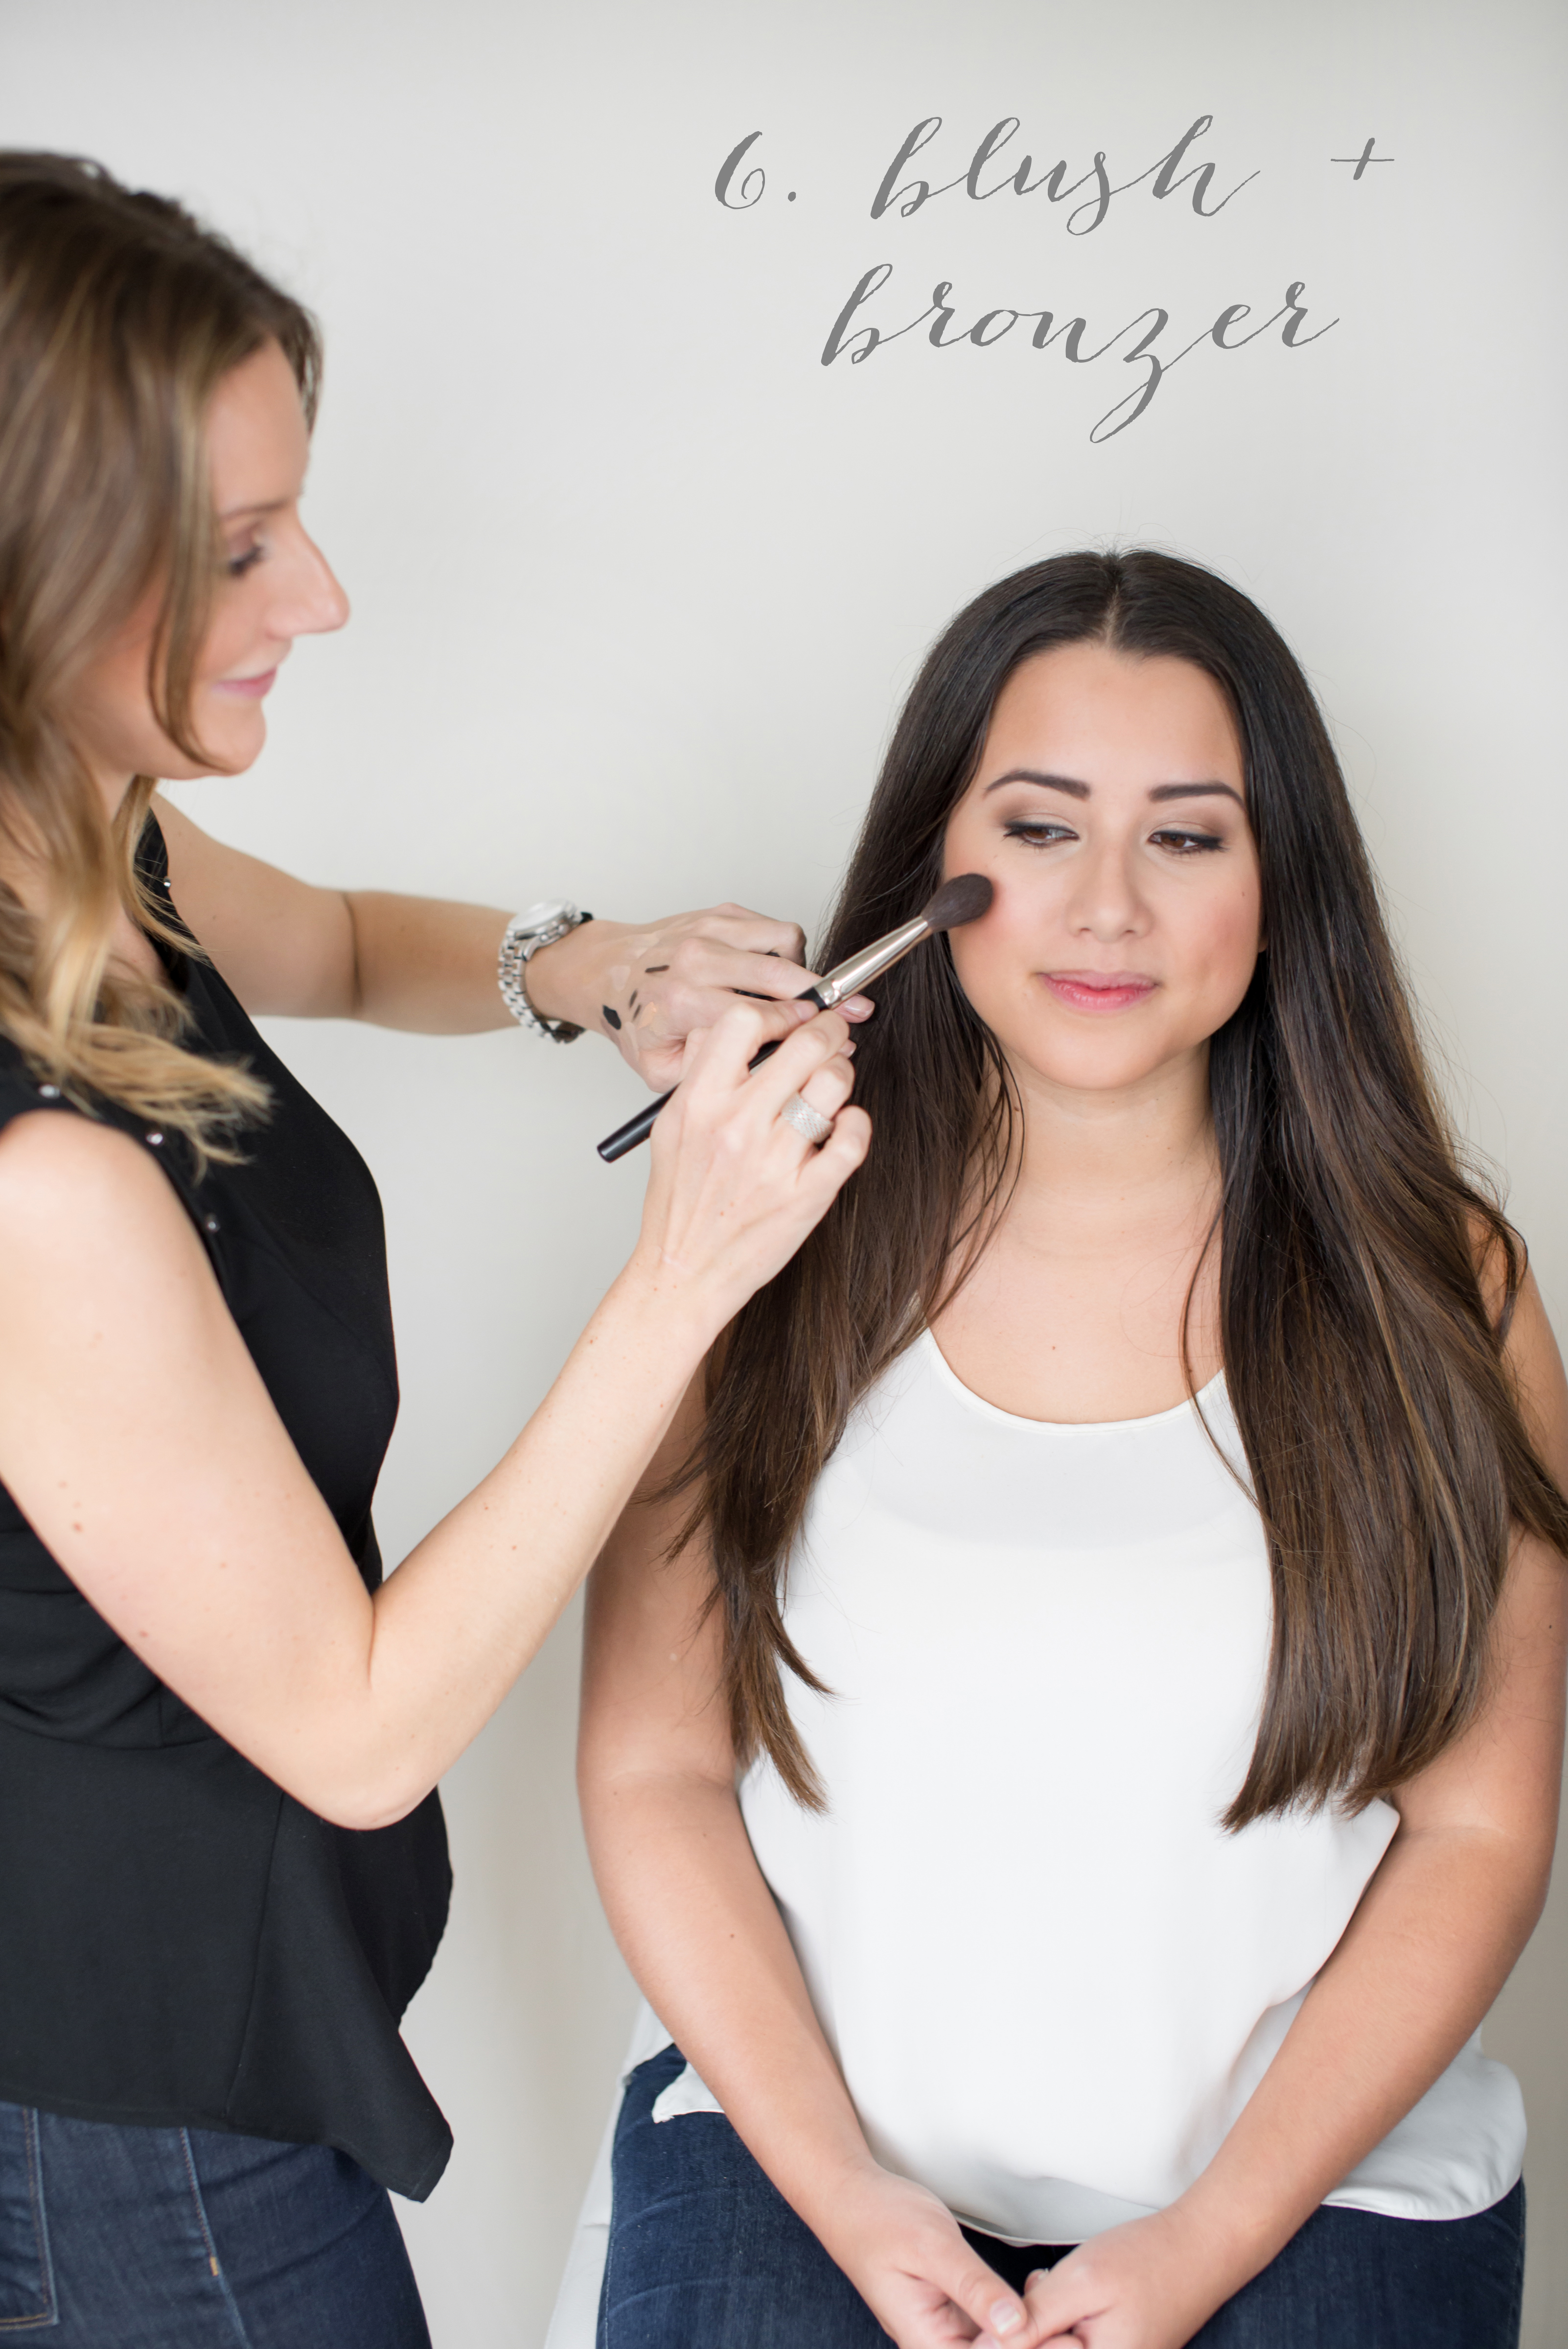
Step 6: Bronzer/blush
Apply the bronzer first. Apply the bronzer from the top of the forehead, on the side of your temples and then sweep underneath your cheekbones and down to the neck. It’s like making a number “3” motion with your brush. Apply blush on the apples of the cheeks. For a highlight on the check bones use Bobbi Brown shimmer brick.
Bronzer: Bobbi Brown Golden Light
Blush: Nars Madly Blush
Shimmer Stick: Bobbi Brown Apricot
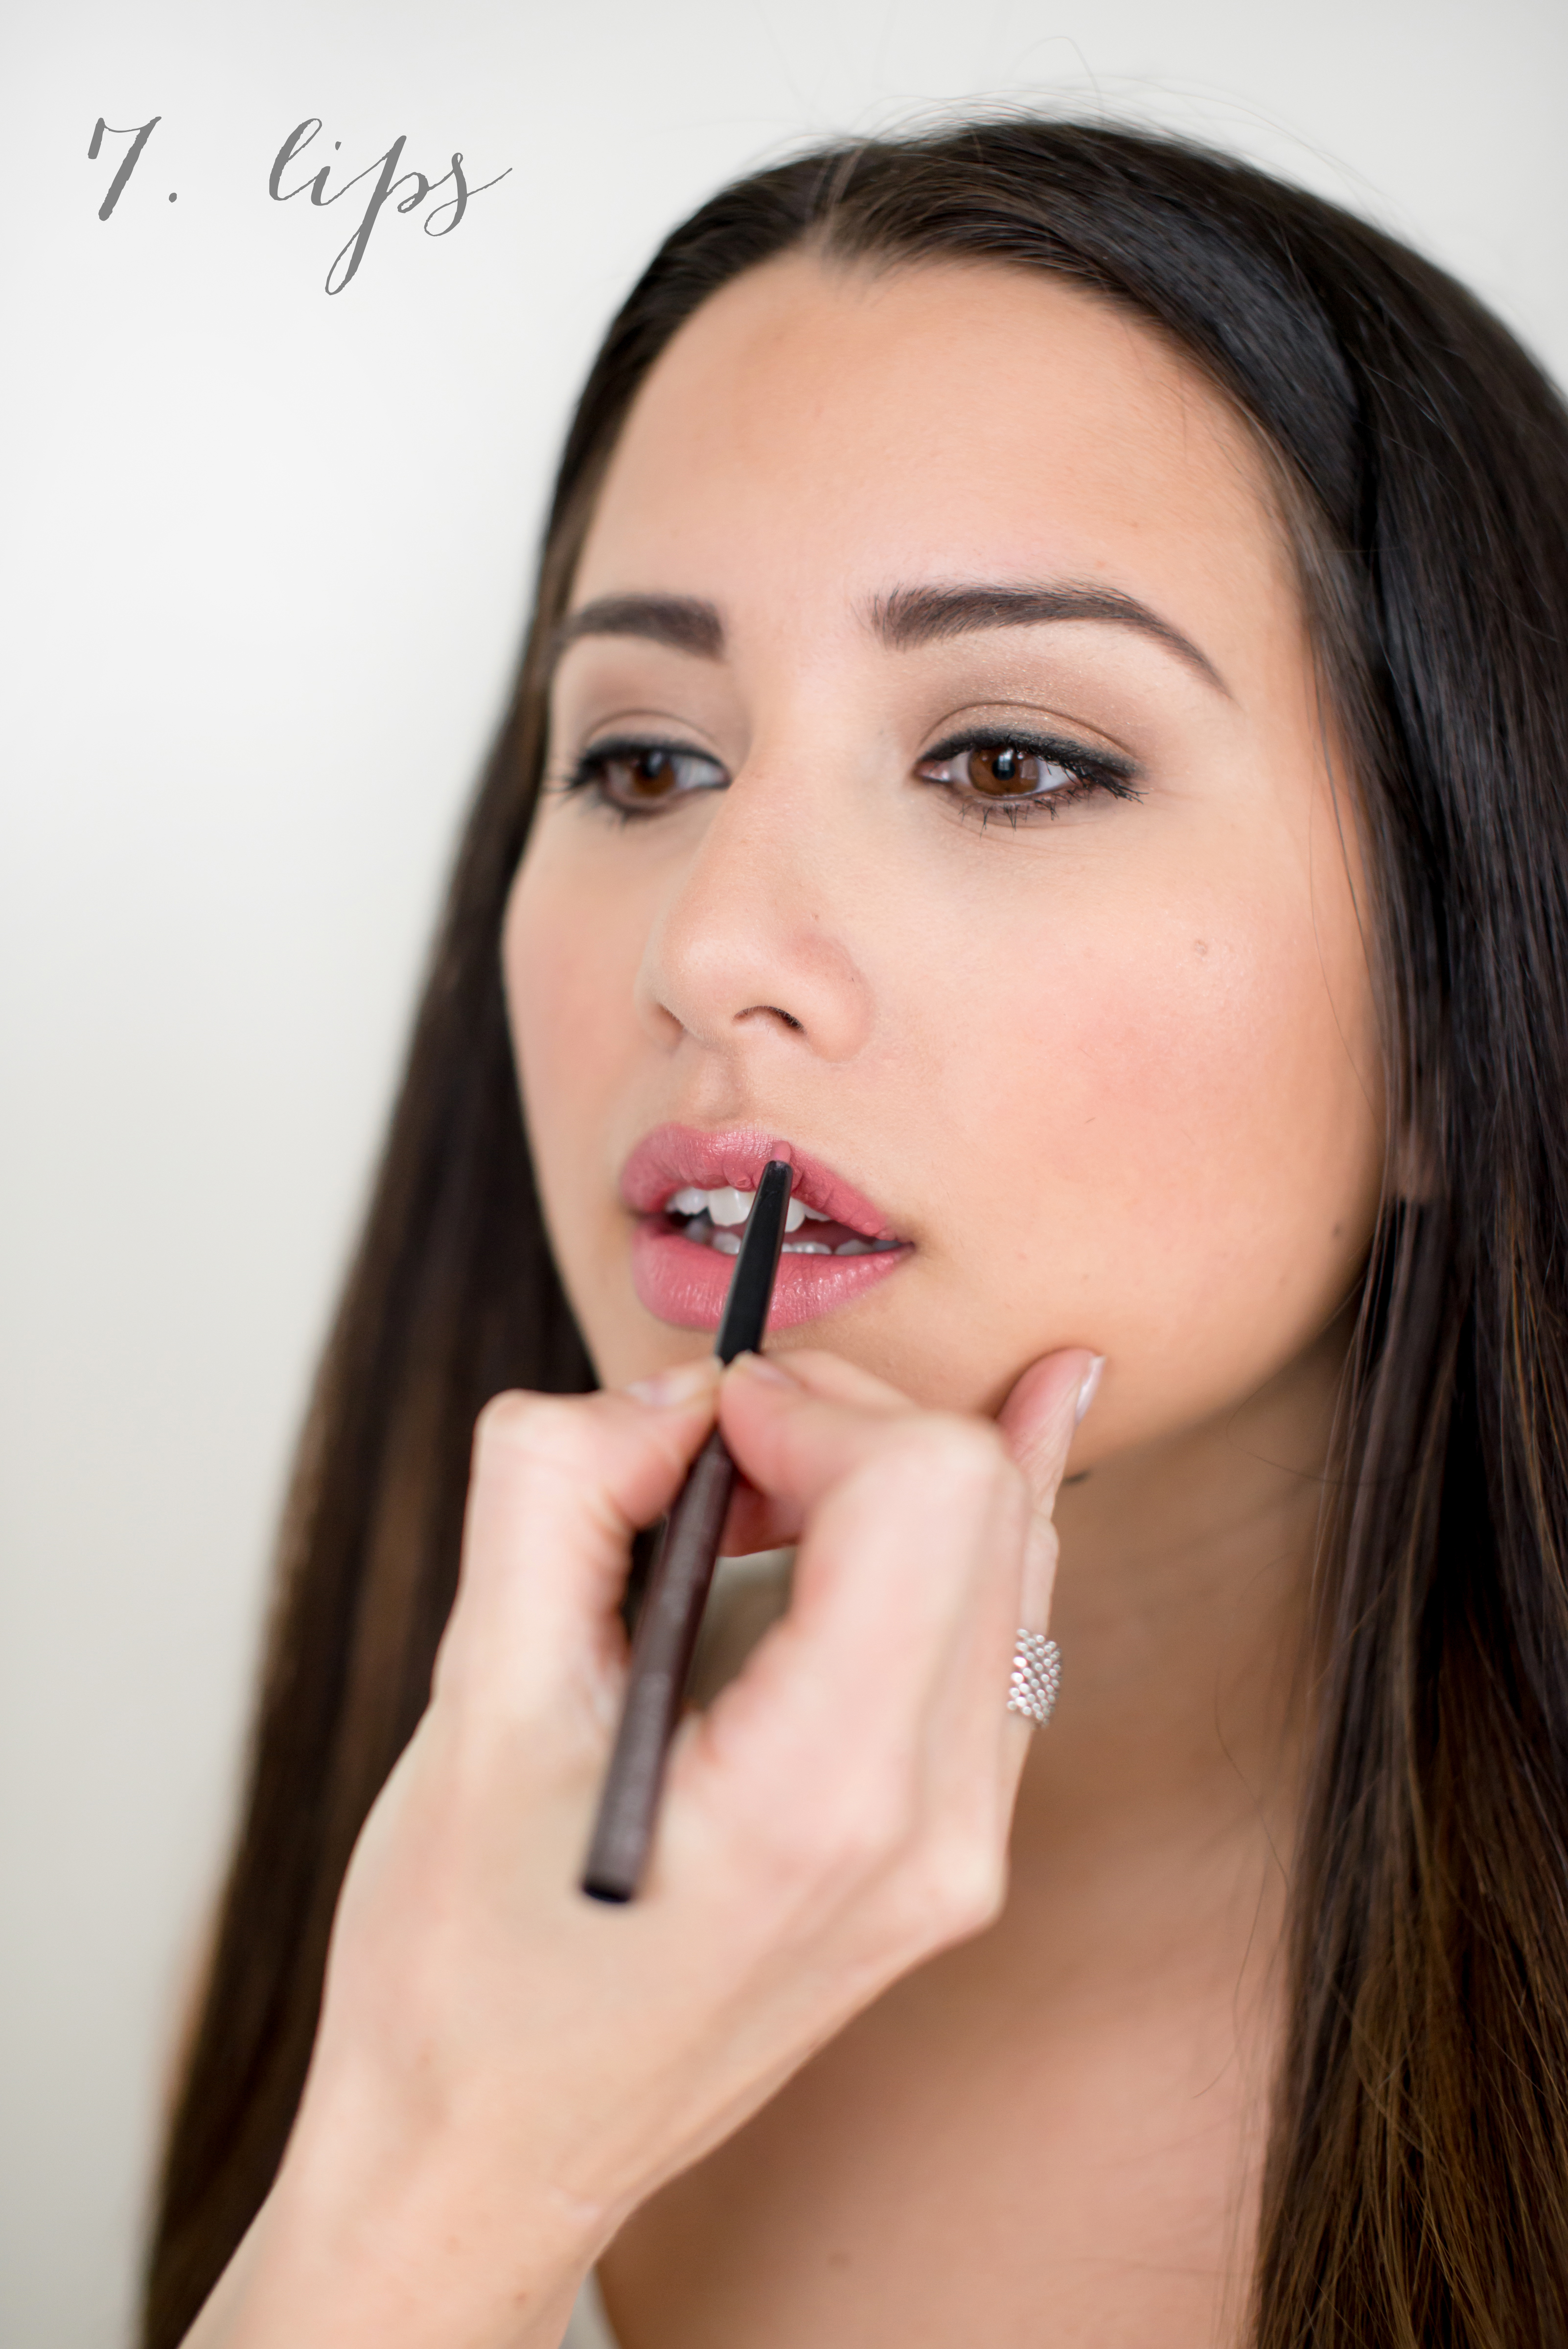
Step 7: Lips
Pick a lip shade that’s similar to your natural lip, but just a bit brighter. Slightly line with liner, apply lipstick to add color, and top with gloss for shine.
Products:
Lipstick: Giorgio Armani
Gloss: Bobbi Brown
Lip Liner: Bobbi Brown
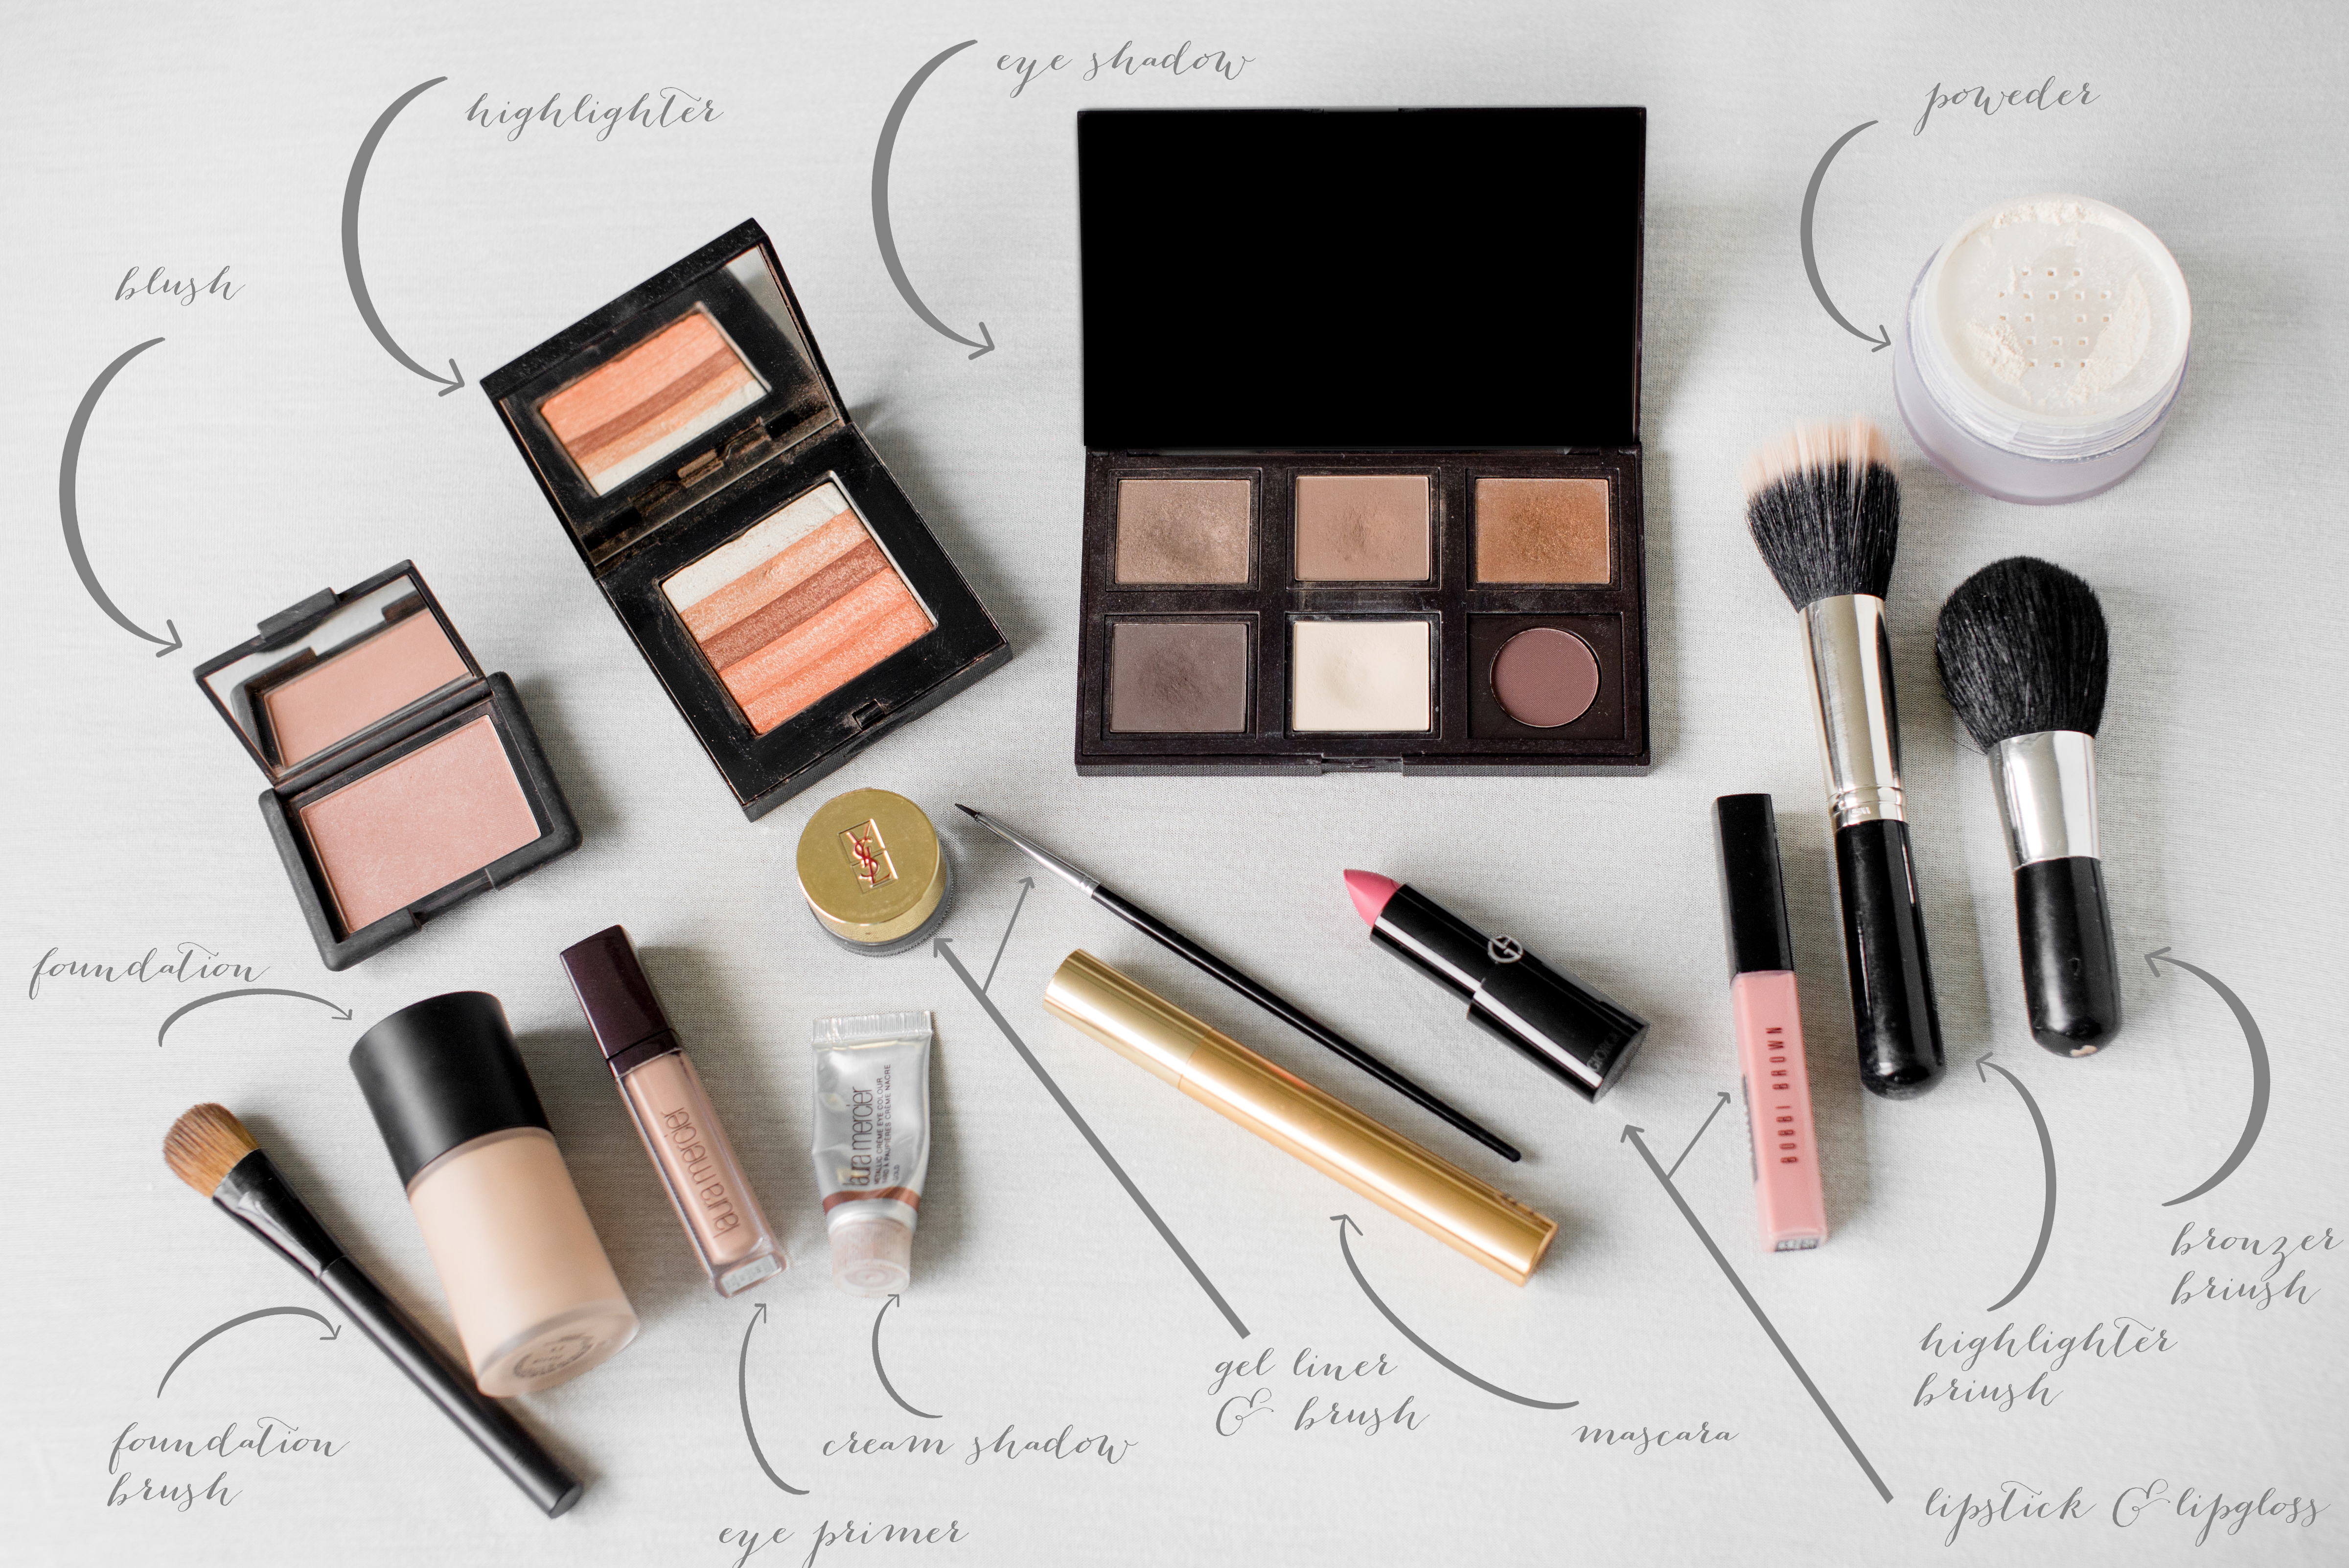
Shopping List
