Have you been overwhelmed with cleaning out your makeup bag? We’re here to help. At the Beauty Co. we want to educate you and help you find new products that suit you.
Here are our top five tips on how to clean out your makeup bag!
1. Pour It Out
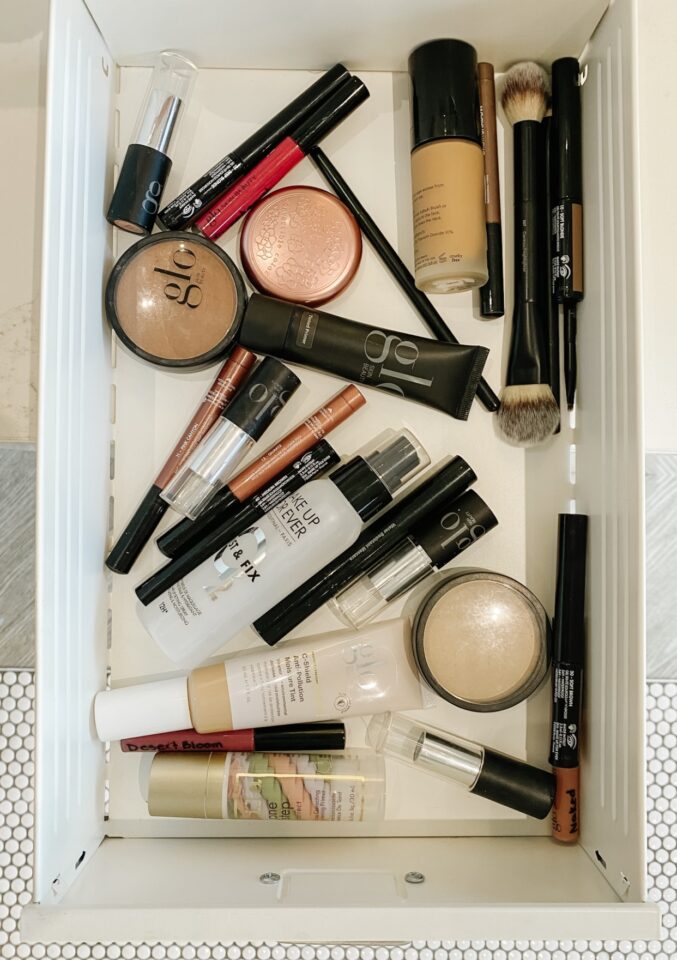
We need to start fresh, whether you keep your makeup in a bag or a bathroom drawer. Gather everything (and we mean EVERYTHING) you’ve got and lay all your products down on a white towel, this will make it easy to see everything clearly and assess what you have.

2. Clean Clean Clean
While everything is out of your makeup bag and drawers, take this opportunity to get all that spilled product that’s been piling up cleaned and sanitized (It’s okay we’re guilty of this too).
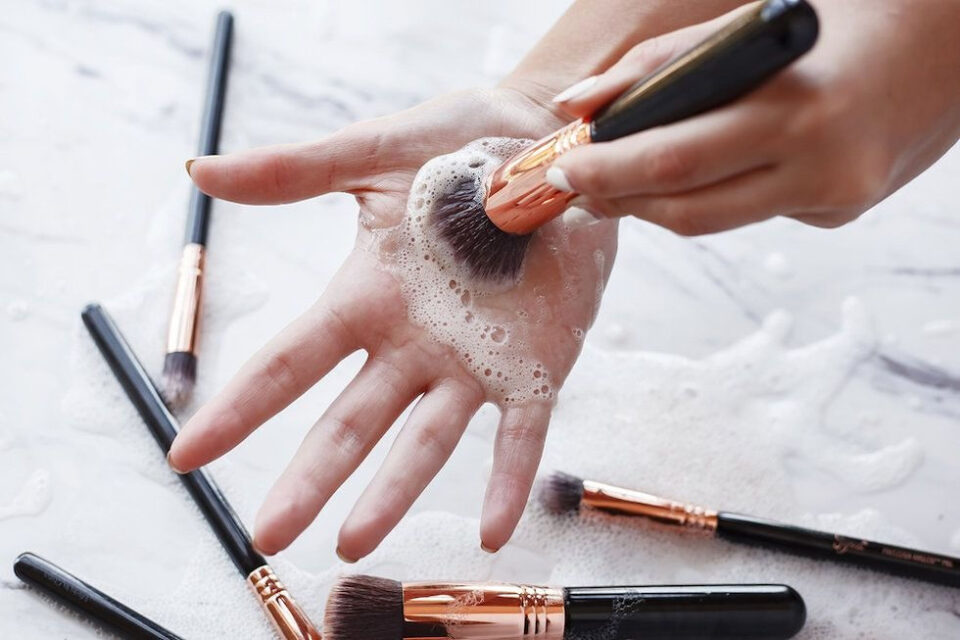
Next, let’s tackle those brushes and sponges. Makeup brushes can harbor bacteria so it’s important to clean them regularly. Use warm water and the Beauty Blender Cleanser to give them a good scrub, rinse under the tap and repeat this step until the water runs clear. Reshape the bristles and lay flat to dry.
When it comes to sponges like the Beauty Blender, it’s likely time to toss the one you have. Most sponges have a shelf life of 3-6 months depending on how often you clean them.
3. The Dreaded Toss
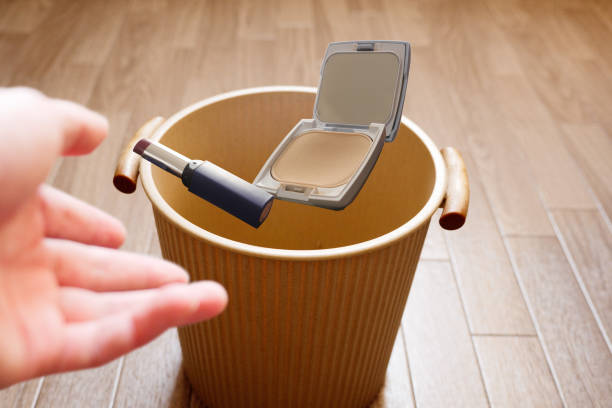
Once you have everything laid out, it’s time to say goodbye to anything past it’s expiry date. That red lipstick you have been holding onto for that one event that never seems to come, she’s got to go.
Makeup has a shelf life and anything that is expired (or that you haven’t even looked at in over a year) is out. If you are unsure of when something has expired or it doesn’t have a date on it, give it the smell and texture test. Most products will have a sweet scent or no scent at all so if it smells off that’s a good indicator its no longer good. Also check the texture of any liquid products, if it is separated even after you shake it it’s time to get rid of it.
Keep in mind when getting rid of old products that lots of things can be recycled and lots of brands take empty containers back.
4. Get Organized
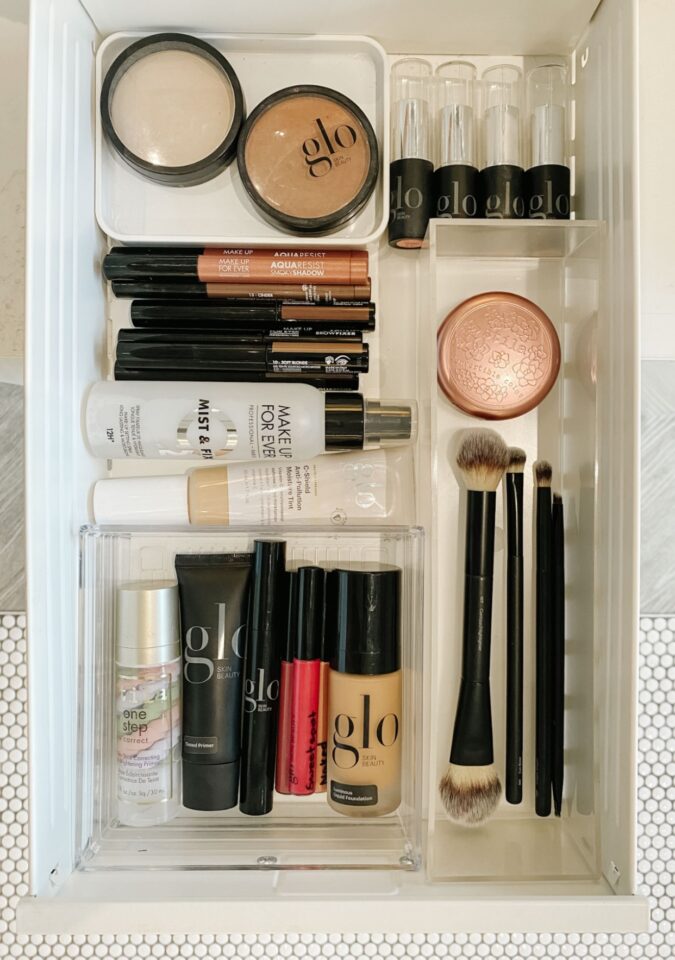
Now that you’ve done away with any old or expired products and cleaned your brushes, it’s time to organize what’s left.
You can do this a few different ways, depending on your personal preference. Some people like to sort their products by type (e.g., lipstick, eyeshadow, blush), while others prefer to organize by brand or color. It’s also a good idea to group your everyday essentials together so that you can easily access them.
This might include items like your favorite lipstick, mascara, or foundation. By keeping these products within easy reach, you can save time during your daily routine and ensure that you always have your must-haves on hand!
5. Refresh
Now that we’ve organized and decluttered, it’s time to refresh your makeup bag!
This step is all about updating your collection and introducing new products that will complement your existing ones.
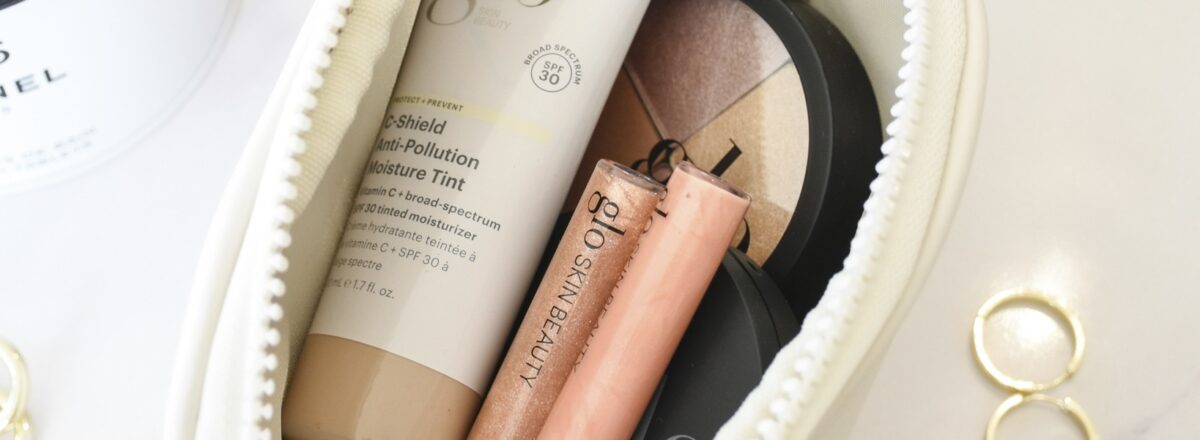
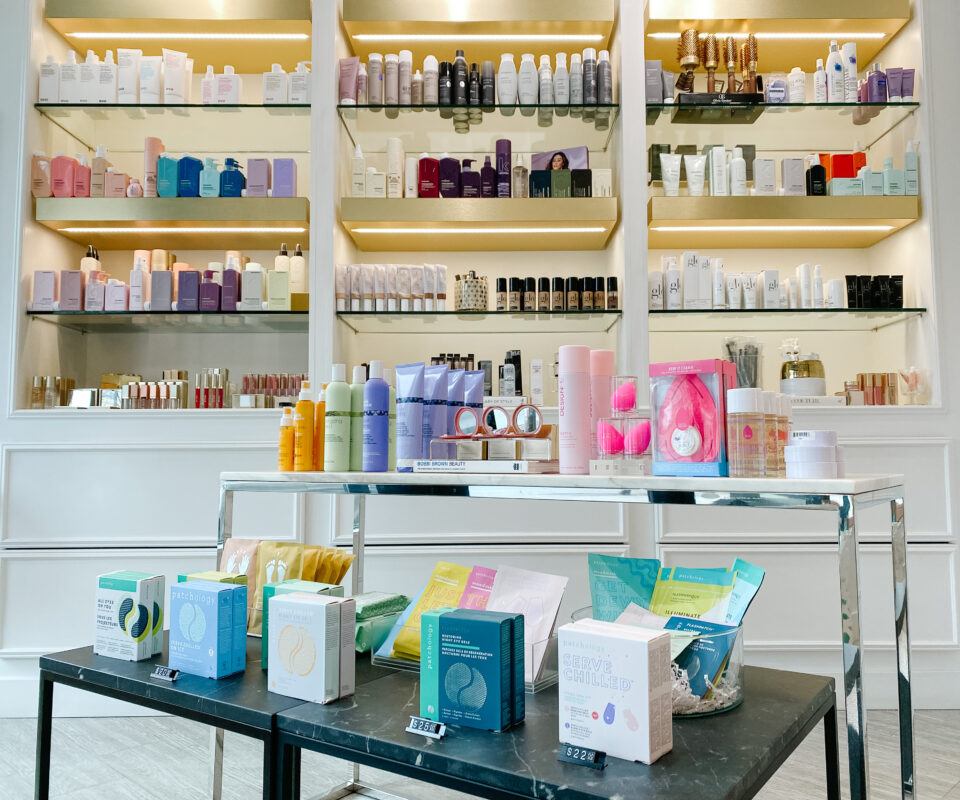
One way to refresh your makeup bag is to invest in multi-purpose products that can save you time and space. For example, a lip and cheek tint can be used on both your lips and cheeks, while a tinted moisturizer can triple as a foundation, moisturizer and SPF!
To sum it up, spring cleaning your makeup bag is a great way to start the new season on the right foot!
It can help you let go of old products, organize your collection, and bring in new items that will complement your existing routine. If you need some advice or help to find what is suitable for you, we are here to help!
