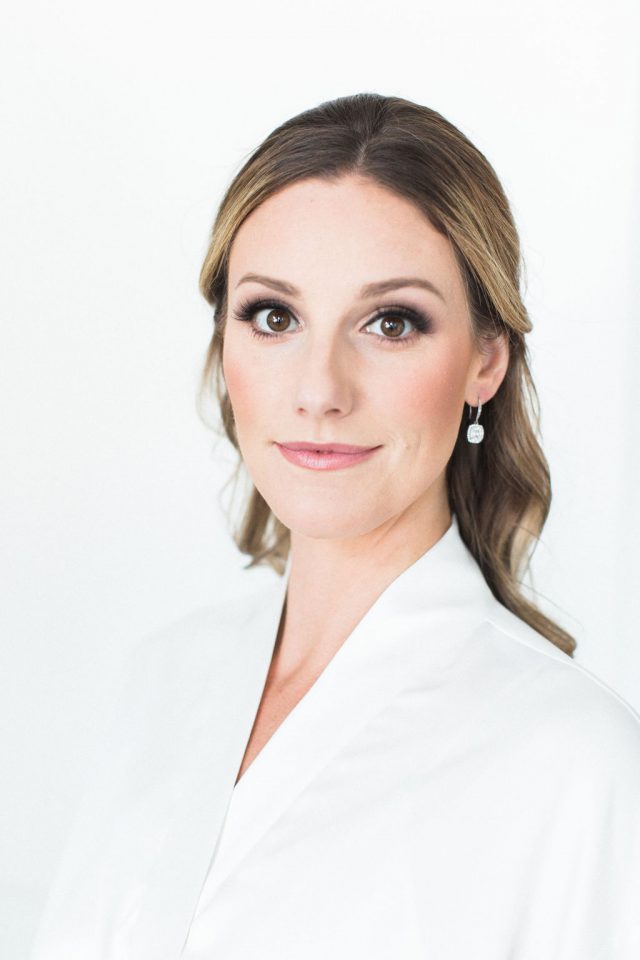
Last week I was so excited to share my own wedding in a blog with you. And today I have broken down my step-by-step bridal beauty look!
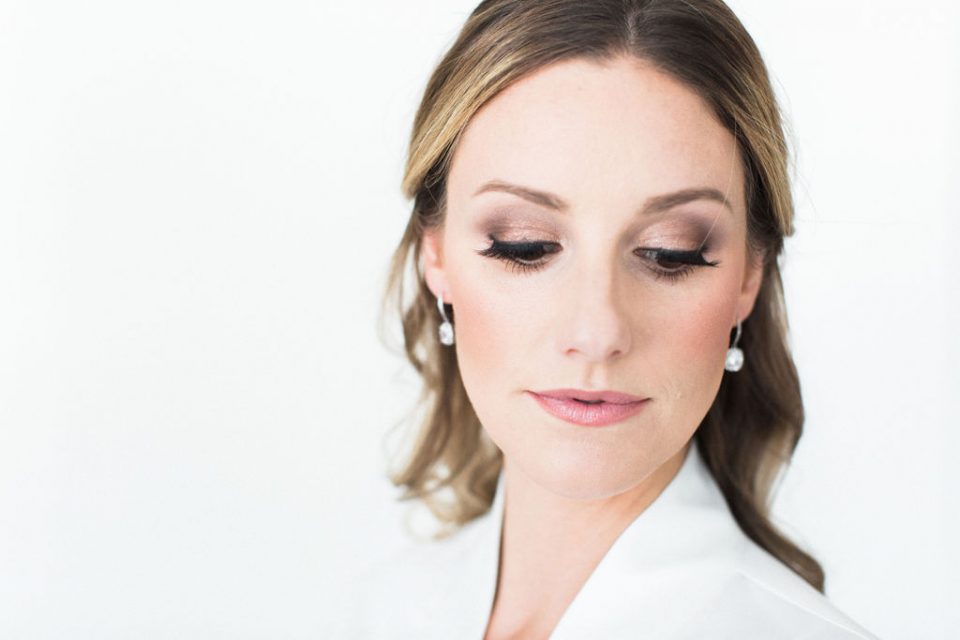
Prep & Prime
The first step to make sure my makeup goes on beautifully is to apply good skincare and a primer.
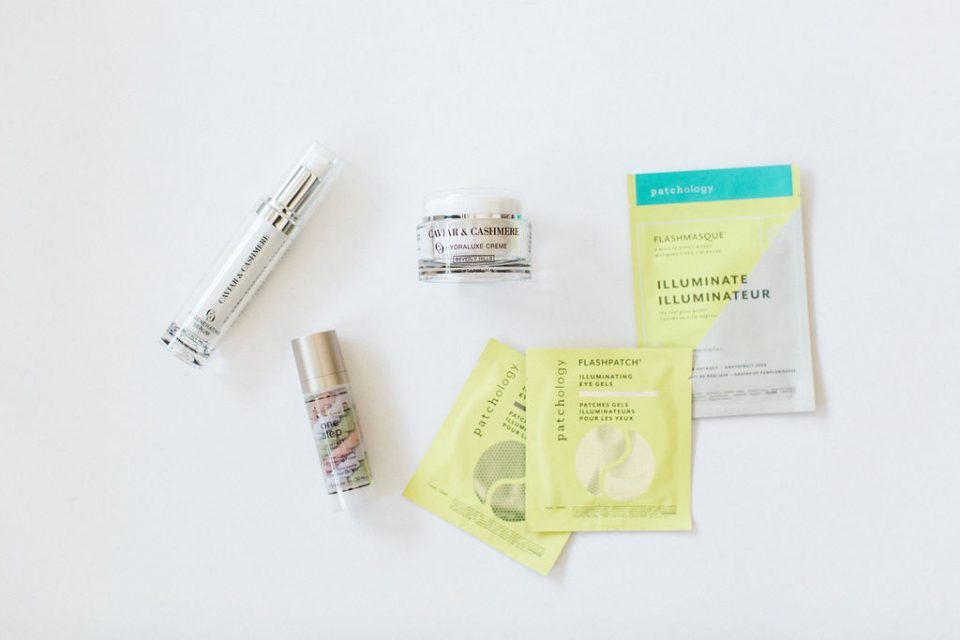
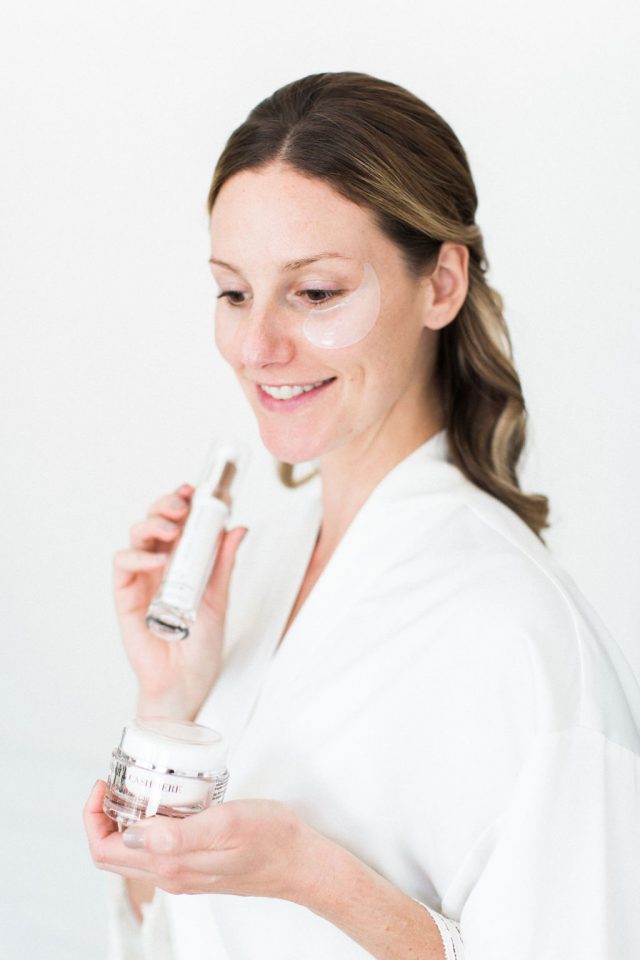
1. I started the day with with the Illuminate Flashmasque and Illuminate Flashpatch eye gels from Patchology. They leave my skin feeling soft, glowing and hydrated.
2. I moisturized my skin with Caviar & Cashmere’s Regenerating Serum followed by the Hydraluxe Cream.
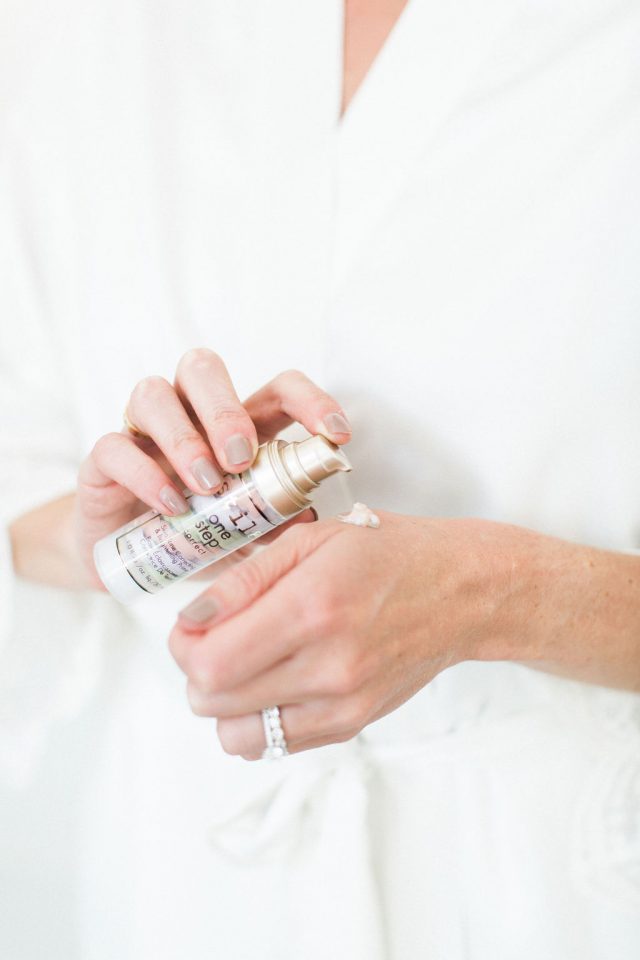
3. After waiting a few minutes to allow the cream to sink in, I applied one pump of Stila One-Step-Correct Primer to smooth and balance out any uneven colour in my complexion.
Eyes
I always like to start with eyeshadow before applying foundation. This allows me to clean up any fallout and ensure a super bright, clean undereye.
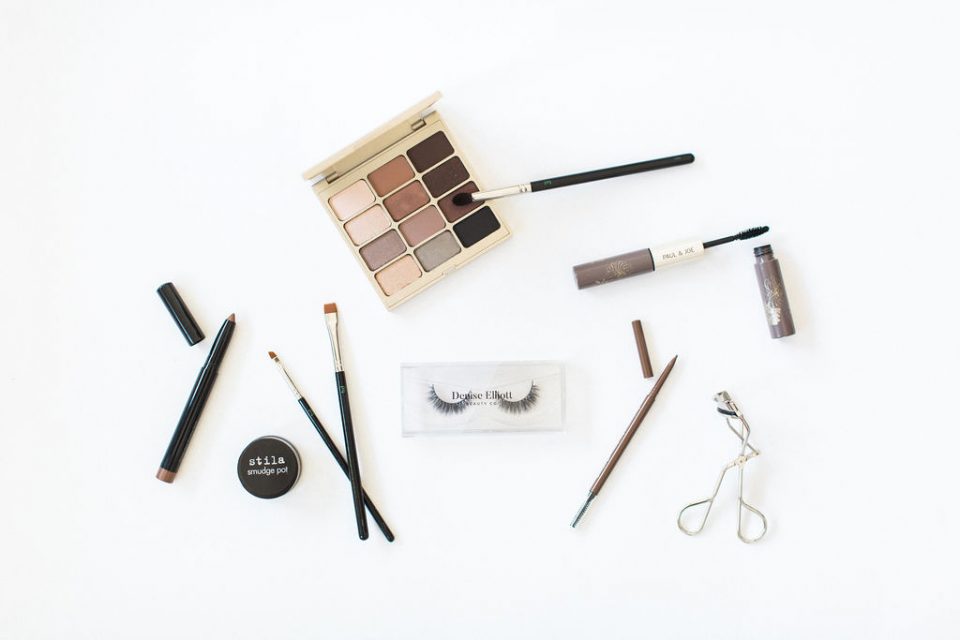
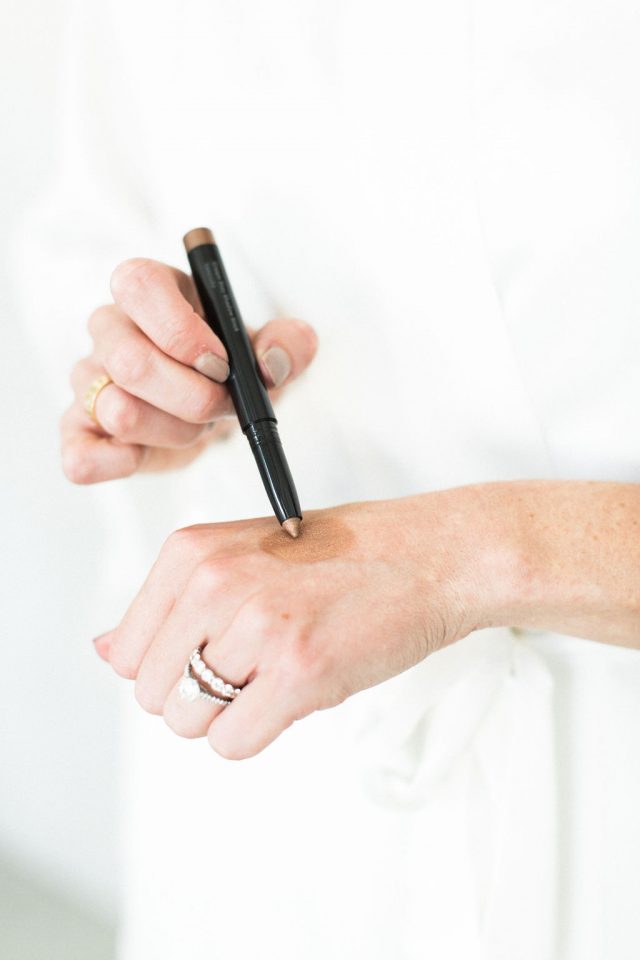
1. To make sure eyeshadow lasted the entire day, I applied the Glo Skin Beauty Cream Stay Shadow Stick in ‘Keepsake’ as a primer all over the lid up to the crease. This is my go-to eyeshadow that I love to use regularly!
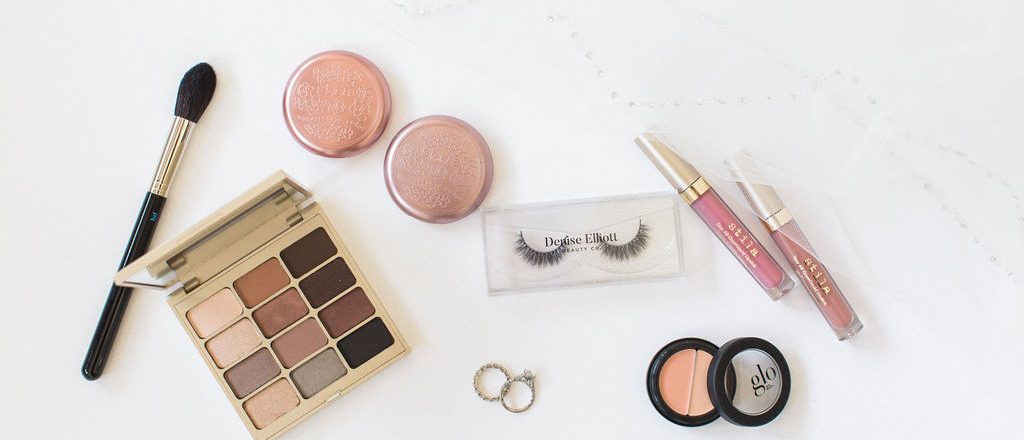
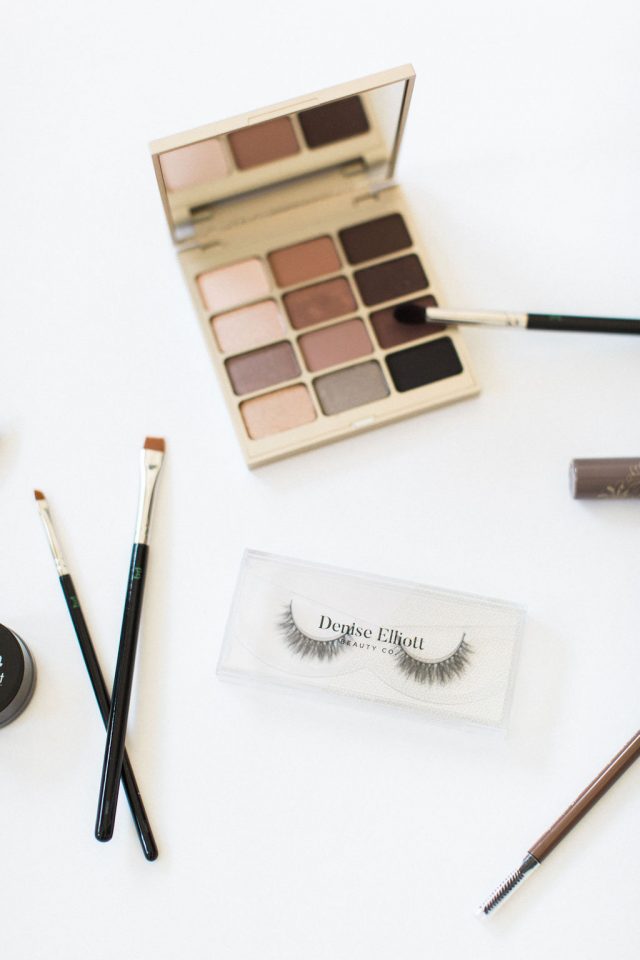
2. Another favourite of mine is the Stila Cosmetics Eye Shadow Palette ‘Soul’. I used this to create my bronze smokey eye look.
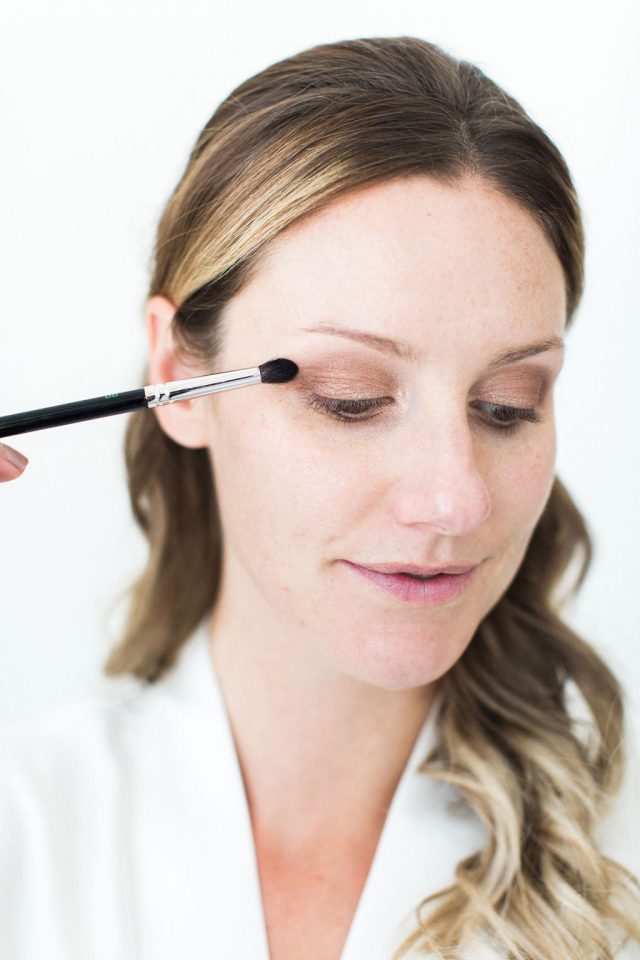
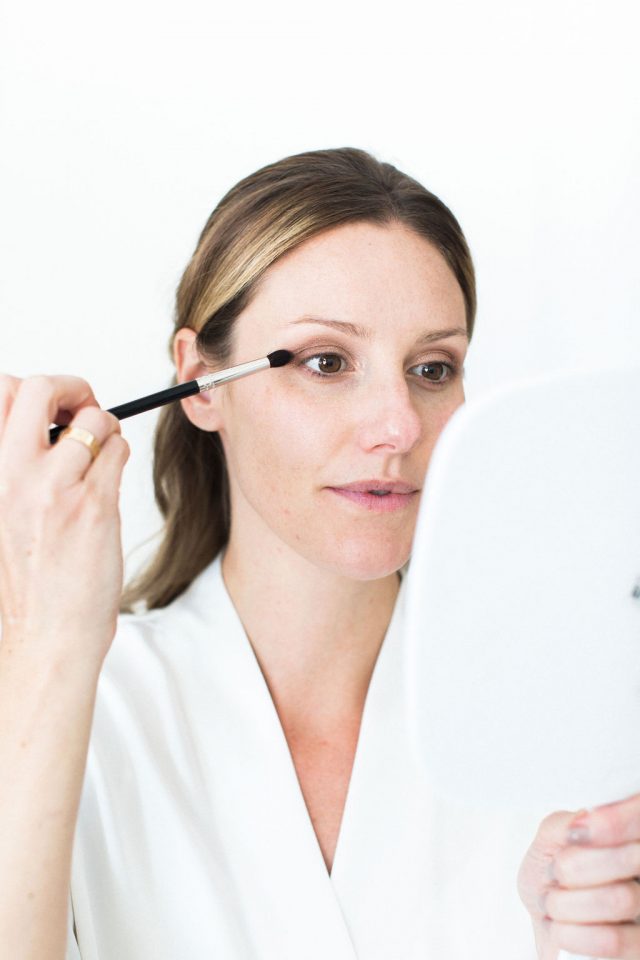
I started with the colour ‘Affection’ swept all over my lid up to the crease using a blending eyeshadow brush.
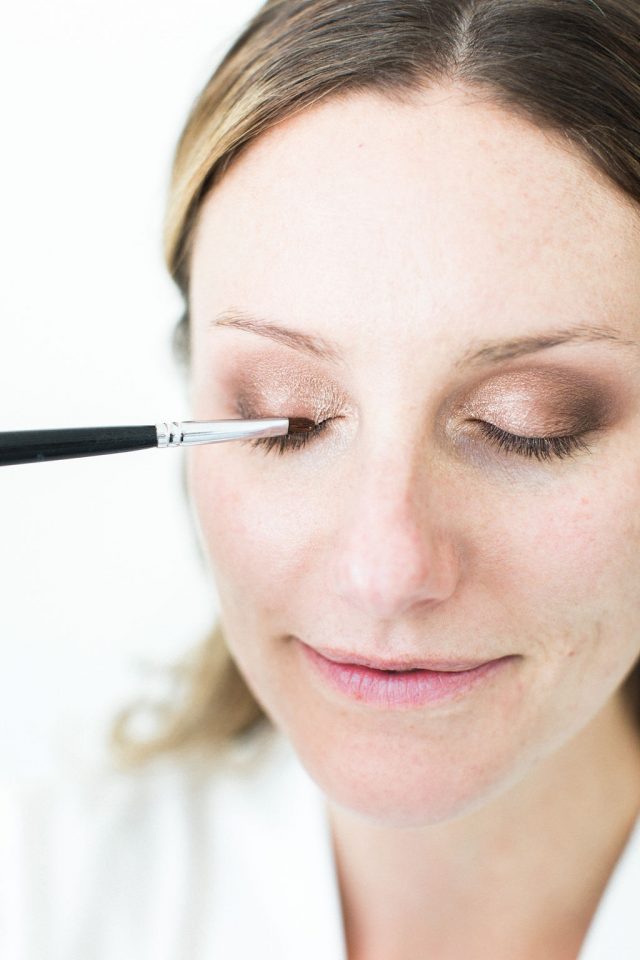
To create more depth I applied the darker shades Peace and Being on the outer corners, slightly blending those through the crease. For this a smaller crease blending brush worked perfectly.
Using the colour ‘Individually’ through the crease with a clean blending brush helped to blend any edges seamlessly.
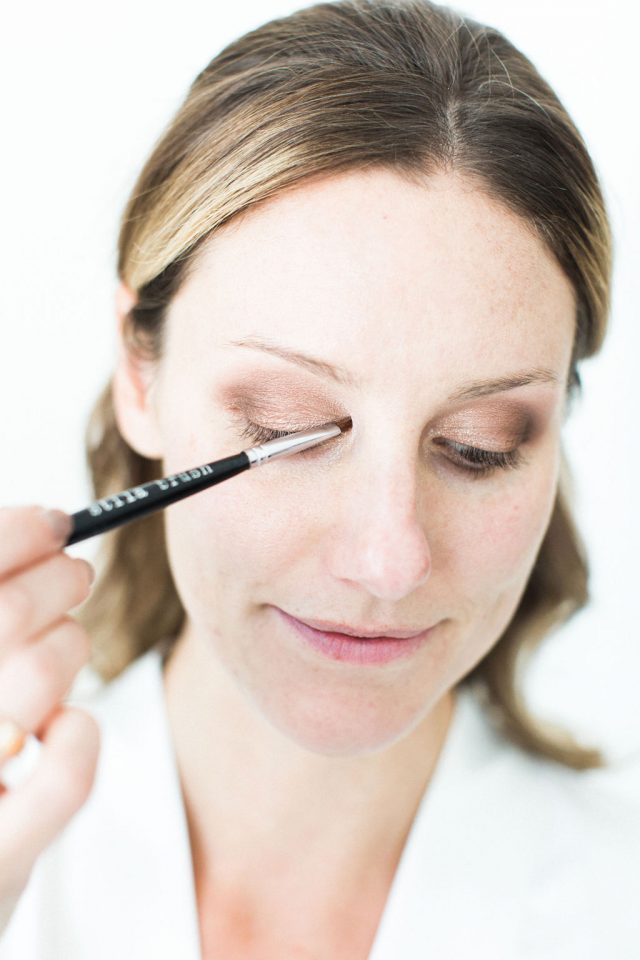
For a little extra glow, I added the colour ‘Vitality‘ to the centre of my lid and ‘Kitten‘ in the inner corner of my eye. For this I used a smaller eyeshadow brush for precise application.
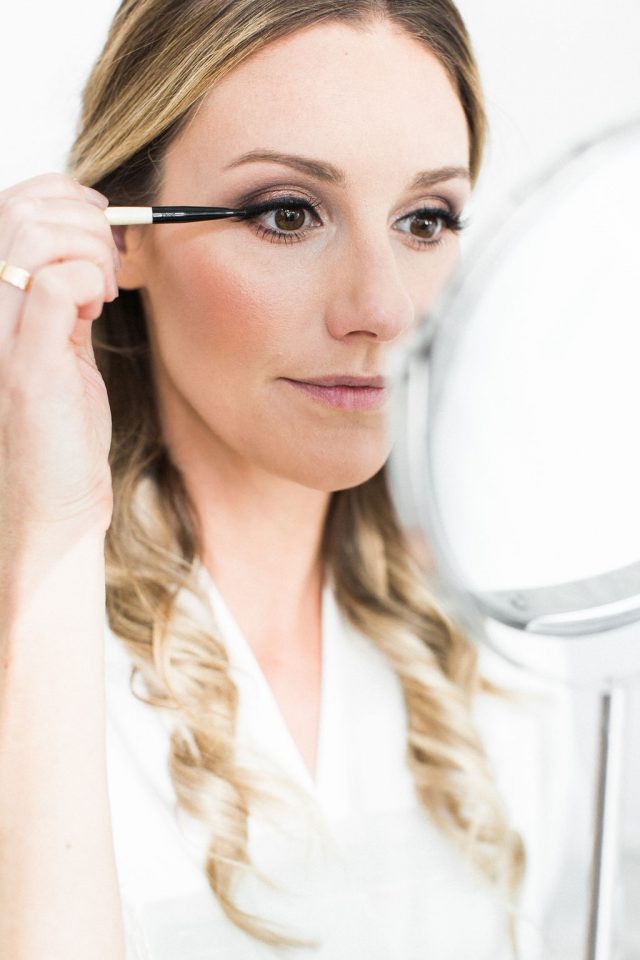
3. I used Stila Smudgepot black gel eyeliner with a small angled brush to line my entire lash line.
Base
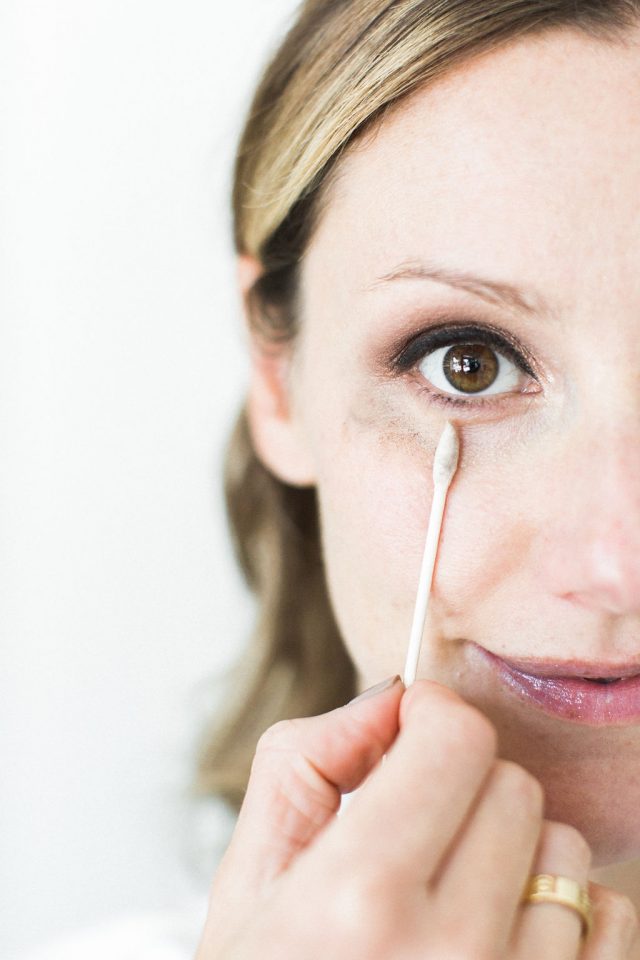
First things first, that crucial under eye clean up! Using a little bit of eye cream and a Q-tip, sweep away the fallout!
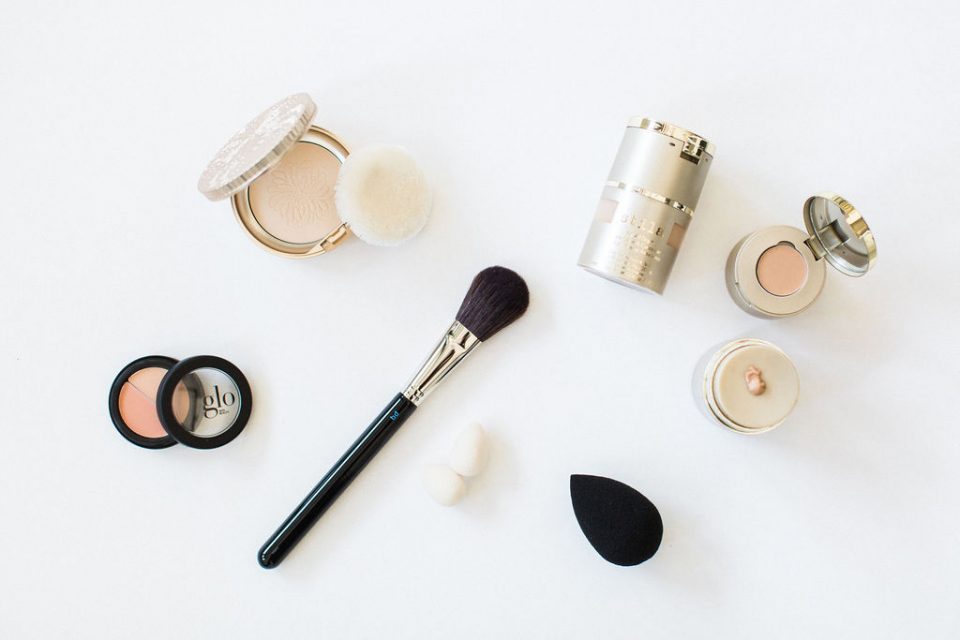
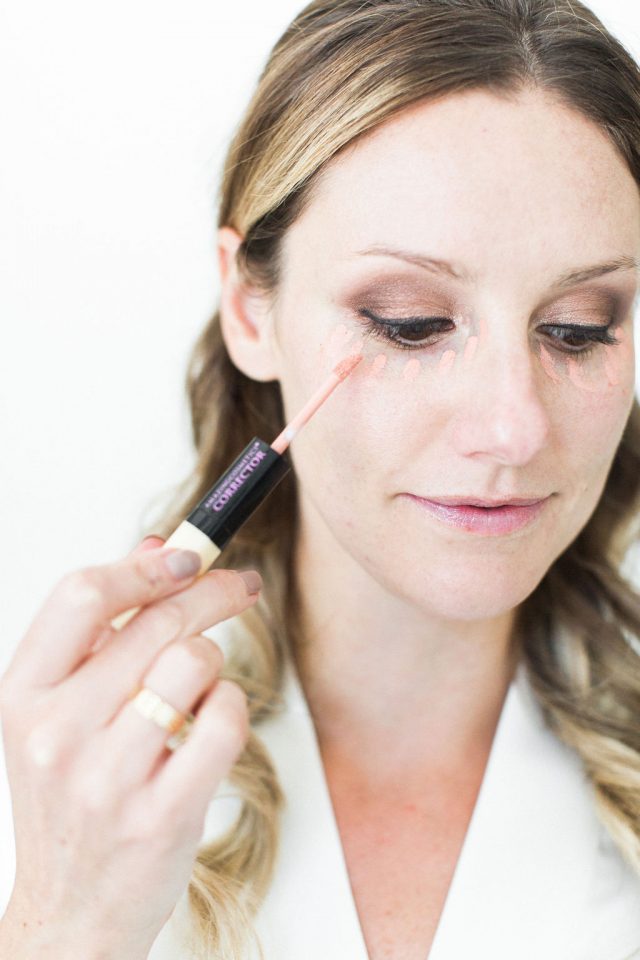
1. Amazing Cosmetics Corrector was the first step under the eyes to neutralize any blue or purple discoloration.
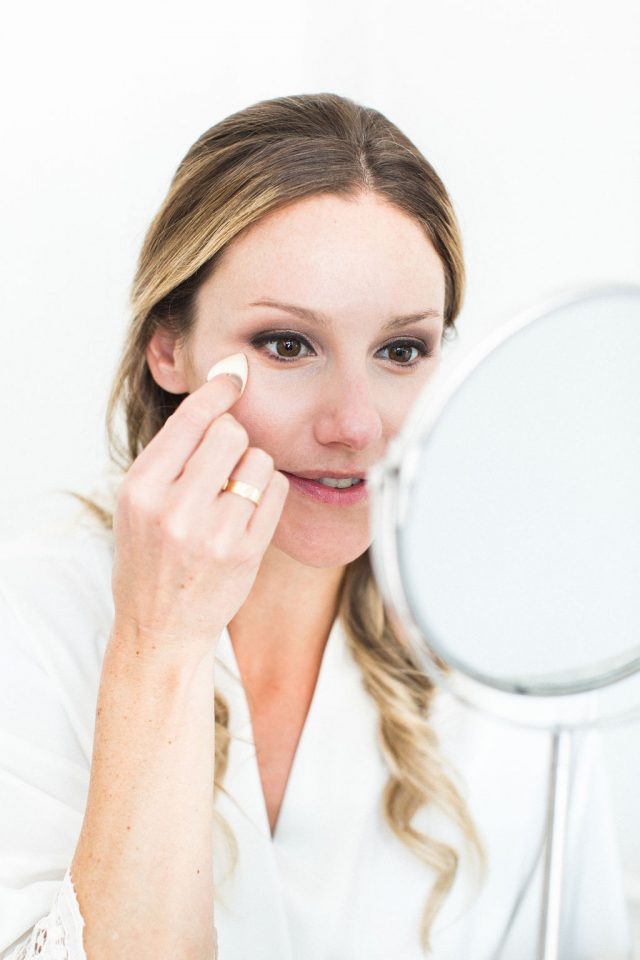
2. Next, I used Glo Skin Beauty’s Undereye Concealer, applying it with a Mini Beauty Blender.
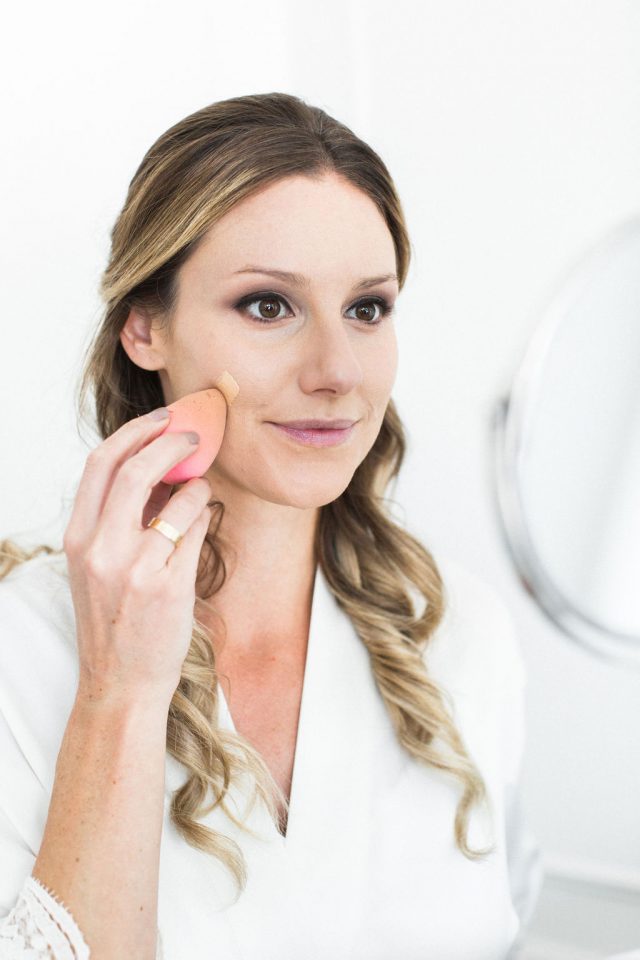
3. With a regular sized Beauty Blender I applied a thin layer of the Stila Stay All Day Foundation and Concealer. This foundation is buildable, so I applied more just in the areas that required extra coverage, working it in to my skin with the Beauty Blender using a tapping or bouncing motion.
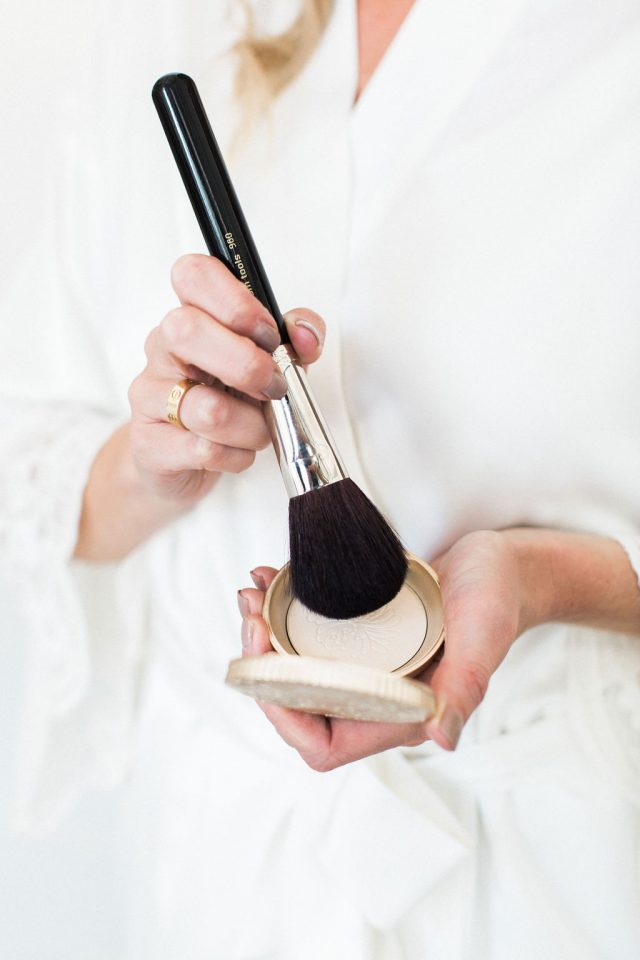
4. To set everything in place I used a translucent powder, focusing on areas that tend to crease or get shiny, like the t-zone and under eye area.
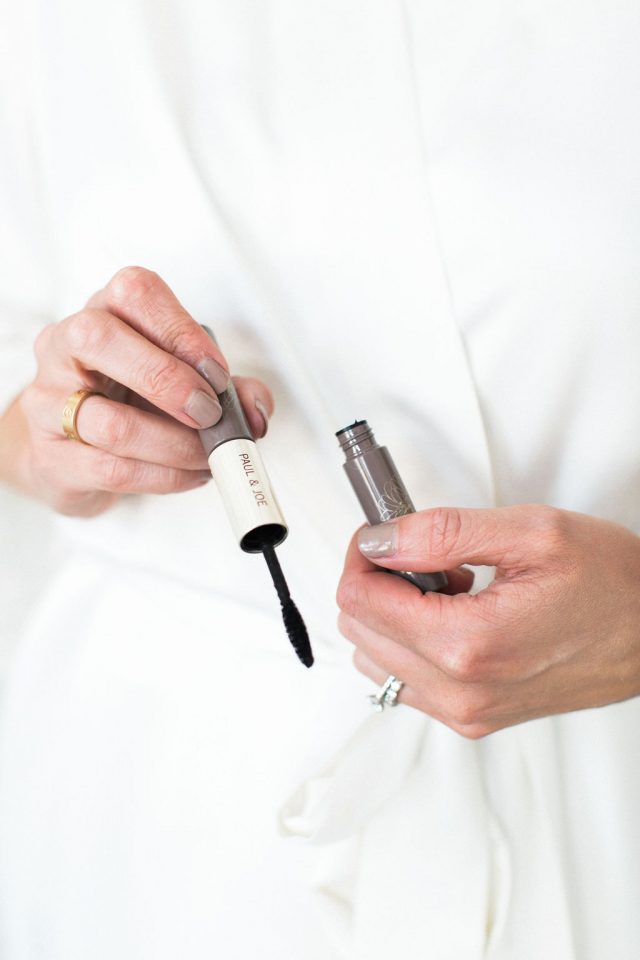
5. I lined my lower lash line with the Smudge Stick Waterproof Eye Liner from Stila in the colour Damsel, and smudged it lightly to create that smokey look, adding a little waterproof mascara.
6. Next I applied Denise Elliott Beauty Co. lashes ‘Grace’ which opened up the eyes and added the final touch.
7. Glo Skin Beauty’s Precise Micro Browliner in ‘Light Brown’ is my go-to for naturally defined brows.
Blush, Bronze, Highlight
These are the magic steps that will create the bridal glow!
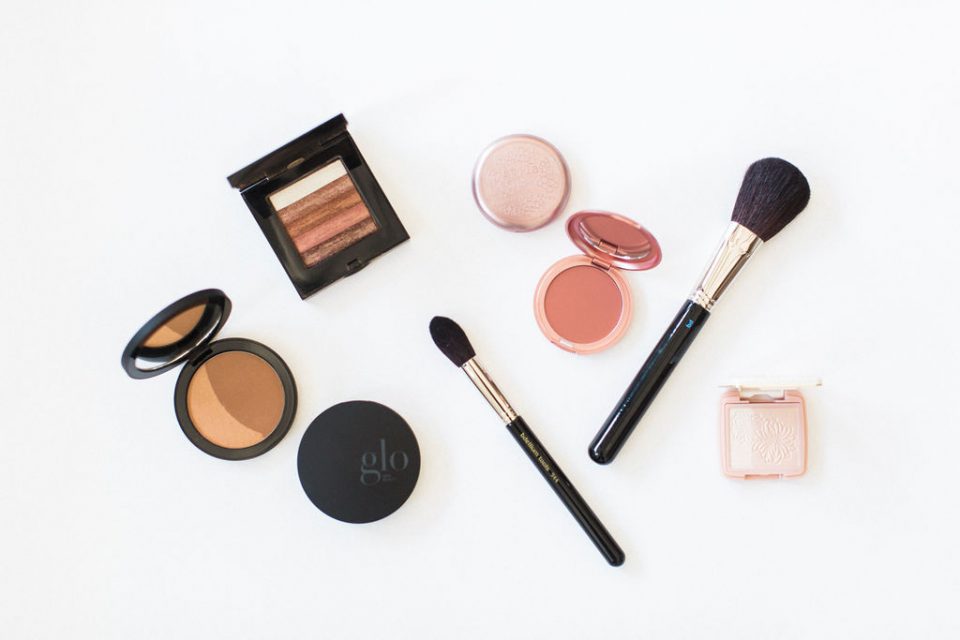
- I used my favourite Glo Skin Beauty Bronzer along with the Bobbi Brown Shimmer Brick for dimension and a sunkissed look!
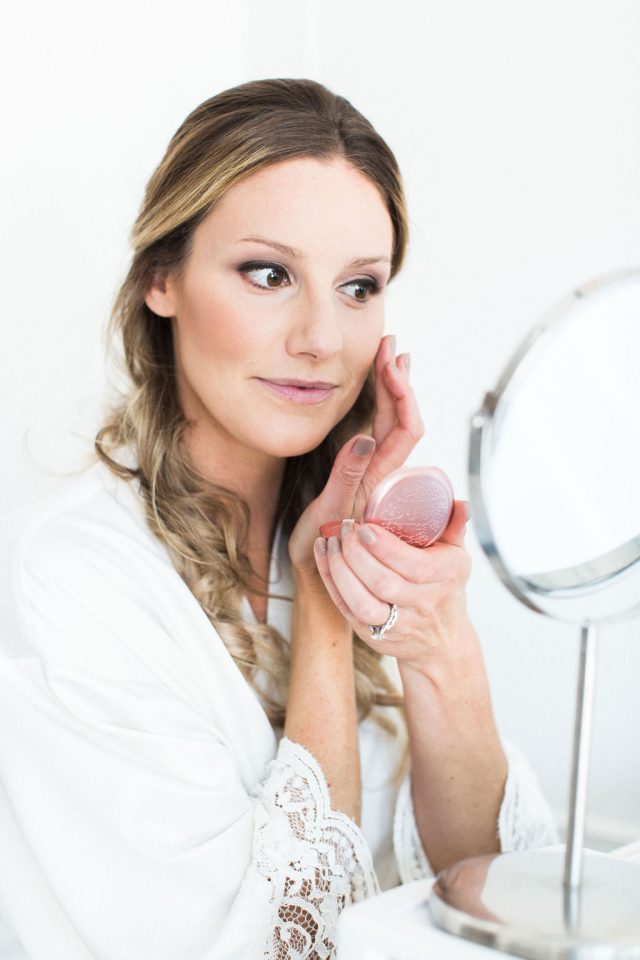
2. Stila Convertible Colour in ‘Peony’ applied with fingers to the apple of my cheeks gave a subtle flush of colour with a youthful, dewy finish.
3. On the highest point of my cheekbones, I added a touch of Paul & Joe Highlighter.
Lips
With my eyes being the focus, I chose to keep the lip colour soft and light.
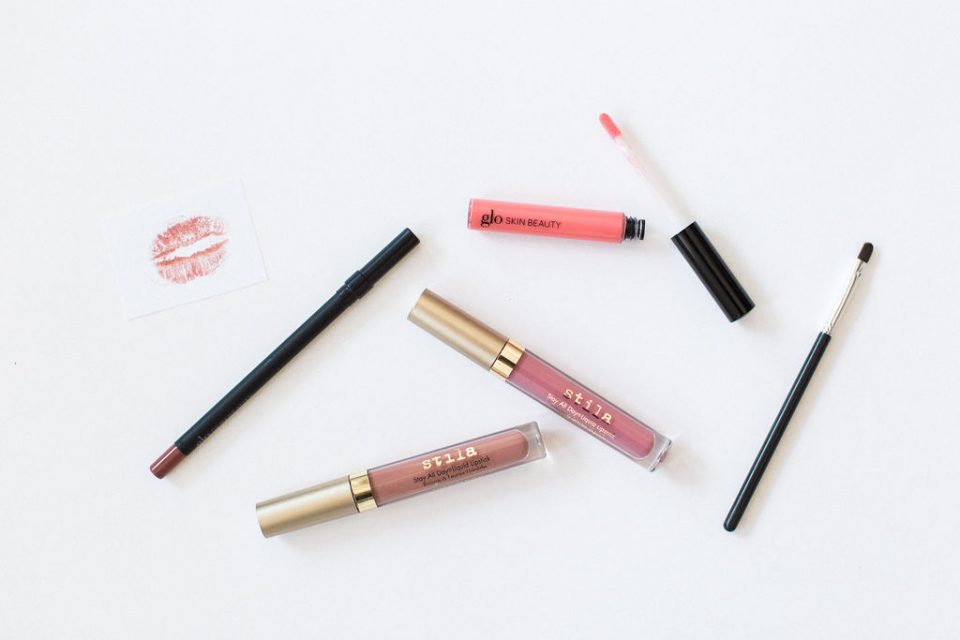
1. I started by lining my lips with Glo Skin Beauty Lip Liner in ‘Soulmate’.
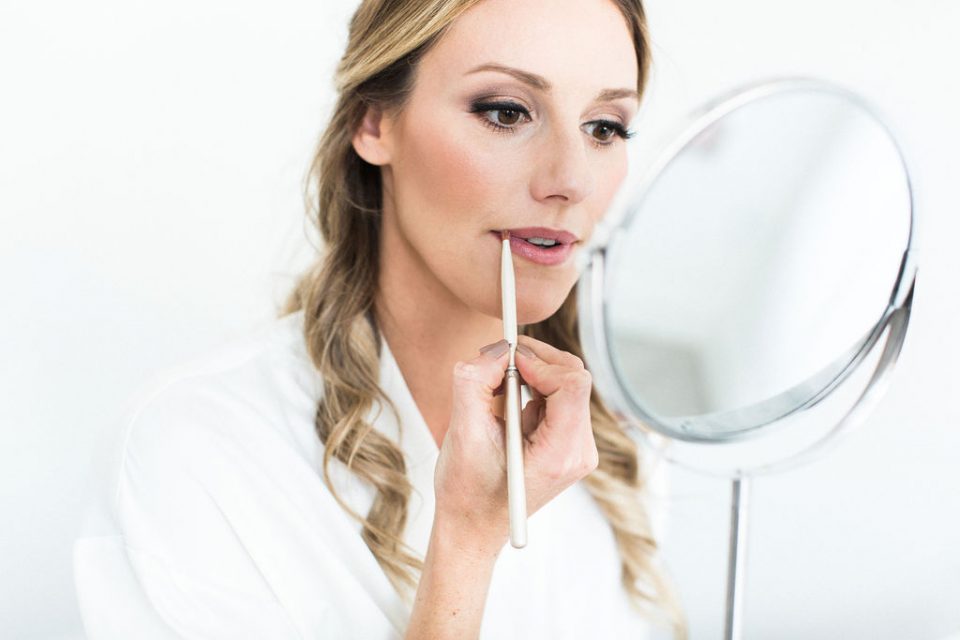
2. To create my perfect colour, I customised my lipstick by combining Stila Stay All Day Liquid Lipstick colours ‘Dolce’ and ‘Patina Shimmer’ on the back of my hand and applied with a lip brush. I opted for a long lasting formula, making it perfect for a long day of chatting, eating and kissing!
3. A thin layer of Glo Skin Beauty Lip Gloss in ‘Peony’ added a bit of moisture and shine to the center of the lip.
Hair
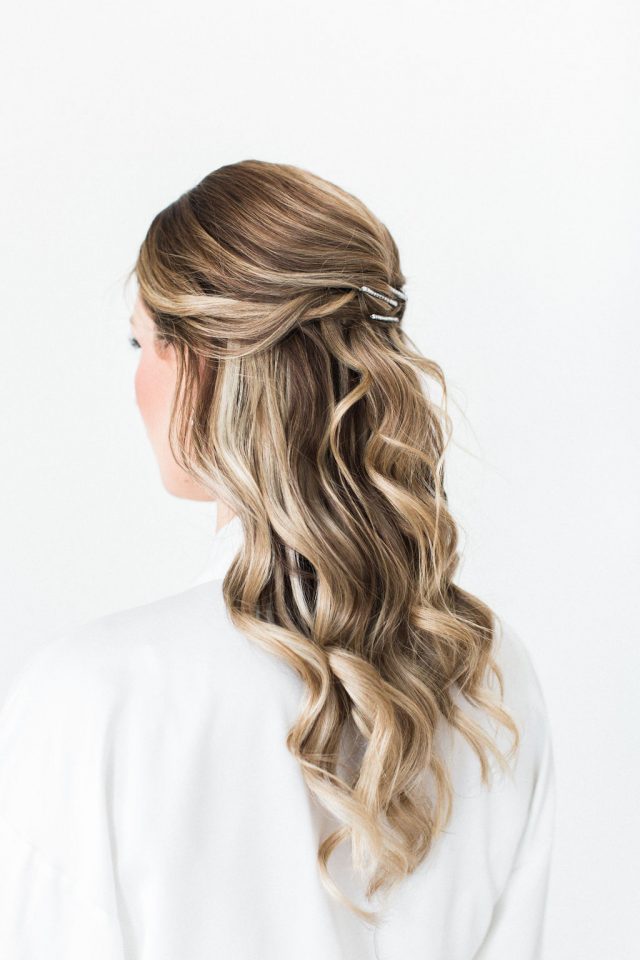
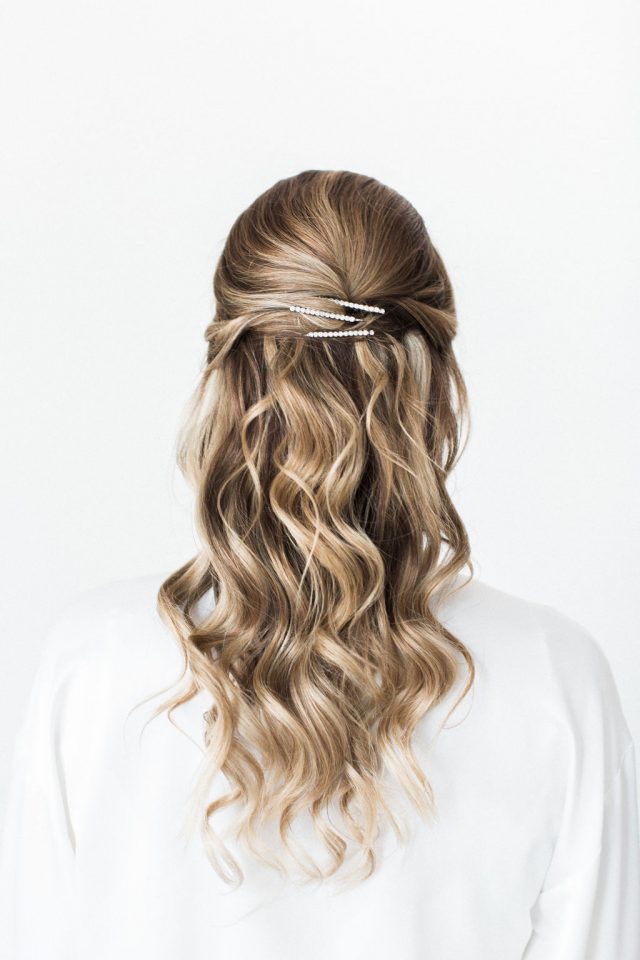
I wanted a half up style, and my master Stylist Christina created exactly what I was envisioning. We added a few clip in hair extensions to help add volume. Beachy waves added a natural and relaxed vibe to the style. I used a few sparkly clips in the back which added a little something special.
Touch Up Kit
It is ALWAYS a smart idea for any bride to bring along a few essentials for any beauty emergencies! Here’s what I packed in mine:
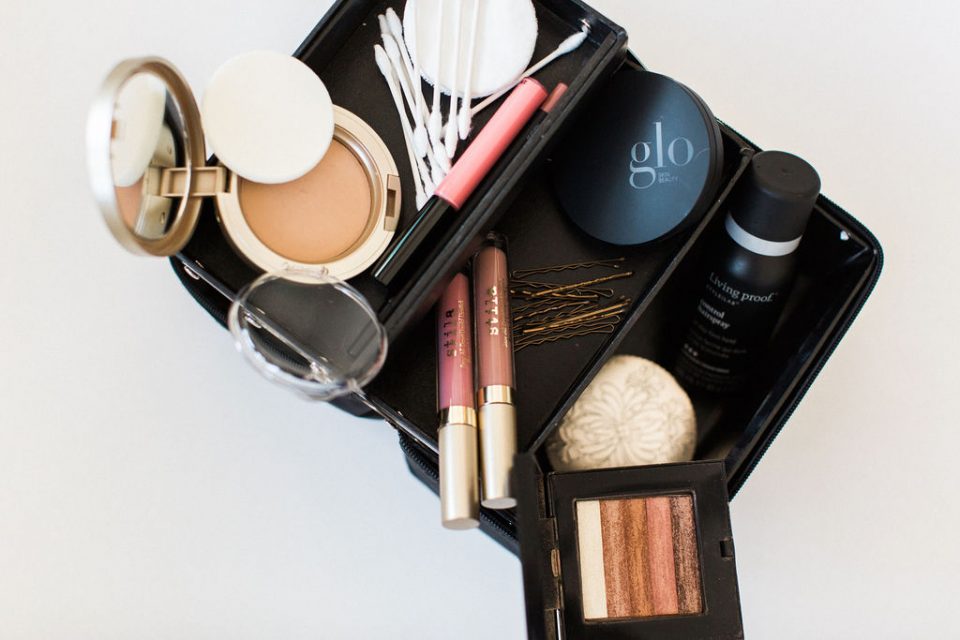
- Stila Poreless Putty Perfector – to conceal imperfections, minimise pores and shine
- Glo Skin Beauty Perfecting Powder – translucent powder to control shine and oil
- Stay All Day Liquid Lipstick ‘Dolce’ & ‘Patina Shimmer’ + Glo Skin Beauty Lip Gloss Peony – my lip combo
- Bobbi Brown Shimmer Brick Bronze- for any needed bronze or glow
- Q-tips! – In case of tears to erase any streaks
- bobbi pins – for any stray hair falling out of place
- Living Proof Control Hairspray Travel size – to tame flyaways
If you missed last weeks blog post, I shared the details and photos from our wedding day. Click here to check it out!
xo, Denise Elliott


Hi Denise,
Your wedding photos look amazing! everything was perfect and magical!
I was wondering if it would be possible to give us credit for the Elsa Corsi hair pins we gifted you.
So happy to see you found the perfect placement for them.
Best,
Madalena Corsi
Jeweliette Jewellery